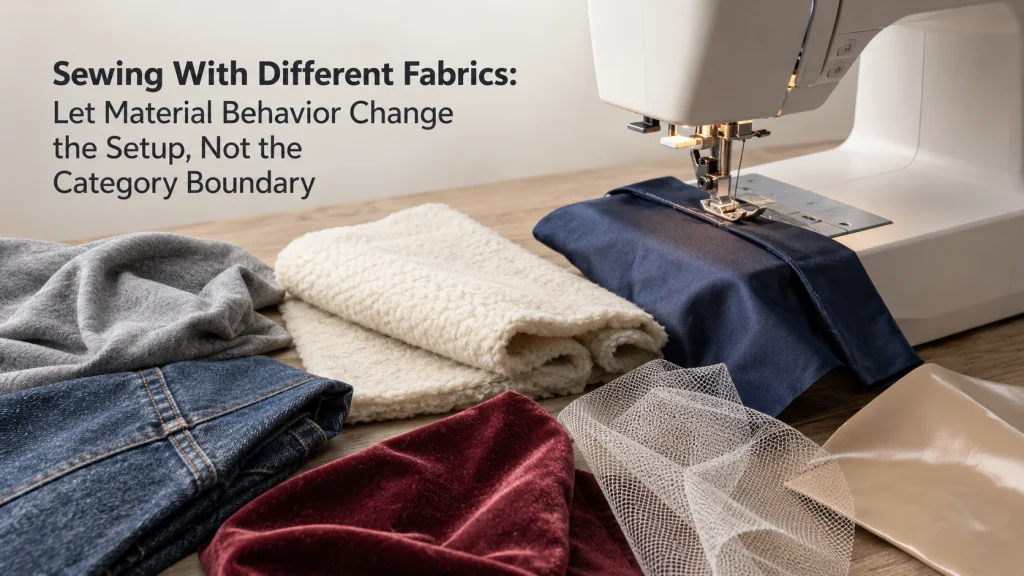
Sewing With Different Fabrics: Let Material Behavior Change the Setup, Not the Category Boundary
Sewing With Different Fabrics

Sewing with different fabrics gets easier when you classify what the material does at the machine instead of memorizing settings by fabric name. Stretch, loft, pile, density, open weave, slipperiness, sheerness, mesh, loops, sticky surfaces, and hard embellishments change handling in different ways. Confirm that the owned machine can handle the actual stack, verify component
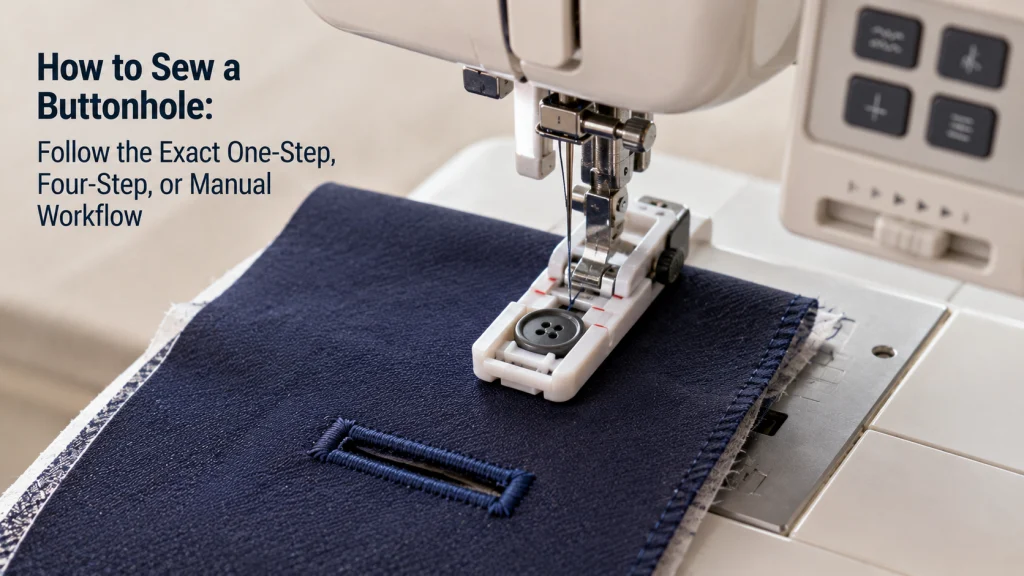
How to Sew a Buttonhole: Follow the Exact One-Step, Four-Step, or Manual Workflow

How To Sew A Buttonhole

How to sew a buttonhole depends first on the buttonhole system built into the exact sewing machine. A one-step system may use a button-guided foot and lever, a four-step system requires deliberate stage changes, and some machines document a more manual zigzag sequence. The safest workflow is to identify that system in the manual, prepare

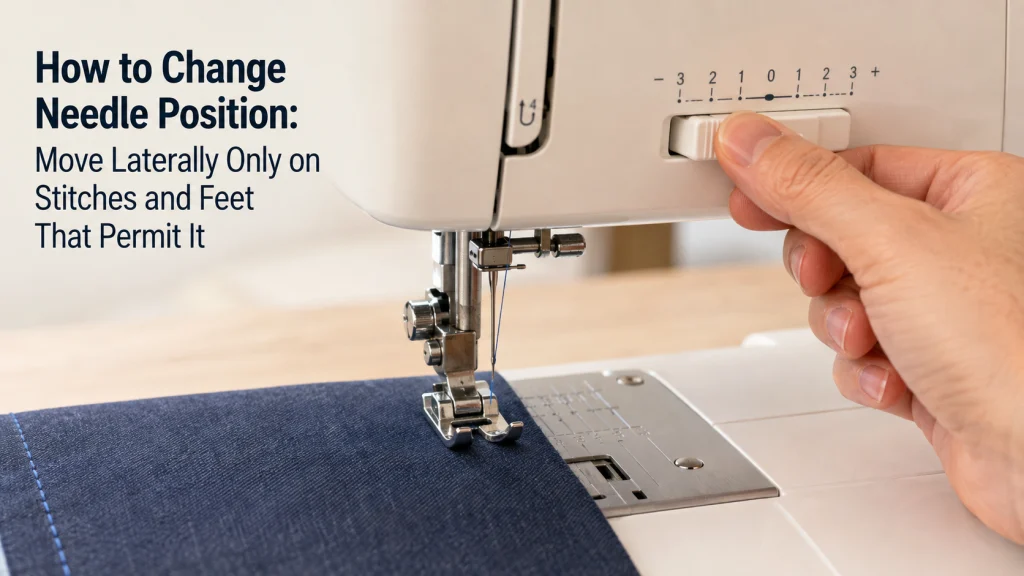
How to Change Needle Position: Move Laterally Only on Stitches and Feet That Permit It

How To Change Needle Position

Needle position on a domestic sewing machine is a stitch setting only when the selected stitch and installed hardware permit lateral movement. Some machines use stitch-width controls to move a straight-stitch needle, while others use dedicated left/right controls or on-screen settings. The safe sequence is to confirm the stitch, identify the exact control in the

Stitch Length and Width: Change Geometry From the Exact Stitch’s Default

Stitch Length And Width

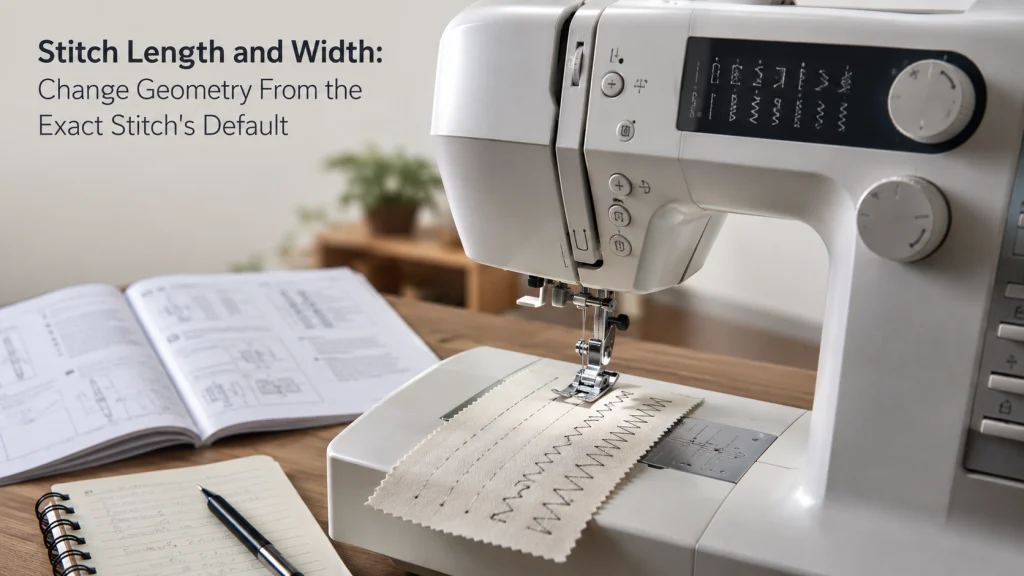
Stitch length and width are not universal fabric settings that can be copied from one machine to another. They are geometry controls that change the spacing, span, or position of the selected stitch, so the correct starting point is the exact stitch and its documented default or allowed range. The safest adjustment method is to

How to Sew in Reverse: Know When the Button Reverses and When It Reinforces

Sewing In Reverse

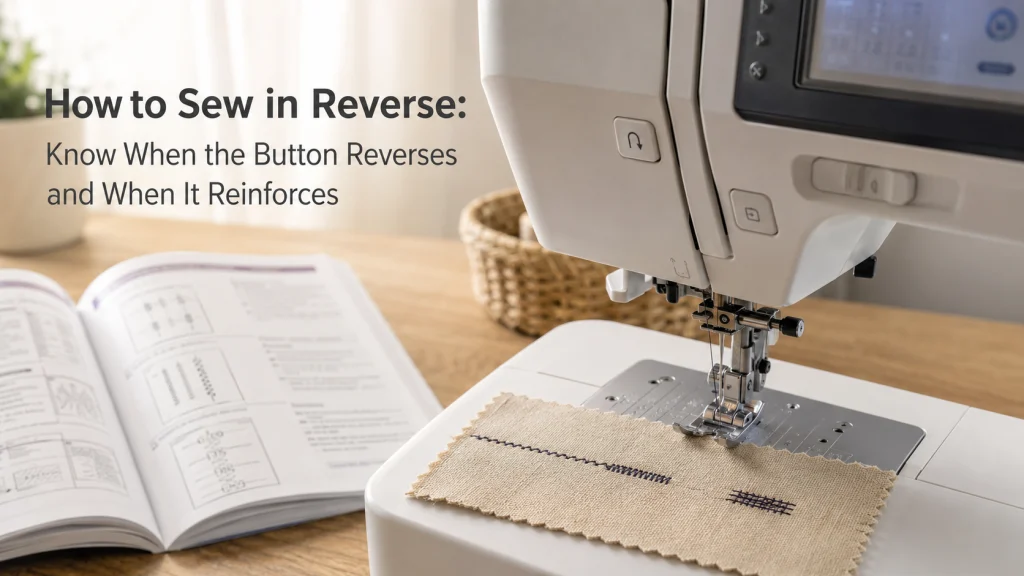
Sewing in reverse is not always the same operation on every domestic machine or every selected stitch. On some stitches, the reverse or reverse/reinforcement control makes the machine sew backward; on others, the same control can place reinforcement stitches in the same area instead. The safe method is to identify the exact control, select the

Straight Stitch vs Zigzag Stitch: Choose by Seam Job, Stretch, and Edge Behavior

Straight Stitch Vs Zigzag Stitch

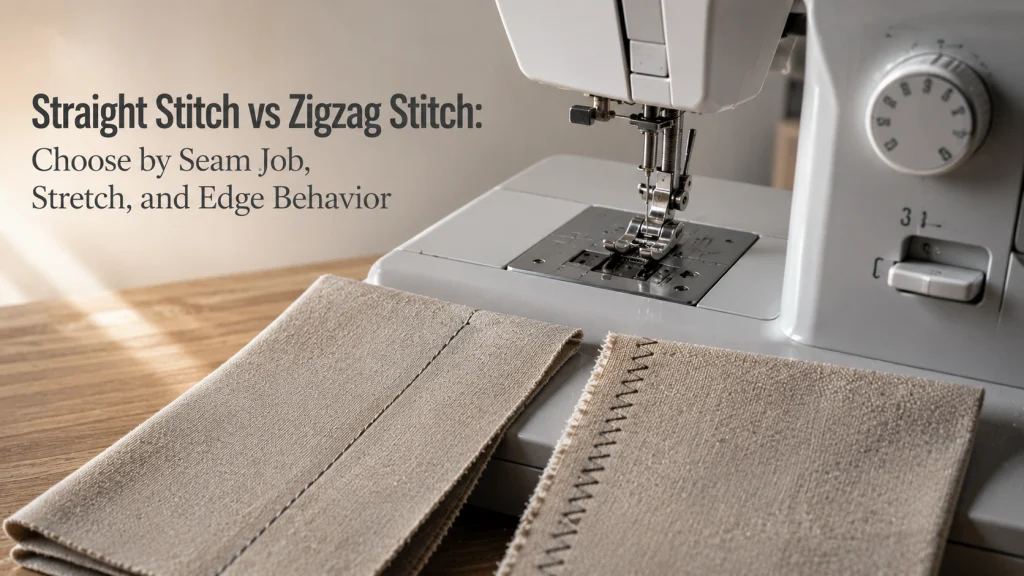
Straight stitch vs zigzag stitch is not a fabric-label decision. Start by asking what the seam or edge must do: join layers without needing lateral movement, accommodate stretch, cover a raw edge, or hand the job off to a more specific technique such as a buttonhole. Straight stitch is the simpler choice when ordinary non-stretch

Sewing Machine Stitches: Select the Stitch First, Then Change Only the Geometry You Need

Sewing Machine Stitches

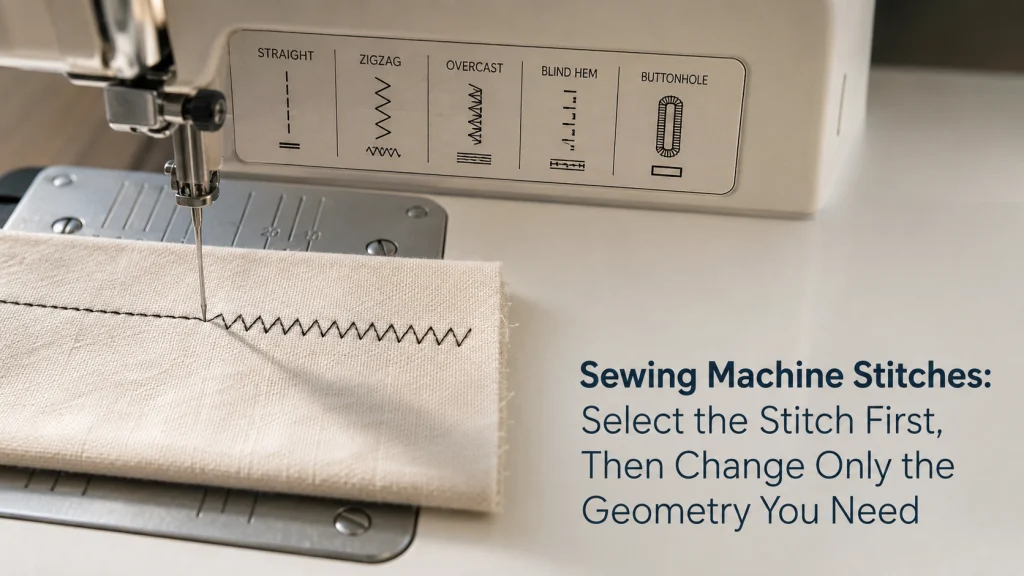
Sewing machine stitches make more sense when you start with the sewing job instead of the stitch number. On a functioning domestic machine, the practical sequence is to identify the stitch in the exact chart or on-screen menu, select it with the documented control, check which settings that stitch actually allows, and test the result

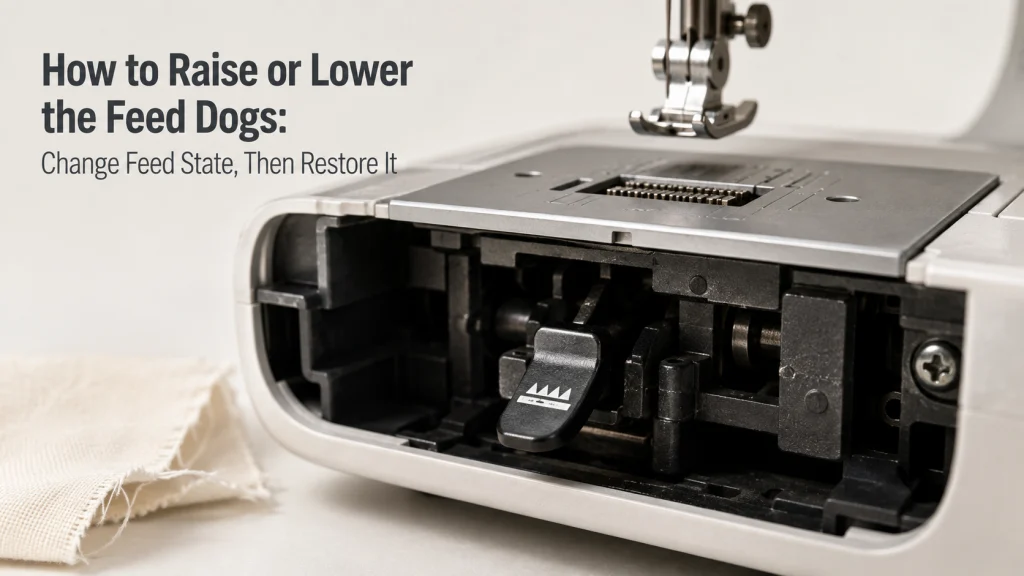
How to Raise or Lower the Feed Dogs: Change Feed State, Then Restore It

How To Raise Or Lower The Feed Dogs

Lowering the feed dogs is only half of the setting change. The correct workflow is to confirm that the exact machine supports drop feed, use the documented control for the intended technique, then restore normal feed and verify that the feed dogs actually return to working position. Lever direction and re-engagement behavior vary by model,

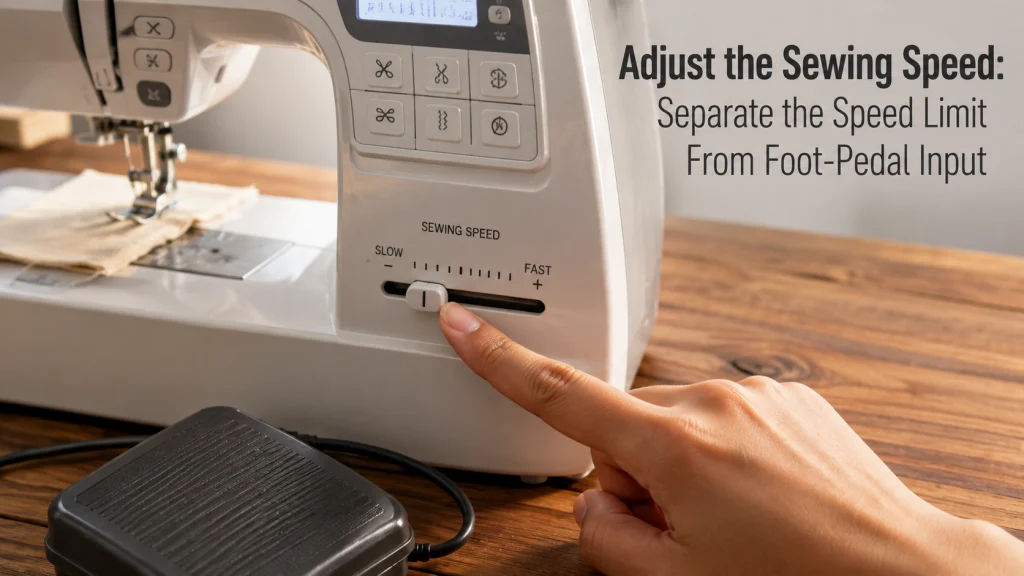
Adjust the Sewing Speed: Separate the Speed Limit From Foot-Pedal Input

Adjust The Sewing Speed

A built-in sewing speed controller changes how much speed the machine makes available, while the foot controller or Start/Stop control determines how that available speed is used. The practical job is to identify the control your exact machine provides, set it within the documented range, and learn how that setting changes the machine’s response before

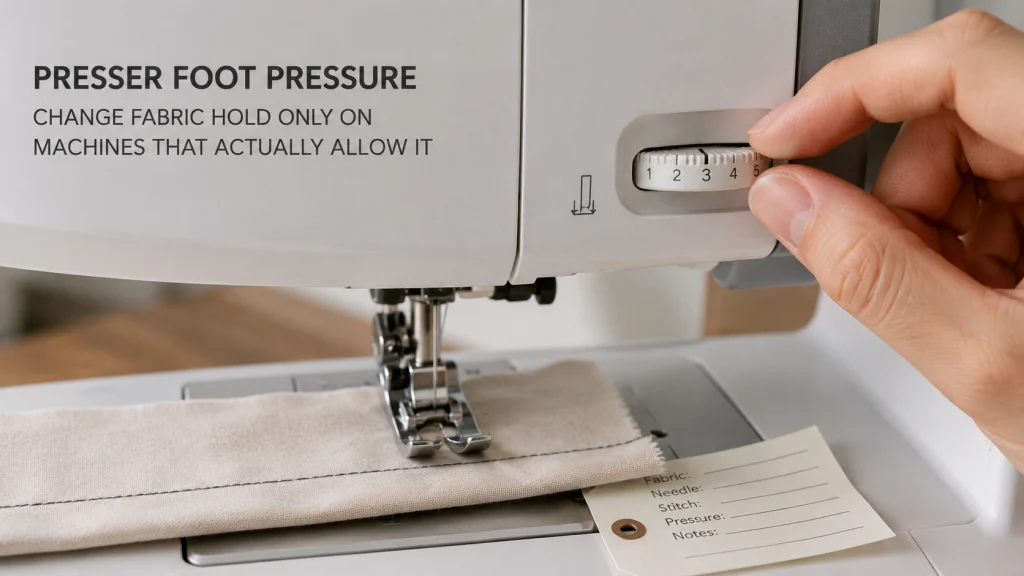
Presser Foot Pressure: Change Fabric Hold Only on Machines That Actually Allow It

Presser Foot Pressure

Presser foot pressure controls how firmly an eligible sewing machine holds fabric against the feed system while stitching. Before changing it, confirm that the exact model actually provides an owner-adjustable pressure control, record the documented normal setting, and test on the same fabric stack you plan to sew. Pressure changes should be small, deliberate, and

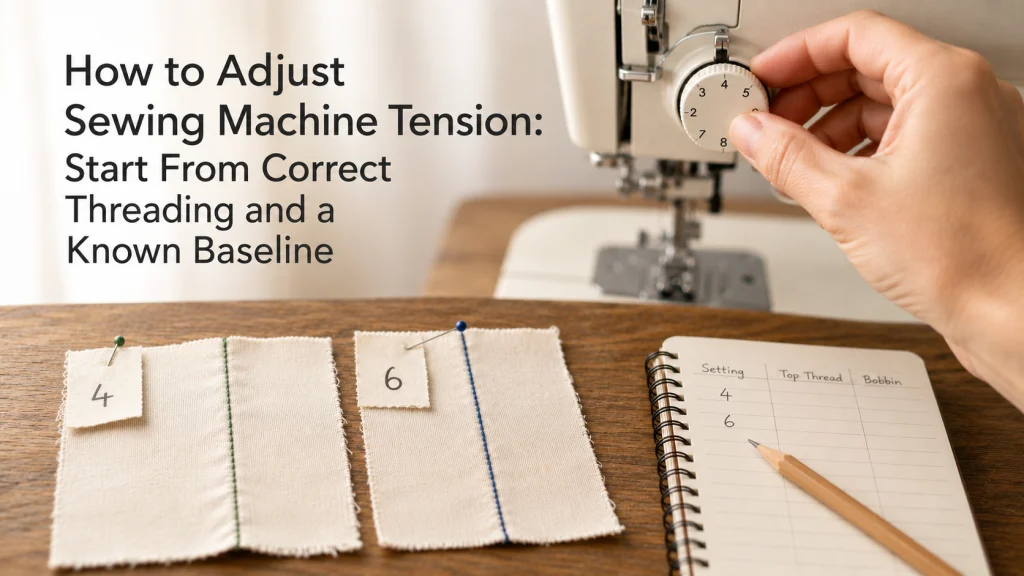
How to Adjust Sewing Machine Tension: Start From Correct Threading and a Known Baseline

Sewing Machine Tension Adjustment

Sewing machine tension should be adjusted from a known, correctly threaded baseline, not from a random dial position or a symptom that has not been checked. The useful control for normal owner adjustment is usually the user-facing upper-thread tension control, and its starting value depends on the exact machine documentation. A representative test sample lets

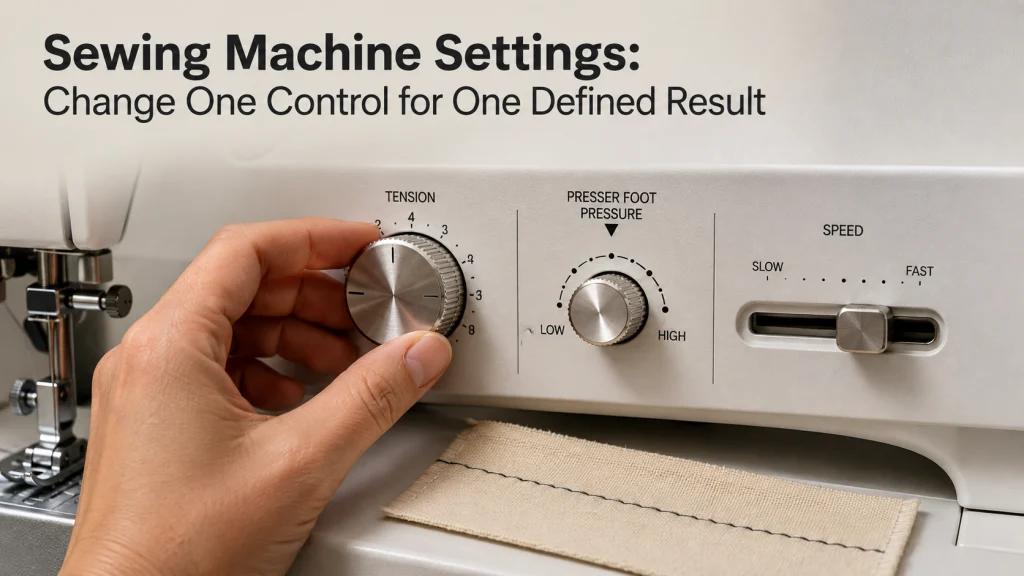
Sewing Machine Settings: Change One Control for One Defined Result

Sewing Machine Settings

Sewing machine settings are easier to use when each control is tied to one defined result instead of treated as part of a universal chart. On a functioning domestic machine, upper thread tension changes thread balance, presser-foot pressure changes how firmly fabric is held against the feed system, a speed control can limit sewing speed,

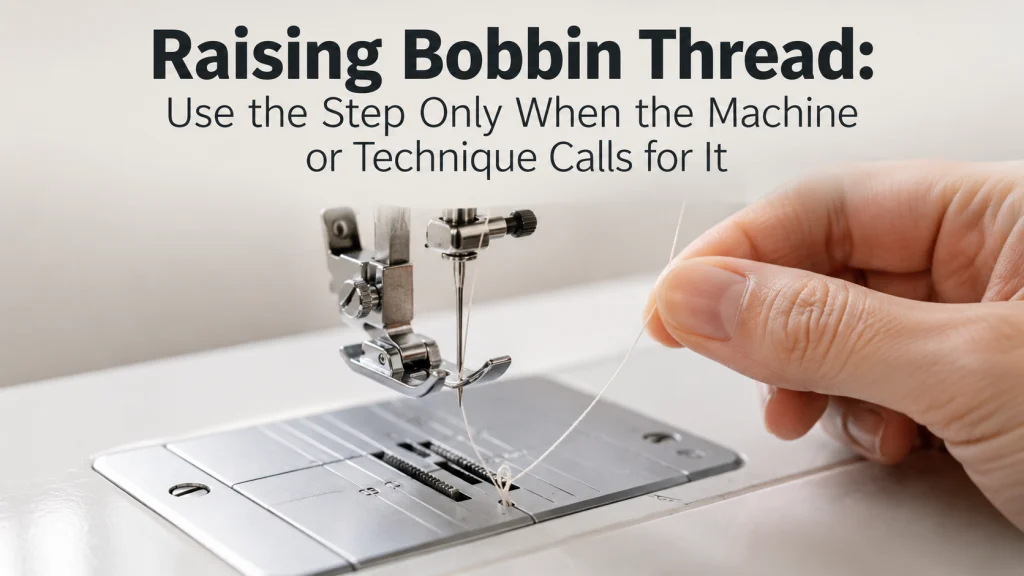
Raising Bobbin Thread: Use the Step Only When the Machine or Technique Calls for It

Raising Bobbin Thread

Raising bobbin thread is required on some machines and for some techniques, while some quick-set bobbin systems allow ordinary sewing to start without it. Check the exact machine instructions and task before touching the handwheel or needle-position control. If the step applies, the sequence is small: control the upper thread, complete the specified needle cycle,

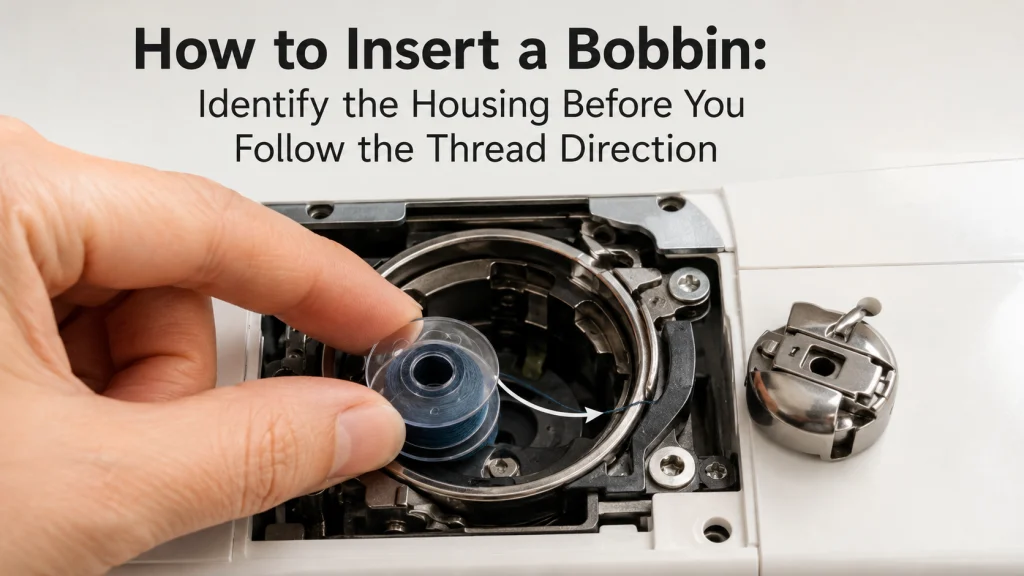
How to Insert a Bobbin: Identify the Housing Before You Follow the Thread Direction

Inserting A Bobbin

Bobbin insertion starts with identifying the lower-thread housing on the exact machine, because a top-drop-in system and a front-load removable-case system do not use one universal orientation or thread path. A correctly wound, compatibility-verified bobbin still has to be placed in the documented direction, guided through the correct slot or spring, and seated without forcing

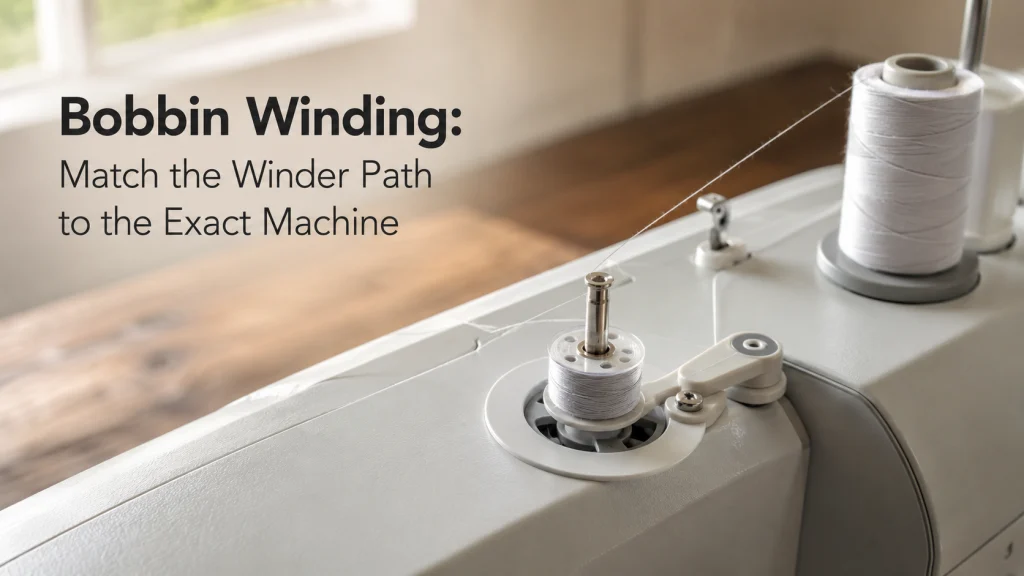
Bobbin Winding: Match the Winder Path to the Exact Machine

Bobbin Winding

Winding a bobbin is a normal setup task, but the correct path is not universal across domestic sewing machines. The reliable method is to confirm that the empty bobbin already fits the machine, then follow the exact spool position, winder guide or pretension path, spindle engagement, starting-tail instruction, and stop point shown for that model.

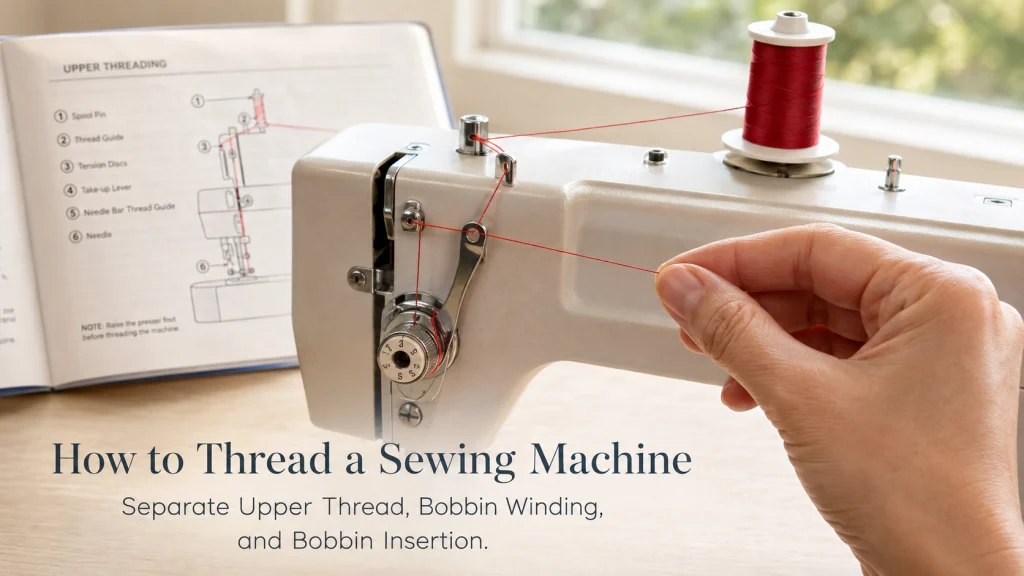
How to Thread a Sewing Machine: Separate Upper Thread, Bobbin Winding, and Bobbin Insertion

How To Thread A Sewing Machine

Threading a domestic sewing machine is not one continuous universal path. It is a set of separate jobs: preparing the upper thread path, winding a bobbin, inserting that bobbin correctly, and, on machines or techniques that call for it, bringing the lower thread to the top. The exact model manual controls spool orientation, bobbin direction,