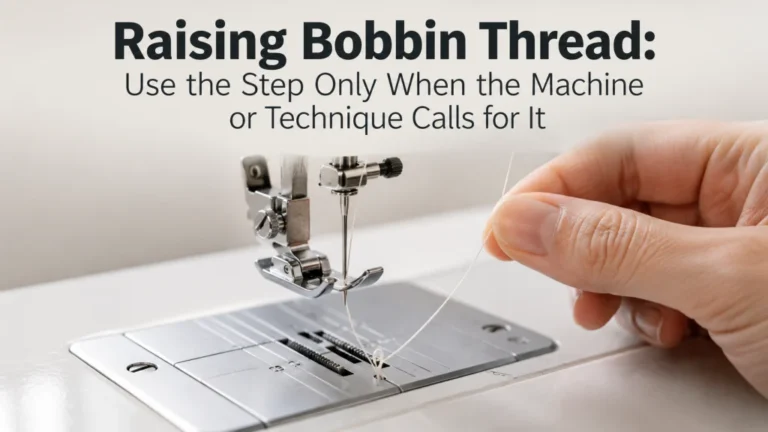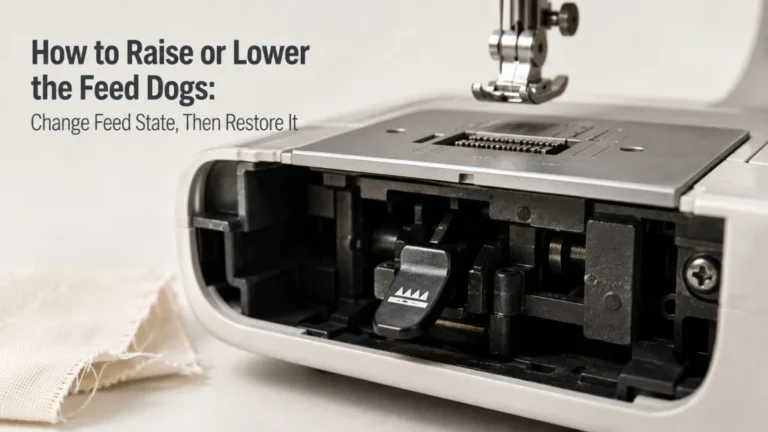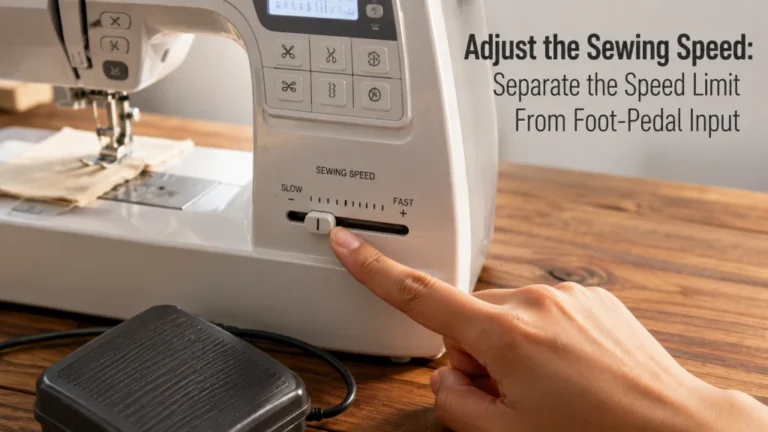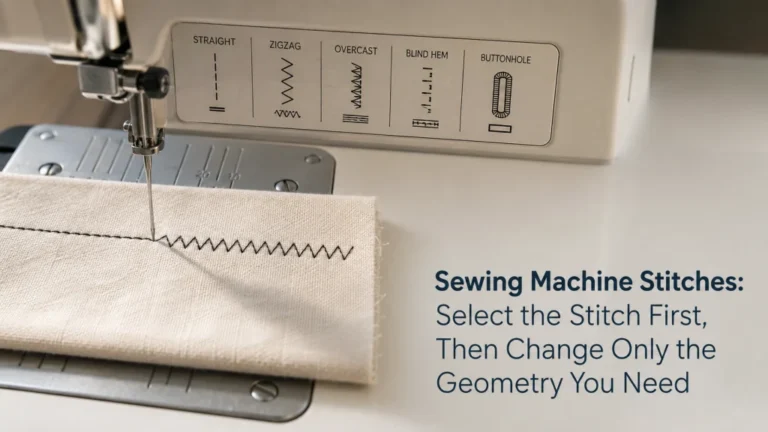
Winding a bobbin is a normal setup task, but the correct path is not universal across domestic sewing machines. The reliable method is to confirm that the empty bobbin already fits the machine, then follow the exact spool position, winder guide or pretension path, spindle engagement, starting-tail instruction, and stop point shown for that model. If the bobbin winds loose, flared, markedly uneven, or the winder does not operate normally after the normal setup has been verified, stop there rather than adjusting the mechanism. A normally wound bobbin is then ready for the separate job of insertion and lower-thread setup.
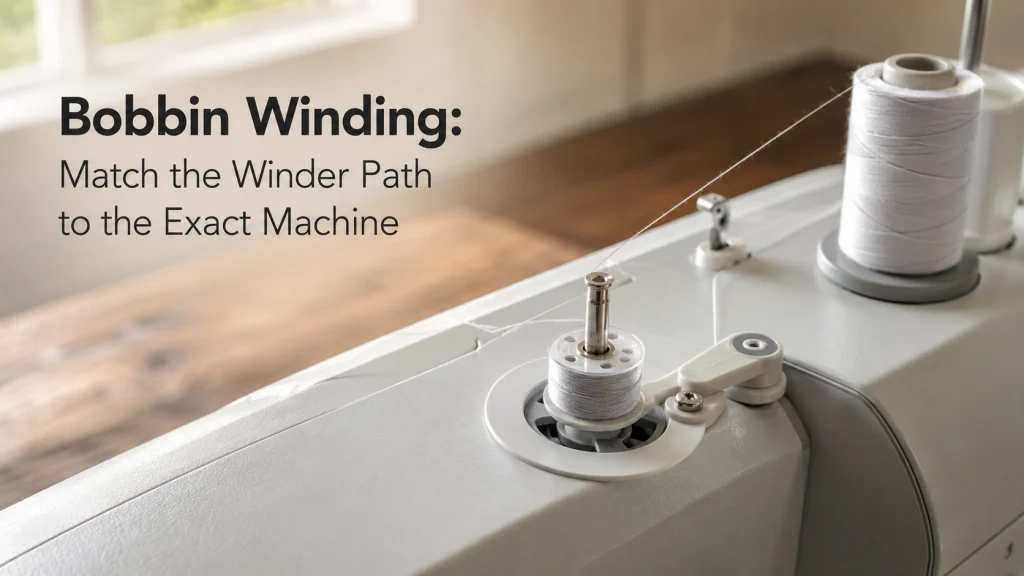
Bobbin winding is one job with many machine-specific paths
Bobbin winding looks like one simple job, yet two ordinary domestic machines can ask for different actions. One may route thread around a pretension disc before the bobbin reaches the winder spindle, while another may use a differently positioned guide, a different spool orientation, or a different way of engaging winding mode. That is why memorizing a single internet sequence is a weak setup habit. The reusable skill is finding the winding diagram for the exact machine and matching each physical control to that diagram.
This distinction matters before the motor ever turns. Current SINGER guidance explicitly says the winding method can vary by model and directs owners back to the machine manual for specifics, while Brother support pages show model families with their own spool, pretension, bobbin-shaft, and control sequences. The common structure is useful, but the exact route still belongs to the machine in front of you. If you are still learning the larger setup sequence, the article on threading a sewing machine correctly places the winding step in its broader upper-thread and lower-thread context.
| Usually common to the task | Must be checked for the exact machine |
|---|---|
| An empty compatible bobbin is placed on a winding spindle | Bobbin orientation, notch or spring alignment, and how the bobbin seats |
| Thread travels from a spool to the winding system | Spool-pin position, spool direction, spool cap, and guide sequence |
| The winding path applies controlled resistance | Which guide or pretension disc is used and how thread enters it |
| Winding mode must be engaged | Whether the spindle slides, a control is selected, or another model-specific action is required |
| The wind has a defined completion point | Whether the machine stops automatically or the manual tells the user when to stop |
The table is a map, not a substitute for the manual. Use the left column to understand the job and the right column to identify what you still need to verify before winding.
Confirm the bobbin is already compatibility-verified
This article starts after bobbin fit has been established. A bobbin that looks close enough is not evidence that it has the correct class, dimensions, material, or model approval, and winding an unknown bobbin does not make it compatible. SINGER warns owners to use the same bobbin style specified for the machine, and Brother support likewise ties winding instructions to the bobbin type intended for the covered models. Treat that as a prerequisite rather than a winding trick.
If you have an unmarked spare from another machine, stop before loading it onto the winder and verify fit using the exact model documentation or supported part information. That compatibility decision belongs outside this setup task because the consequences extend beyond whether the bobbin can physically sit on the spindle. Once the bobbin has already been verified, winding can stay focused on the machine-specific winding path instead of mixing two different decisions together.
Key point: The fact that a bobbin fits on the winding spindle does not prove that it is the correct bobbin for the sewing system. Verify compatibility first, then wind it.
Keeping those two steps separate prevents a common reasoning error: blaming the winding sequence for a bobbin that should never have been used on that machine in the first place.
Find the exact winder diagram before routing thread
If the paper manual is missing, start by identifying the machine’s exact model number from its manufacturer identification label or plate. The label location varies by machine, so do not assume it will be in one universal spot. Use that model number on the manufacturer’s support site, then confirm that the manual or support page names the same model before following its winding diagram.
The most useful bobbin-winder diagram is the one tied to the exact model, not the clearest diagram found in a generic tutorial. Look in the owner manual, current manufacturer support page, or model-specific quick-start material for the spool pin, guide or pretension device, winder spindle, engagement direction, and winding control. Those items define the route you need to reproduce on the real machine. If the illustration uses arrows, follow them as part of that model’s instruction rather than converting them into a universal rule.
Manufacturer pages make the reason visible. Brother has support instructions where the bobbin winder shaft slides to the right, other pages where a spring and groove alignment matter, and models with additional covers or supplemental spool arrangements. The shared task name therefore describes the job, not one fixed control layout. If your manual and a generic online sequence disagree, the model documentation should control the setup.
- Match the manual or support page to the exact machine model.
- Identify the spool pin and required spool orientation.
- Trace every winding guide or pretension point in order.
- Identify how the bobbin seats on the winder spindle.
- Identify how winding mode is engaged and how winding starts.
- Identify the completion and disengagement step shown for the model.
That checklist is short on purpose. It gives you the information needed for a normal wind without turning setup into diagnosis or internal adjustment.
Set the spool exactly as the machine documents it
Spool setup is part of the winding path, not decoration at the beginning of it. Check whether the manual shows a vertical or horizontal spool pin, whether a spool cap is used, and which direction the thread should leave the spool before it reaches the first guide. A model with a horizontal spool may need the spool and cap positioned in a specific relationship, while another machine may begin from a raised vertical pin. Copy the arrangement shown for that machine rather than turning “thread should unwind this way” into a rule for every machine.
Brother’s current support material illustrates why this step is model-dependent: one covered group tells the user to pull up the spool pin and follow a pictured unwinding direction, while another uses a horizontal spool position and spool cap. The practical takeaway is simple. Before you route toward the winder, make the spool look like the exact diagram for the owned machine.
Note: Do not improvise a spool position because another machine winds successfully that way. The correct starting geometry is whatever the exact model documentation specifies.
Once the spool is correct, the next check is the part of the route that creates controlled resistance before thread reaches the bobbin.

Gütermann Sew-All Thread is a 547-yard, 100 percent polyester sewing thread for machine and hand sewing. It is designed as an all-purpose thread for a wide range of fabrics and seams. The 500-meter spool provides a practical supply for regular sewing projects and winding matching bobbins.
Check On AmazonIf you click this link and buy, we earn a commission at no additional cost to you.
Follow the winder guide or tension path in order
Most domestic winding systems do more than lead thread from point A to point B. The path typically includes a guide or pretension device that controls the thread as the bobbin fills, which is why skipping a small disc or wrapping it in the wrong way can change the result. SINGER specifically tells owners to make sure the thread is seated correctly in the bobbin-winding tension disc and again directs them to model-specific instructions. This is a setup check you can make without altering any mechanism.
Trace the route visually from the spool to the spindle before starting. If the manual shows the thread passing under a guide, around a disc, through a guide, or through a bobbin hole, preserve that order. Do not replace the pictured route with a shortcut simply because the thread can physically reach the bobbin. The route is part of normal winding operation.
After the route is confirmed, leave those guides alone. A normal setup article can tell you how to use the route shown for the exact model, but it should not turn an unexpected winding result into permission to alter a screw, disc, spring, or internal setting.
Seat and engage the bobbin-winder spindle for the exact machine
The empty bobbin must be seated the way the winder was designed to hold it. Some systems use a notch in the bobbin that aligns with a spring on the shaft; others rely on a different fit or orientation described in the manual. Brother support includes both notch-and-spring examples and instructions that require the winder shaft to be moved into its winding position. Those details are small, but they are not interchangeable.
Engagement is also the point where two superficially similar machines can diverge. Sliding the spindle right is common on some models, but that does not justify assuming the same direction or control on every machine. Use the marking, diagram, or written instruction for the owned model and confirm that the machine indicates winding mode in the way its manual describes. Do not force a spindle or control that does not move as expected.
Warning: Keep fingers away from moving winding parts while the machine is running. Do not bypass clutch behavior, force the winder mechanism, or adjust winder screws as part of normal setup.
With the bobbin seated and winding mode correctly engaged, the machine is ready for the start method shown in the manual, not an assumed one.
Start the wind using the machine’s winding control
The winding control may be a foot controller, a Start/Stop button, or another machine-specific control state. Even where two models use the same type of control, the surrounding sequence can differ, so the manual should determine whether power is turned on before engagement, what indicator appears, and how winding begins. Brother support examples show both foot-controller winding and Start/Stop based winding on different model groups. That is enough to reject a universal start sequence.
Use only the normal operating control described for the winding task. This article does not assign a universal winding speed because the plan, control range, thread, and machine documentation may differ, and a made-up speed would be less useful than the correct model instruction. Start in the manner the manual describes and watch only what normal external operation allows you to see. There is no reason to remove covers or reach toward moving parts to verify a routine wind.
Key point: “Start the wind” means use the machine’s specified bobbin-winding control state. It does not mean choose one speed or pedal technique for every domestic machine.
Once the bobbin begins turning normally, the next detail is the short thread tail used to establish the first wraps on machines that require one.
Manage the starting tail only as instructed
Some manuals tell the user to pass the thread through a hole in the bobbin, hold the end while the first wraps form, stop, trim the excess tail, and then continue winding. Brother publishes that sequence for certain model groups. Other machines can use a different cutter, retention method, or winding arrangement, so the safe general rule is not “always hold the tail.” The rule is to follow the starting-tail step shown for the exact winder.
If the manual does require you to hold a thread end, keep your hand in the position the instructions illustrate and away from the rotating bobbin and spindle. Stop the machine before trimming whenever the model instructions tell you to trim. Do not use a loose hand position near moving parts just to copy a video filmed on another model. The starting tail is a setup detail, not a test of dexterity.
Pro Tips: Read the first-wrap and trimming steps before starting the motor. That way you know in advance whether the machine expects you to pause after a few wraps instead of trying to interpret the diagram while the bobbin is spinning.
After the starting end is handled as shown for that machine, normal winding can continue to the machine’s stated completion point.

Fiskars No. 5 Micro-Tip Scissors use precision-ground stainless-steel blades designed for accurate cutting. The micro-tip blades are suited to tight cuts, detailed fabric work, and quick thread snips. A lightweight double-loop handle provides control and accommodates both right- and left-handed users.
Check On AmazonIf you click this link and buy, we earn a commission at no additional cost to you.
Stop or let the machine stop at the model’s completion point
A bobbin needs a normal completion point, but this is another place where a universal fullness rule can create bad instructions. Some machines or model families are designed to stop winding automatically when the bobbin reaches their intended level; others provide a visual cue or control sequence in the manual that tells the owner when to stop. Follow that model’s instruction instead of estimating a percentage or forcing more thread onto the bobbin. The objective is a normal completed wind, not the maximum amount of thread that can physically be squeezed on.
Do not restart repeatedly to add “just a little more” after the machine has reached its intended stop condition. Likewise, do not invent a fixed number of seconds because thread type, bobbin capacity, motor control, and machine design can differ. If the manual describes an automatic stop, allow the designed process to do its job. If it describes a manual stop, use the specified indication or control step.
| Normal completion | Stop and change task |
|---|---|
| The bobbin winds through the correct model-specific path and reaches the stated or automatic stop point. | The thread builds loose, strongly uneven, or flared after the normal setup has been verified. |
| The winder engages and releases using the normal controls. | The spindle will not engage, the winder does not operate normally, or a control must be forced. |
| The thread stays in the guide or pretension route shown for the machine. | Thread repeatedly leaves the path or tangles after the route has been verified. |
The right column marks a boundary, not a diagnosis. Once winding is abnormal after the normal setup has been checked against the manual, stop treating the job as ordinary setup.
Disengage winding mode and remove the bobbin
When winding is complete, return the machine from winding mode exactly as the manual describes before preparing to sew. On machines with a sliding winder spindle, that usually means moving the spindle back to its normal position, but even that action should be taken from the model documentation rather than generalized across every layout. Turn or release only the controls identified for normal bobbin-winder operation. If a part does not return normally, do not force it.
Remove the bobbin only after rotation has stopped. Trim or secure the thread as shown in the manual, then set the wound bobbin aside for the next setup task. Winding ends here; putting the bobbin into a top-loading area or a removable bobbin case is a separate procedure with its own orientation and thread path. Continue with inserting a bobbin in the correct orientation when you are ready for that step.
Note: A clean handoff between tasks matters. Finish winding, return the winder to normal mode, and only then move to bobbin insertion.
That separation also makes it easier to recognize when the winding task itself did not finish normally.
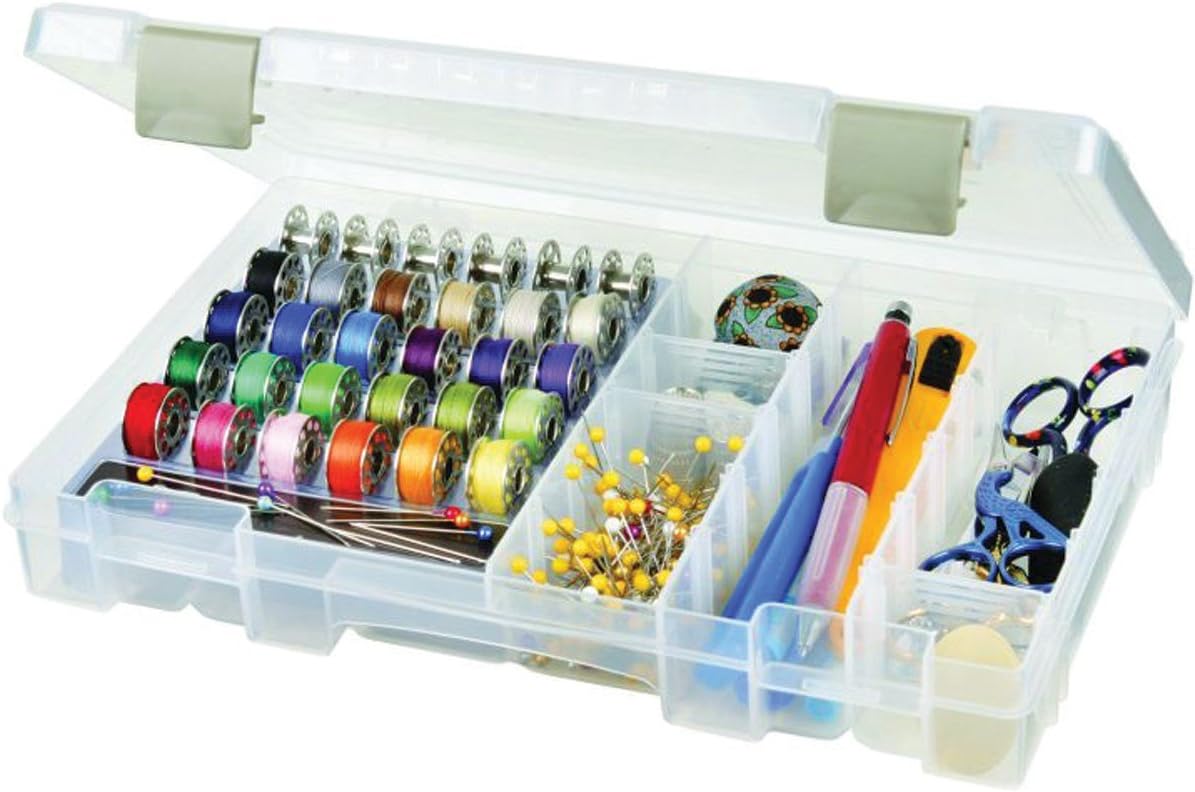
ArtBin 6911AB Sew-Lutions Bobbin/Supply Box is a translucent sewing organizer with a removable bobbin tray. The tray holds up to 30 bobbins, while four compartments use removable dividers for small supplies. A magnetic strip on the tray provides a separate place for pins and needles.
Check On AmazonIf you click this link and buy, we earn a commission at no additional cost to you.
Stop if the result is loose, flared, uneven, or the winder does not operate normally
A bobbin that visibly piles thread to one side, develops a pronounced flare, stays loose after the model-specific route has been verified, or comes from a winder that will not engage normally has crossed out of routine setup. Do not respond by turning an adjustment screw, bending a guide, defeating a clutch, or experimenting with internal winder parts. Those actions are mechanical adjustment, not normal winding. The appropriate next task is symptom-led troubleshooting using the exact machine context.
Before leaving this article, you can still make owner-level checks that belong to setup: confirm the bobbin was already compatibility-verified, confirm the spool matches the manual, retrace the exact guide or pretension route, confirm the bobbin is seated correctly, and confirm winding mode was engaged through the normal control. If those checks match the manual and the result remains abnormal, stop. That boundary keeps a normal setup task from quietly turning into repair advice.
Stop point: Loose, flared, markedly uneven, or failed winding after the normal setup is verified against the manual is not an invitation to adjust the winder mechanism. Do not force controls or continue if operation is abnormal.
The same principle applies throughout normal sewing machine setup and use: owner-level procedures should stay inside the controls and steps the exact model makes user-operable.
Final Thoughts: follow the winder path, not a universal trick
A correctly wound bobbin comes from matching the winding sequence to the machine, not memorizing one direction, speed, or control pattern. Verify the bobbin first, find the exact model diagram, set the spool as shown, follow every guide or pretension point, seat and engage the spindle correctly, and use the model-specific start and stop method. Those steps are portable because they teach you what to verify even when the hardware layout changes.
Just as important, know where the task ends. Once the bobbin is wound normally and winding mode is disengaged, move on to insertion. If the result is loose, flared, strongly uneven, or the winder itself does not operate normally after the setup path is confirmed, stop before mechanical adjustment and treat that as a different problem.
Frequently Asked Questions
🧵 How do I wind a bobbin on a sewing machine?
Use the exact model’s winding diagram: verify the bobbin, set the spool as shown for that machine, follow the winder guide or pretension path, seat and engage the spindle, then use the stated start and stop controls. The sequence is similar across many machines, but the route and controls are not universal.
📖 Do all sewing machines use the same bobbin-winding path?
No. Spool position, guide sequence, pretension path, bobbin orientation, spindle engagement, and winding controls can vary by model. Use the manual or current manufacturer support for the exact machine.
🌀 Which direction should a bobbin wind?
Do not apply one winding direction to every machine. Follow the arrows, bobbin orientation, notch alignment, and spindle instructions shown for the exact model.
✂️ Should I hold the thread tail while winding a bobbin?
Only when the machine instructions tell you to. Some models use a hold, pause, and trim sequence for the first wraps, while other winding systems handle the starting end differently.
⚙️ What should I do if the bobbin winds unevenly?
First recheck the normal setup items: compatible bobbin, spool position, guide or pretension route, seating, and winding-mode engagement. If the bobbin remains loose, flared, markedly uneven, or the winder behaves abnormally, stop rather than adjusting screws or internal parts.
References and Sources
The normal setup sequence and the model-specific boundaries in this article were checked against current manufacturer support material. The sources below are included only for the claims they directly support.
- SINGER bobbin winding support: Confirms that winding procedures vary by machine model and documents the role of the bobbin-winding tension path.
- Brother bobbin winding support: Shows a model-specific winding sequence with bobbin orientation, shaft engagement, spool setup, and winding controls.
- Brother winding procedure for selected models: Provides another model-specific control and starting-tail sequence, illustrating why the exact model path matters.
These references support the normal setup sequence and the model-specific boundary used throughout the article. They are not used to infer a universal winding direction, speed, or repair method.