Sewing machine stitch problems are easier to diagnose when you start with the visible failure instead of turning the tension control first. A skipped stitch, thread nest underneath, bobbin thread pulled to the top, snapped upper thread, failed bobbin pickup, or broken needle points to a different first check. Return the machine to its documented threading, needle, and bobbin state, then isolate whether the failure begins in the upper thread, lower thread, needle, bobbin winding system, or needle threader. Stop before internal timing, needle-bar, hook, or tension-unit repair.
Stitch problems are evidence, not a reason to turn every dial
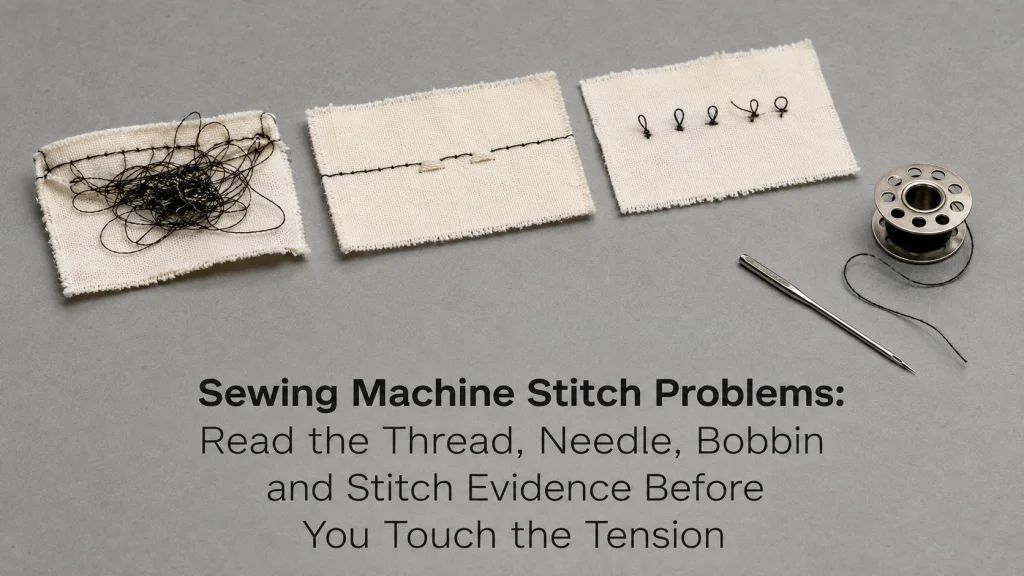
Four straight-stitch samples can fail in four very different ways: one may show missing stitches, another may hide a thread nest on the underside, a third may pull bobbin thread onto the top surface, and a fourth may sew cleanly until the upper thread snaps. Those are all sewing machine stitch problems, but they should not enter the same troubleshooting branch. The visible side of the fabric and the exact failure mode tell you what to check first.
The starting rule is simple: restore documented normal setup before making compensating adjustments. Check the exact machine instructions for threading path, presser-foot position during threading, needle orientation, bobbin type and insertion, and any user-accessible cleaning step. If the problem is broader than stitch formation, use the sewing machine troubleshooting decision path to classify the fault before continuing.
Record the exact machine, stitch, and visible failure
Before changing anything, write down the machine model, selected stitch, fabric and layer stack, upper thread, bobbin thread, needle type and size if known, presser foot, and where the failed stitch appears. Record whether the machine still feeds fabric normally and whether the failure began immediately after a needle, bobbin, thread, foot, or setting change. This creates a stable starting point instead of a moving target.
A first-time owner often describes several different symptoms as “bad tension.” That label is too broad to be useful. A machine that forms an occasional skipped stitch while otherwise sewing normally needs a different branch from a machine that piles upper thread beneath the fabric, and both are different from a machine whose needle repeatedly strikes or breaks.
- Exact machine model and selected stitch
- Which side of the fabric shows the problem
- Whether the failure is continuous or intermittent
- Upper thread, bobbin, needle, and presser foot currently installed
- Whether fabric feed and machine motion still feel normal
- The last setup change made before the symptom appeared
The machine is functioning normally and you want to learn the documented threading, bobbin-loading, needle-selection, or tension-adjustment procedure.
The machine previously formed stitches, but the seam now shows a specific abnormal symptom that needs to be isolated before settings are changed.
Do not add a tension adjustment to this list unless tension is already part of the observed state. The goal is to preserve the evidence before troubleshooting changes it.
Separate top-side, underside, and no-stitch symptoms
The side of the fabric matters because thread seen on one side may originate from the other thread system. SINGER support, for example, routes looping on the underside back to upper threading, while bobbin thread appearing on top can involve excessive upper tension, an obstructed upper thread path, or a bobbin that is not seated correctly. That is why “the mess is underneath, so the bobbin must be wrong” is an unreliable shortcut.
No-stitch symptoms need their own branch. If the needle moves and fabric advances but the thread fails to interlock, inspect needle condition, needle installation, threading, and bobbin state before assuming an internal timing fault. If the fabric itself is not advancing, move out of this stitch-formation route and diagnose the feed problem instead.
| What you see | First branch | Do not start with |
|---|---|---|
| Loops or a nest underneath | Upper threading path and tension-disc seating | Bobbin-case screw adjustment |
| Bobbin thread pulled onto the top | Upper thread path, upper tension state, bobbin seating | Assuming the bobbin tension is defective |
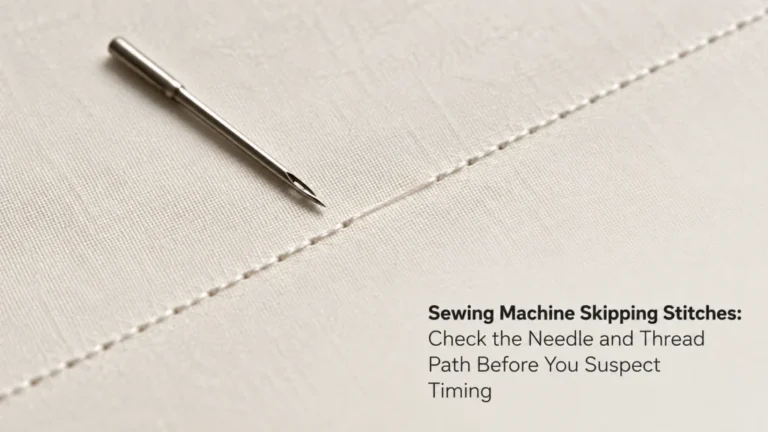
| Skipped stitches | Needle condition, installation, needle/fabric/thread match, threading | Universal tension changes |
| Upper thread breaks | Upper path, spool feed, tension state, needle, rough contact points | Changing the bobbin first |
| Bobbin thread breaks | Bobbin winding, insertion, bobbin condition, correct bobbin type | Rethreading only the upper path |
| No bobbin pickup | Needle installation, upper threading, bobbin insertion, winding-spindle state | Internal timing adjustment |
This matrix is a router, not a diagnosis by itself. Once you identify the branch, return to the exact model instructions and verify the parts of that system one at a time.
Return upper threading to the exact documented path
Upper-thread problems can produce symptoms far from the spool. If thread misses the take-up lever, does not seat correctly in the tension mechanism, catches behind a spool cap, or enters the path with the presser foot in the wrong position for threading, the resulting loops may appear under the fabric. That visual location can send the owner toward the bobbin even though the fault began above the needle.
Rethread from the spool using the exact machine sequence rather than pulling the existing thread backward through the path and assuming it is close enough. Follow the manual’s required needle and presser-foot positions while threading. Then confirm that the thread unreels freely from the spool and is not snagging on a rough spool edge, cap, threading point, or another obstruction.
Key point: Rethreading is not a generic ritual. It is a reset to the exact documented path so later checks are based on a known upper-thread state.
If a clean rethread restores normal stitches, stop troubleshooting. If not, keep the upper path verified and move to the needle and bobbin checks without randomly changing several settings at once.
Verify needle condition, orientation, and seating
A needle can be present and still be wrong for stitch formation. Manufacturer support commonly directs owners to check whether the needle is bent or blunt, whether it is inserted fully into the clamp, whether the flat side faces the correct direction for that model, and whether the needle type matches the fabric and thread. A partially inserted needle can change the relationship between the needle eye and the hook enough to create skipped stitches or failed pickup.
Replace a bent, dull, or visibly damaged needle rather than trying to straighten it. If the symptom began immediately after a needle change, verify orientation and seating before touching tension. If repeated breakage follows a correctly installed new needle, treat that as a separate failure pattern rather than repeatedly installing more needles.

This SCHMETZ assortment contains 10 Universal household sewing machine needles in multiple sizes. The needles use the 130/705 H system and have a slightly rounded point for sewing woven and knit fabrics. The assortment includes sizes 70/10, 80/12, and 90/14, allowing the needle size to be matched to the fabric and the machine manual.
Check On AmazonIf you click this link and buy, we earn a commission at no additional cost to you.
Verify the exact bobbin type, winding, and insertion state
Bobbins that look similar are not automatically interchangeable. SINGER notes that Class 66, Class 15, and Class 15J bobbins can look similar while still being the wrong type for a given machine, and Brother support likewise identifies exact bobbin classes for covered models. Use the model manual or manufacturer support to confirm the required bobbin rather than matching by diameter or appearance.
Then inspect the state of the bobbin itself. It should be wound according to the documented path, seated in the correct direction, and free of chips, warping, scratches, or other damage that the manufacturer identifies as unacceptable. If the bobbin was wound loosely, unevenly, or with the wrong winding path, correct the winding problem before using stitch tension to compensate for it.
Adjust tension until the seam looks better even though the bobbin type, winding, or insertion has not been verified.
Restore the correct bobbin and insertion state first, then evaluate stitch balance only after both thread systems are known to be set up correctly.
The difference matters because a stitch can look like a tension problem while the lower thread is simply not following the path the machine was designed to use.
Diagnose skipped stitches separately from tension imbalance
Skipped stitches are missing interlocks, not merely loose-looking stitches. Brother support for covered machines starts with the fabric, thread, and needle combination, then checks needle condition and installation, machine threading, presser-foot pressure where applicable, thread tension, and lint around the bobbin case. That order is useful because it prevents tension from becoming the automatic first suspect.
If the machine skips on a stretch knit but sews stable woven fabric normally, the needle/fabric combination deserves attention before internal repair. If it skips across several appropriate materials after a new, correctly installed needle and documented threading are verified, the evidence is stronger that the fault has moved beyond a simple setup error.
For a focused branch on this symptom, use diagnosing skipped sewing machine stitches. Keep this broader page as the router that tells you why skipped stitches belong in their own branch.

AK TRADING CO. Muslin Fabric is natural unbleached fabric made from 100% cotton. This listing provides one yard of medium-weight fabric with a smooth finish for sewing, quilting, draping, and related work. The fabric can be divided into repeatable woven test samples when a stable control material is needed.
Check On AmazonIf you click this link and buy, we earn a commission at no additional cost to you.
Diagnose thread bunching underneath before blaming the bobbin
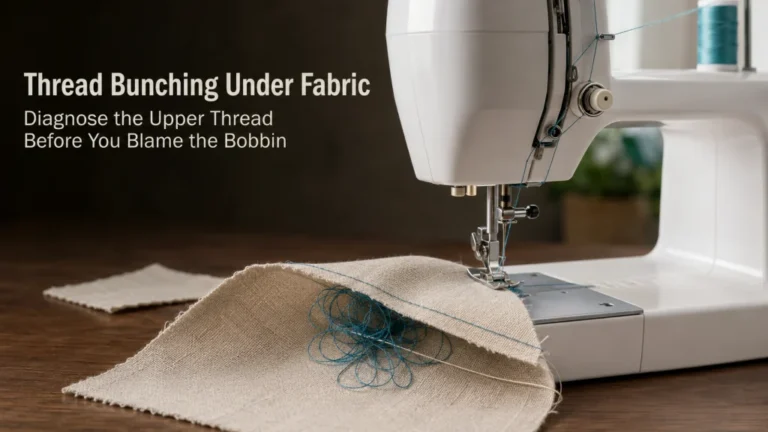
A nest under the fabric often looks like a lower-thread failure because that is where the mess is visible. SINGER troubleshooting instead points first to incorrect upper threading, especially thread that is not properly seated in the tension mechanism or take-up lever. That makes a complete upper rethread a more defensible first action than removing or adjusting the bobbin tension assembly.
Also distinguish a nest that appears throughout the seam from bunching only at the start. If the problem occurs only at the first few stitches, thread tails, presser-foot position, stitch length, or the exact starting procedure may matter. For a symptom-specific route, see thread bunching under the fabric.
Diagnose bobbin thread showing on top without starting at the bobbin screw
Bobbin thread visible on the top surface does not prove that the bobbin tension screw needs adjustment. Manufacturer troubleshooting for covered machines first checks the upper thread path and tension state, correct bobbin seating, lint in the bobbin area, and the needle/thread/material combination. Those are reversible owner-level checks that preserve the factory-set lower tension system.
If this is the dominant symptom, use bobbin thread showing on top for the narrower decision path. Do not use a generic screw-turning rule from another model, because bobbin-case designs, factory settings, and service boundaries vary.
Separate upper-thread breakage, lower-thread breakage, and shredding
A snapped upper thread points toward a different set of checks from a broken bobbin thread. Brother support for covered machines separates the two: upper-thread checks include threading, tangles, spool-cap fit, excessive upper tension, needle condition, and scratches around the plate or foot; lower-thread checks include correct bobbin insertion, winding, bobbin condition, and correct bobbin type. That separation keeps the troubleshooting evidence tied to the thread that actually failed.
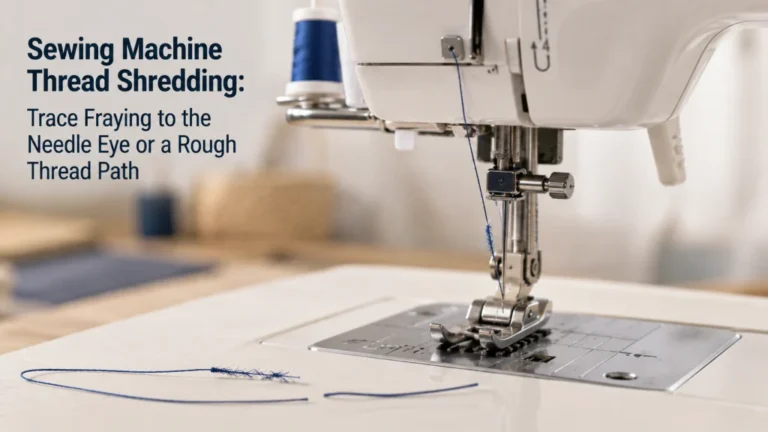
Shredding is different again. A thread that frays into fibers before breaking can point toward abrasion, needle/thread mismatch, a rough contact point, or another path problem rather than a simple clean snap. Use upper thread breakage checks, bobbin thread breakage checks, or sewing machine thread shredding checks according to the failure you can actually see.

Gütermann Sew-All Thread is an all-purpose sewing thread supplied on a 1,094-yard spool. It is made from 100% long-staple polyester and is intended for both machine sewing and hand sewing. The thread can be used with natural and synthetic fibers and is designed to provide strong seams with resistance to tearing and abrasion.
Check On AmazonIf you click this link and buy, we earn a commission at no additional cost to you.
Separate bobbin-pickup failure from normal raising-bobbin-thread technique
There is a difference between learning how to raise the bobbin thread on a functioning machine and troubleshooting a machine that no longer picks it up. For a failure state, verify that the bobbin-winding spindle is returned to its sewing position where applicable, the needle is installed correctly, the bobbin is inserted correctly, and the upper thread is seated through the documented path. These are setup states that can prevent pickup without proving an internal hook-timing fault.
If the machine previously picked up the bobbin thread and now fails after the documented setup has been restored, stop short of changing timing. Use bobbin thread pickup troubleshooting for the dedicated symptom route and move to service when the manual-directed user checks are exhausted.
Separate repeated needle breakage from a single damaged needle
One old or bent needle breaking is not the same evidence as repeated breakage with correctly installed replacement needles. Manufacturer support identifies several user-level causes to check: needle condition and installation, needle/fabric/thread match, presser-foot choice, excessive pulling on the fabric, upper-thread obstruction or excessive tension, and damage around the plate, foot, or bobbin area. The exact model manual controls which of those checks the owner should perform.
Repeated hard strikes or breakage after the normal setup is restored deserves a firmer stop. Do not continue powering the machine to reproduce the collision. Use repeated sewing machine needle breakage to isolate the symptom, then use qualified service if contact persists or the failure points beyond documented owner-level checks.
Diagnose bobbin-winding and needle-threader failures before sewing resumes
A bobbin that will not wind and a bobbin that winds unevenly are separate symptoms. Check the exact winding path, bobbin type, winder-shaft position, pre-tension or winding-tension path, and model-specific start control before assuming the sewing tension system is involved. An unevenly wound bobbin should be corrected at the winding stage rather than installed and compensated for later.
Needle-threader failure also has its own operating conditions. Brother support for covered models requires the needle to be in the correct position, properly installed, and within the needle-size and thread limits specified for the threader. If those conditions are correct and the mechanism still fails, forcing the threader can turn a small convenience fault into a bent or damaged mechanism.
Use bobbin winder failure checks, uneven bobbin winding checks, or needle threader failure checks depending on which operation has actually stopped working.
Route no-feed faults to the fabric-advance path
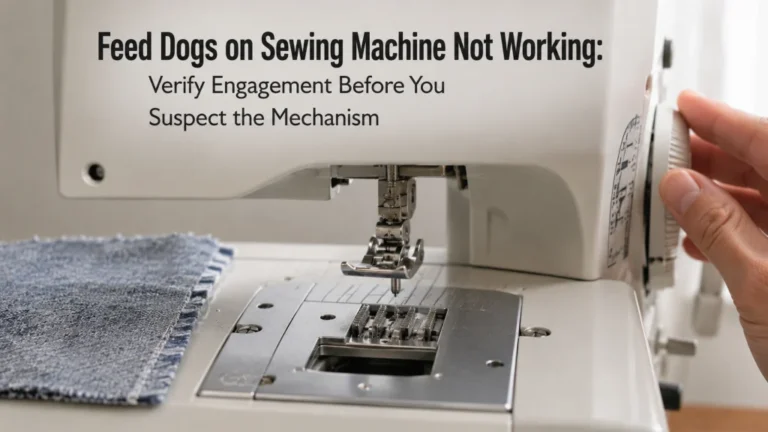
If the fabric does not advance normally, do not keep diagnosing the seam as if thread interlock were the only failure. A stalled feed system can distort stitches, pile thread, and create secondary needle or thread problems even though the primary fault is material movement. Confirm that the symptom truly begins with stitch formation before staying in this path.
That boundary is useful because it prevents one visible mess from hiding a more basic motion problem. If the presser foot, feed state, stitch length, or another documented feed condition is the real issue, resolve the feed problem first and reassess stitch formation afterward.
Stop before hook timing, needle-bar height, or internal tension repair
Owner troubleshooting should end where the manual stops. Do not alter hook timing, needle-bar height, internal tension assemblies, gears, electrical housings, or undocumented screws to chase a stitch symptom. A failure to pick up bobbin thread or repeated skipped stitches can be consistent with an internal timing problem, but the visible symptom alone does not prove which internal relationship is wrong.
Power off before needle, bobbin-case, or needle-plate access whenever the exact manual requires it. Do not force the handwheel, needle, bobbin winder, tension control, or needle threader. Stop and seek qualified service for smoke, burning odor, overheating, exposed wiring, repeated hard needle strikes, a hard mechanical lock, visible broken internal parts, or a fault that persists after the documented user checks.
| User-level check | Service stop |
|---|---|
| Rethread using the exact documented path | Opening or repairing the internal tension unit |
| Replace and correctly seat the needle | Changing needle-bar height |
| Verify and reinstall the correct bobbin | Adjusting hook timing |
| Clean only areas the manual makes owner-accessible | Removing covers or internal parts not assigned to the owner |
| Repeat the manufacturer’s documented check once setup is restored | Continuing after hard strikes, lockup, smoke, heat, or electrical damage |
The purpose of that boundary is diagnostic discipline. A good troubleshooting process should narrow the fault without creating a second fault.

The Dritz 247 combines a sewing machine needle inserter with a small lint brush. The inserter holds a machine needle steady during installation or removal and is shaped to reach areas where fingers have limited access. The brush end is designed to remove lint from sewing machines and sergers during owner-level cleaning.
Check On AmazonIf you click this link and buy, we earn a commission at no additional cost to you.
Find the symptom that matches your seam
Once the broad branch is clear, move to the symptom-specific path rather than repeating every check for every failure. The links below separate the eleven stitch and thread-system faults so each one can stay focused on the evidence that actually belongs to it.
| Symptom | What to isolate next |
|---|---|
| Skipped stitch diagnosis | Needle, threading, fabric/thread match, and model-directed checks |
| Thread bunching underneath | Upper threading and start-of-seam conditions |
| Bobbin thread on top | Upper path, tension state, bobbin seating, and cleaning state |
| Upper thread keeps breaking | Upper path, spool feed, tension state, needle, and rough contact points |
| Bobbin thread keeps breaking | Bobbin winding, insertion, condition, and correct type |
| Thread shredding diagnosis | Abrasion, needle/thread fit, and rough contact points |
| Bobbin thread not picking up | Needle installation, upper path, bobbin state, and service boundary |
| Needle keeps breaking | Installation, fabric handling, foot/plate contact, and repeated strike evidence |
| Bobbin not winding | Winder path, shaft state, bobbin fit, and controls |
| Bobbin winding unevenly | Winding path, pre-tension, thread behavior, and bobbin condition |
| Needle threader not working | Needle position, needle size, thread limits, and mechanism condition |
Choose the row that matches the actual failure, not the fix you expect to use. That keeps a visible stitch problem from turning into a chain of unrelated adjustments.
Final Thoughts: Identify which part of stitch formation actually failed
A bad-looking seam is not one diagnosis. Use the visible side of the fabric and the failure mode to decide whether the first branch belongs to upper threading, the needle, the bobbin, thread breakage, bobbin pickup, winding, or the needle threader. Restore documented normal setup before changing tension, and change one variable at a time so the result still tells you something.
If the machine feeds and cycles but the stitch still fails after documented owner-level checks, the correct next step may be service rather than another adjustment. The goal is not to make every symptom disappear with the same dial. It is to identify which part of stitch formation stopped behaving normally and stop when the evidence moves beyond owner-level troubleshooting.
Frequently Asked Questions
🧵 Why is thread bunching underneath my fabric?
Start by checking the upper threading path, not by adjusting the bobbin screw. Manufacturer troubleshooting commonly links underside loops to upper thread that is not correctly seated through the tension path or take-up lever.
🪡 Why is my sewing machine skipping stitches?
Check needle condition, correct installation, needle/fabric/thread match, and machine threading first. If those documented checks are correct and skipping continues, follow the model’s service direction rather than attempting internal timing adjustment.
🧶 Why can I see bobbin thread on top of the fabric?
Check the upper thread path and tension state, then verify that the bobbin is correctly seated and the bobbin area is clean. Do not assume the lower tension screw is the first adjustment.
✂️ Why does my upper thread keep breaking?
Inspect the upper thread path, spool feed, tension state, needle, and any documented contact points for damage or obstruction. Separate this from bobbin-thread breakage because the two failures have different first checks.
🌀 Why will my machine not pick up the bobbin thread?
Verify needle installation, upper threading, bobbin insertion, and the bobbin-winder state where applicable. If the normal setup is restored and pickup still fails, stop before internal hook or timing work.
⚠️ When should I stop troubleshooting and get service?
Stop for smoke, burning odor, overheating, exposed wiring, repeated hard needle strikes, a hard mechanical lock, visible broken internal parts, or a fault that remains after documented user-level checks. Do not force controls or open internal assemblies the manual does not assign to the owner.
References and Sources
- SINGER troubleshooting tips: Supports the top-versus-underside symptom routing, upper-thread checks, skipped-stitch checks, and upper-thread breakage checks.
- SINGER bobbin setup instructions: Supports model-specific bobbin winding, insertion, and bobbin-thread raising checks.
- Brother skipped-stitch support: Supports separating needle, threading, tension, cleaning, and other model-directed checks before service.
- Brother thread-breakage support: Supports separate upper-thread and bobbin-thread diagnostic branches on the covered models.
- Brother needle-threader support: Supports checking needle position, installation, needle size, and thread limits before service.