If you are asking why is my sewing machine skipping stitches, first prove that a stitch is actually missing. When fabric advances normally but some needle penetrations fail to form a lockstitch, the first checks are the needle, its installation, the needle-thread-fabric combination, upper threading, bobbin state, and only the user-accessible cleaning steps documented for the exact machine. Uneven stitch spacing is a different problem, and a machine that never picks up the bobbin thread belongs on a different diagnostic path. Hook timing and needle-bar adjustment stay outside owner-level troubleshooting.
First prove a stitch is missing rather than merely spaced differently
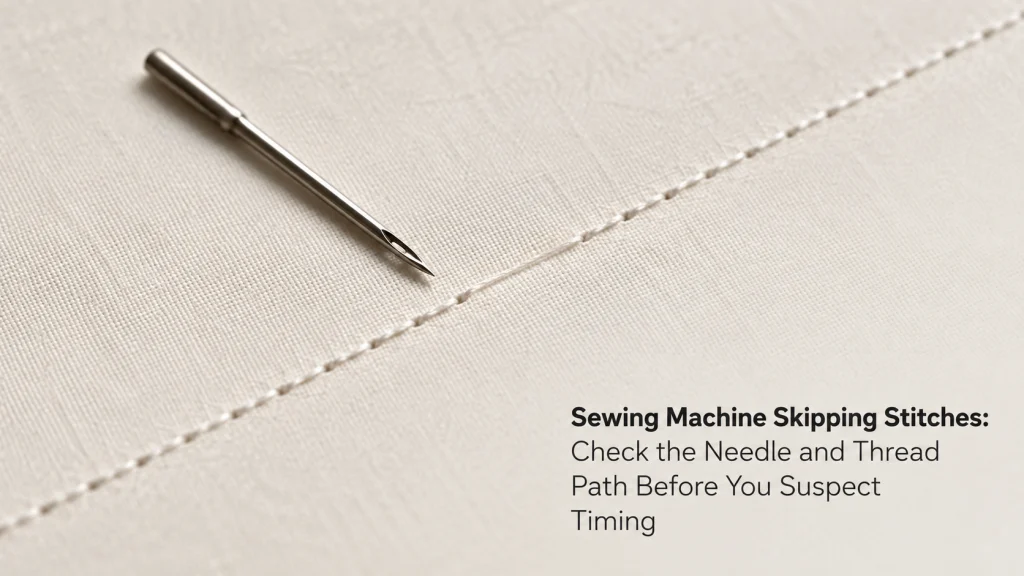
A seam can look irregular for two very different reasons. In a true skipped stitch, the fabric continues to advance and the needle still penetrates, but one or more penetrations fail to create a normal interlock between the upper and lower threads. In a spacing problem, the stitches still form, but the distance between them changes because fabric advance is inconsistent.
That distinction decides the first troubleshooting branch. Mark the needle penetrations if necessary and look for places where the needle entered the fabric but no complete stitch was formed. If every penetration produced a stitch and only the spacing changes, use the fabric-advance diagnostic path instead of treating the seam as a skipped-stitch failure.
Mark the actual needle penetrations and formed stitches
Use a short straight-stitch sample on stable woven fabric and inspect it before changing settings. A useful pattern might show equal fabric advance with one missing interlock every few needle penetrations. The exact frequency does not diagnose the cause, but it helps prove that the problem is stitch formation rather than variable feed distance.
The comparison below acts as a simple formed-versus-missed map. It is not a timing test and should not be used to infer which internal part failed.
| Needle penetration | 1 | 2 | 3 | 4 | 5 | 6 |
|---|---|---|---|---|---|---|
| True skipped-stitch example | Formed | Formed | Formed | Missed | Formed | Formed |
| Irregular-spacing example | Formed | Formed | Formed | Formed | Formed | Formed |
In the second row, the fault would have to be seen in the physical distance between formed stitches, not in a missing interlock. If the seam matches the first row, continue with the needle and thread-path checks below.

The Dritz Dual Purpose Marking Pen combines a blue Mark-B-Gone tip with a purple disappearing-ink tip. The blue ink is water soluble, while the purple ink can disappear through air exposure or be removed with water. It is designed for temporary fabric markings used in sewing, quilting, alterations, seam allowances, and other needlework projects.
Check On AmazonIf you click this link and buy, we earn a commission at no additional cost to you.
Replace a bent, blunt, or damaged needle
Both Brother and SINGER troubleshooting place needle condition near the front of the skipped-stitch process. A bent, blunt, worn, or damaged needle can pass through the fabric without creating the thread relationship the machine needs for a normal stitch. Replacing a suspect needle is a controlled reset, not a guess at internal timing.
Do not try to straighten a bent needle or keep using one after a hard strike. Install a new needle that matches the documented machine system and the fabric/thread requirement. If a replacement needle immediately strikes the foot, plate, or another part, stop instead of continuing the test.
- Discard a visibly bent or damaged needle.
- Replace a blunt or worn needle when skipped stitches begin unexpectedly.
- Use the exact needle system required by the machine.
- Keep the size and type appropriate for the fabric and thread.
- Stop after repeated needle strikes or breakage.
The purpose of this checklist is to create a known needle state before moving deeper into diagnosis. If the seam becomes normal after replacement, there is no reason to keep changing other variables.

This SCHMETZ assortment contains 10 Universal household sewing machine needles using the 130/705 H system. The needles have a slightly rounded point and the pack includes multiple sizes for different fabric weights. They are intended for domestic sewing machines that accept the 130/705 H system, which should be confirmed in the machine manual before installation.
Check On AmazonIf you click this link and buy, we earn a commission at no additional cost to you.
Confirm the needle is fully seated in the documented orientation
A correct needle can still cause skipped stitches if it is installed incorrectly. SINGER support tells owners of covered domestic machines to push the needle fully into the clamp and position the flat side as specified for that machine. Brother likewise directs owners to verify correct installation before moving farther down the skipped-stitch path.
Use the exact manual because orientation is machine-specific. Do not copy the flat-side direction from another model or machine class. Confirm that the needle is pushed fully to its stop, held straight, and clamped according to the documented procedure before retesting.
Verify the needle, thread, and fabric combination
Skipped stitches can appear when the needle type or size does not suit the fabric and thread. SINGER specifically separates regular-point needles for woven fabrics from ball-point needles for knits in its troubleshooting material, and Brother directs owners to the fabric-thread-needle combination table for the covered machine. The useful rule is not “always use one needle type,” but “verify the combination documented for the material and machine.”
This check matters when the symptom is material-specific. A machine that forms normal stitches on stable woven cotton but skips repeatedly on a stretch knit may have a needle/fabric mismatch rather than a general mechanical fault. Keep the comparison controlled by changing only the variable you are testing.
Note: Needle selection on a normally functioning machine is a setup decision. Here, the same evidence is used only because an existing stitch has begun to fail.
If the combination is already documented and appropriate, leave it fixed for the remaining checks. Do not keep moving through sizes, types, and tension settings at the same time because that destroys the diagnostic value of the retest.

SCHMETZ Jersey needles are size 80/12 machine needles made for knit fabrics and some stretch materials. Their medium ball point passes between knitted fibers rather than using a sharp point to pierce them. This package contains five needles and is intended for compatible household sewing machines using the appropriate needle system.
Check On AmazonIf you click this link and buy, we earn a commission at no additional cost to you.
Rethread the upper path from the beginning
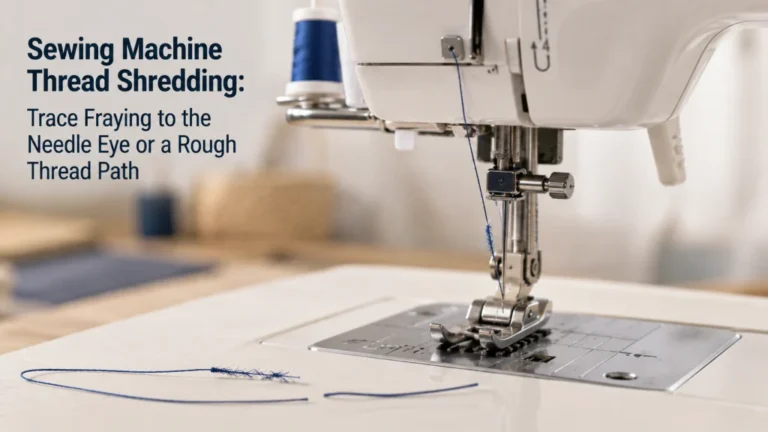
Incorrect upper threading is another manufacturer-listed cause of skipped stitches. Rethread from the spool using the exact path shown for the machine, including the required presser-foot and needle positions during threading. Do not assume that thread already sitting in most of the threading points is close enough.
Watch for missed thread points, a take-up lever that was bypassed, thread that did not seat through the intended tension path, or a spool that cannot unwind smoothly. Once the upper path is restored to a known state, retest before touching the tension control.
Key point: Rethreading comes before tension changes because a tension setting cannot compensate reliably for thread that is not following the intended path.
If a clean rethread fixes the seam, stop there. A successful owner-level correction is better evidence than continuing to search for an internal fault that the machine no longer shows.
Verify the bobbin is inserted and threaded correctly
Brother skipped-stitch support includes incorrect bobbin setup among the causes checked on covered machines. Verify that the bobbin is the correct type, wound appropriately, installed in the correct direction, and threaded through the documented lower path. A similar-looking bobbin is not proof of compatibility.
Do not start by turning a bobbin-case screw. The safer first step is to restore the lower thread system to the exact factory-documented state. If the bobbin is damaged, warped, incorrectly wound, or not seated as required, correct that condition before using tension changes to chase the seam.
Clean only the user-accessible hook or bobbin area as documented
Lint and dust under the needle plate or around the bobbin case can appear in manufacturer skipped-stitch troubleshooting. Brother support for covered models includes cleaning the race or bobbin area after needle, threading, and setup checks. Follow the exact model instructions for power state, plate removal, bobbin-case access, brush use, and reassembly.
Do not expand a cleaning step into disassembly. Remove only parts the manual identifies as owner-accessible, and do not loosen undocumented screws or alter hook position. If the machine requires service access beyond the documented cleaning area, stop the owner-level process there.

The Oh Sew Clean set includes cleaning brushes and a microfiber cloth for sewing machine care. The brush design combines flat and angled surfaces for reaching different openings, crevices, and machine surfaces. Soft bristles sweep away lint, while the microfiber cloth is designed to wipe surfaces without scratching or scraping them.
Check On AmazonIf you click this link and buy, we earn a commission at no additional cost to you.
Retest on a stable woven baseline
After the needle, installation, thread path, bobbin, and accessible cleaning state are verified, retest on a stable woven fabric with an ordinary straight stitch that the machine normally forms well. Keep the thread, needle, foot, and stitch consistent during the test. The goal is to learn whether the failure persists under a simple, repeatable condition.
Record what happens rather than relying on memory. If the baseline forms normally but the original fabric still skips, the material/needle/thread combination deserves renewed attention. If the baseline also shows missing interlocks, the problem is broader than one difficult fabric.
| Baseline field | Record before sewing | Record after sewing |
|---|---|---|
| Machine state | Exact model, normal feed, documented threading | Any abnormal motion or sound |
| Needle | New or verified condition, correct type, size, orientation, seating | Any strike, bending, or visible damage |
| Fabric | Stable woven sample | Whether advance stayed even |
| Stitch result | Ordinary straight stitch selected | Formed penetrations versus missed interlocks |
Do not turn this into an endurance test. A short baseline is enough to answer whether the skipped-stitch symptom still exists after the documented setup has been restored.

AK TRADING CO. Muslin Fabric is natural unbleached fabric made from 100% cotton. This listing provides a one-yard medium-weight cut with a smooth finish for sewing, quilting, draping, and related fabric work. The material can be divided into short repeatable samples when a stable woven baseline is needed for machine testing.
Check On AmazonIf you click this link and buy, we earn a commission at no additional cost to you.
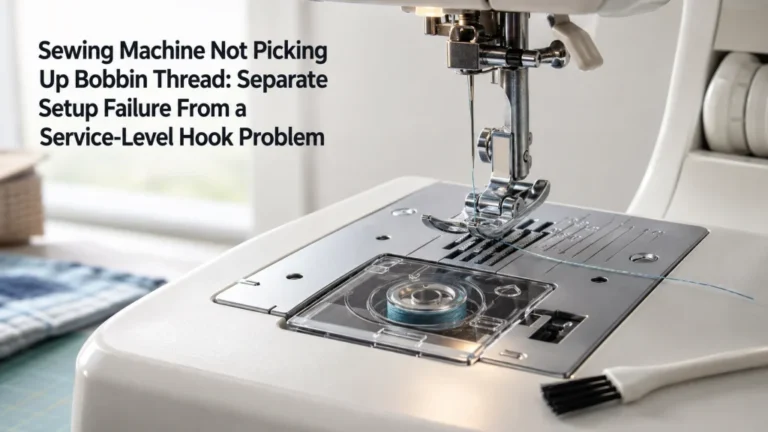
Use a different path when the bobbin thread never picks up
A skipped stitch means some stitches form and some do not. If the machine cannot draw the bobbin thread into stitch formation at all, that is a zero-pickup problem rather than an intermittent skipped stitch. Combining the two symptoms can make an owner jump between unrelated checks.
If no normal lockstitch forms from the start, use bobbin thread pickup troubleshooting. That path can still begin with needle installation, upper threading, and bobbin state, but its diagnostic threshold is different because the machine is not forming intermittent successful stitches.
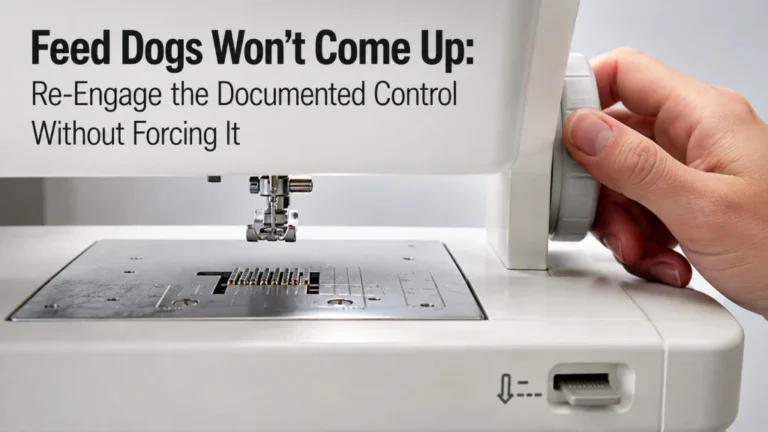
Use the fabric-advance path when stitches form but spacing varies
If every needle penetration produces a complete stitch but the distances between stitches are inconsistent, the evidence points away from a skipped interlock. Feed behavior, presser-foot state, stitch-length control, material handling, or another fabric-advance condition may be responsible. Missing stitches and uneven spacing can look similar at a glance, but they are different faults.
Return to stitch and thread problem routing if more than one symptom is present, or use the broader sewing machine troubleshooting path when the primary failure is not yet clear. Keep the diagnosis anchored to what the seam actually shows.
Stop before hook timing or needle-bar adjustment
Timing is a possible service-level cause of skipped stitches, but a skipped stitch by itself does not prove that timing is wrong. SINGER support places needle condition, needle type, and installation ahead of service referral, while Brother support similarly starts with needle, thread, fabric, threading, and cleaning checks. That sequence is important because those owner-level faults are easier to verify without disturbing internal machine relationships.
Do not adjust hook timing, needle-bar height, internal tension assemblies, gears, electrical housings, or undocumented screws. Stop and seek qualified service for smoke, burning odor, overheating, exposed wiring, repeated hard needle strikes, a hard mechanical lock, visible broken internal parts, or skipped stitches that persist after the exact documented user checks have been completed.
| Owner-level check | Service-level stop |
|---|---|
| Replace and correctly install the needle | Changing needle-bar height |
| Rethread the upper path | Opening or rebuilding the internal tension assembly |
| Verify bobbin type and insertion | Changing hook timing |
| Clean the documented bobbin or race area | Loosening undocumented screws or internal mechanisms |
| Retest on a stable baseline | Continuing after hard strikes, lockup, heat, smoke, or electrical damage |
A clean service boundary keeps troubleshooting useful even when the owner-level steps do not solve the problem. The result can be “service is the next step” without pretending to know which internal adjustment is required.
Final Thoughts: Rule out needle and threading faults before timing
Sewing machine skipping stitches is a missing-interlock problem, not simply an uneven-looking seam. Prove that the fabric advances while some needle penetrations fail to form stitches, then restore a known needle, correct seating, a suitable needle-thread-fabric combination, exact upper threading, correct bobbin state, and only the cleaning steps allowed by the manual. Retest under a stable baseline before drawing a larger conclusion.
If some stitches form and some do not after those checks, service may be appropriate. If no stitch forms at all, move to the bobbin-pickup path. If every stitch forms but spacing varies, move to fabric-advance diagnosis. That separation keeps a visible seam problem from turning into an unnecessary timing adjustment.
Frequently Asked Questions
🪡 Why is my sewing machine skipping stitches?
Start with needle condition and installation, then verify the needle-thread-fabric combination, upper threading, bobbin state, and documented cleaning steps. Do not assume an internal timing fault until those user-level checks are complete.
🧵 Can the wrong needle cause skipped stitches?
Yes. A bent, blunt, incorrectly installed, or unsuitable needle can cause skipped stitches. Use the exact machine’s required needle system and a type and size appropriate for the fabric and thread.
🧶 Can incorrect threading make a sewing machine skip stitches?
Yes. Manufacturer troubleshooting includes incorrect upper threading among skipped-stitch causes. Rethread from the beginning using the exact machine path before changing tension.
📏 Are uneven stitch lengths the same as skipped stitches?
No. A skipped stitch is a missing interlock after a needle penetration. Uneven stitch length means stitches are still forming but the spacing between them changes.
🌀 What if the machine never picks up the bobbin thread?
That is a different failure from intermittent skipped stitches. Use the bobbin-pickup path because the machine is not forming successful lockstitches at all.
⚠️ When should skipped stitches go to service?
Use qualified service when skipped stitches persist after the exact documented owner checks, or immediately for hard needle strikes, mechanical lockup, smoke, burning odor, overheating, exposed wiring, or visible internal damage. Do not adjust hook timing or needle-bar height yourself unless the exact manufacturer documentation explicitly assigns that work to the owner.
References and Sources
- Brother skipped-stitch support: Supports checking the fabric-thread-needle combination, needle condition and installation, threading, tension, and accessible lint before further service.
- Brother skipped-stitch symptom checks: Supports bobbin setup, upper threading, needle condition, needle installation, and user-accessible cleaning as separate skipped-stitch causes on the covered machine.
- SINGER skipped-stitch troubleshooting: Supports checking needle installation, needle style for the fabric, and worn or damaged needles before escalating the fault.
- SINGER machine troubleshooting FAQ: Supports separating needle condition, needle type, and needle installation checks from service-level timing work.