When fabric disappears into the needle-plate opening, the immediate question is not tension or stitch quality. First determine whether the material itself has been captured below the plate, whether intact fabric is sitting over a thread nest, or whether the machine has reached a hard mechanical lock. Stop sewing before pulling on anything, then follow only the access and release steps documented for the machine in front of you. Once the material is free and motion is normal, restore a basic needle, feed-dog, and presser-foot state before testing on stable scrap.
Translate “eating fabric” into a visible physical event
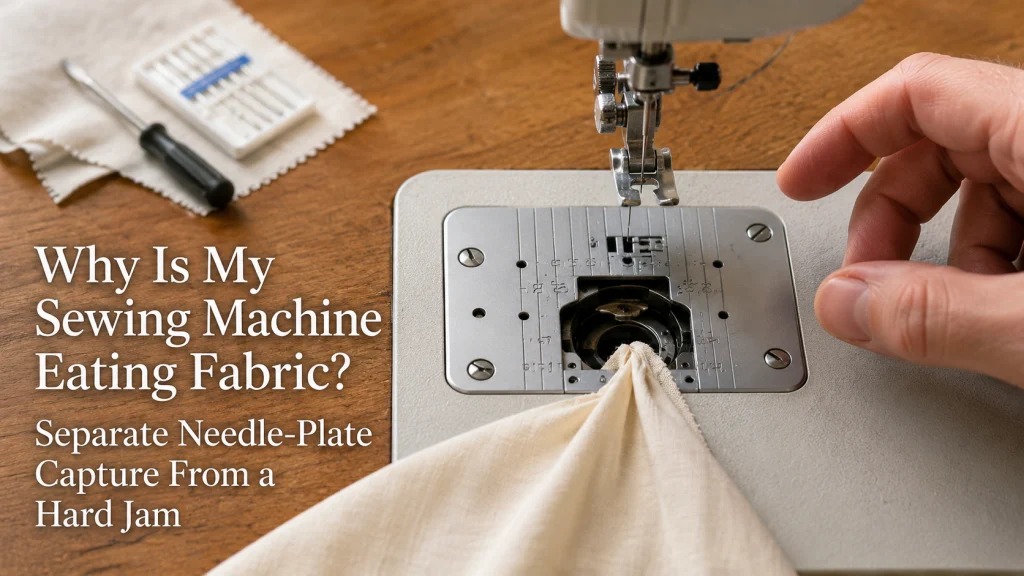
If you are asking, “why is my sewing machine eating fabric?”, start by looking at what physically happened at the needle plate. The phrase can describe several different failures: a corner of fabric pushed below the needle opening, a mass of tangled thread underneath fabric that is still sitting on top of the plate, or a jam severe enough that normal machine motion is no longer available. Those symptoms can look similar from above, but they do not justify the same next step.
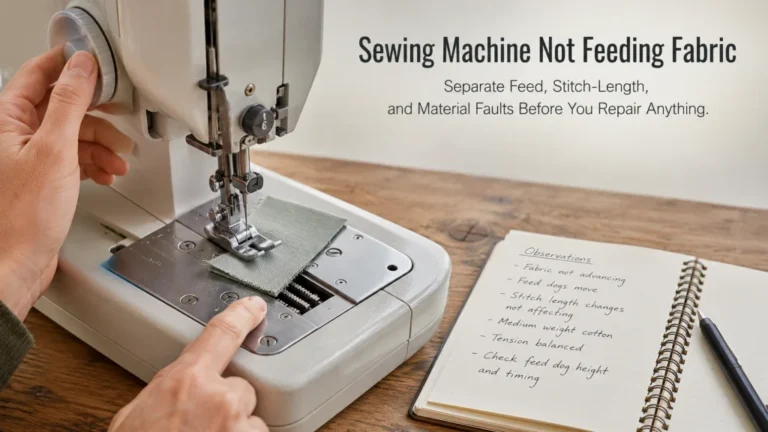
The useful distinction is where the fabric is and whether the mechanism still moves normally. Material visibly tucked through the needle-plate opening is a fabric-capture event. A wad of thread underneath intact material is primarily a thread or stitch-formation problem, while a handwheel or mechanism that is genuinely locked belongs on a different diagnostic path. If the broader problem is simply that fabric will not advance, use the fabric feed troubleshooting sequence after you have ruled out capture and a hard jam.
| Visible state | What it means for triage | Next path |
|---|---|---|
| Fabric below the plate: an edge or corner is visibly tucked through the needle-plate opening | Fabric capture is confirmed as the physical event | Stop, power down as required, and follow the model’s documented release path |
| Fabric still above the plate: tangled thread is packed underneath and holding the project | The primary visible fault is a thread nest or stitch-formation problem | Clear only what the manual allows, then move to thread and stitch checks |
| Motion hard locked: the handwheel will not move normally or the needle repeatedly strikes something solid | The problem has crossed into a mechanical-jam or service boundary | Do not force movement; stop owner-level release and use the jam or service path |
Decision flow: Fabric below the plate → treat as capture. Fabric still above the plate with thread packed underneath → treat the visible fault as a thread nest. Hard-locked motion → stop owner-level release and route the machine to jam or service guidance.
This triage keeps the symptom from turning into a random list of fixes. A sewing machine eating fabric at the first stitch on a light knit, for example, needs a different first check from a machine that has several layers trapped under the plate and a handwheel that will not move. Name the physical event first, then decide how far owner-level troubleshooting can safely go.
Stop sewing and identify whether fabric entered the needle-plate opening
The moment the fabric drops into the plate opening or the machine stops advancing it normally, release the control and stop trying to complete the seam. Continuing to stitch can add more thread below the plate, bend or break the needle, or make the material harder to release. If the manual requires power off before needle-area access, turn the machine off before touching the needle, presser foot, bobbin area, or plate-related parts.
Look from above without tugging the project. Is the material merely puckered at the needle, or can you see part of it pulled down through the opening? If visibility is poor, use the machine’s documented access point rather than lifting covers or plates that the owner manual does not authorize you to remove.
Sometimes the capture develops in stages rather than all at once. A fabric edge may begin dipping toward the needle opening, the first few stitches may stop advancing smoothly, or the machine may make an unfamiliar sound as thread and material start collecting below the plate. Those signs do not identify the cause by themselves, but they are enough reason to stop before a small capture becomes a tighter jam.
- Stop the machine as soon as the fabric is captured or motion becomes abnormal.
- Turn power off before access whenever the machine documentation requires it.
- Keep your hands away from the needle area until motion has fully stopped.
- Observe whether fabric, thread, or both are below the plate.
- Use only the removal steps listed for the model, and stop if the procedure cannot be completed without force.
The point of the sequence is not to prescribe one disassembly method. It is to preserve the evidence you need for the next decision while avoiding a forceful release. Once you know whether the material itself entered the opening, you can separate capture from the two look-alike problems that follow.
Separate fabric capture from a thread nest under intact fabric
A thread nest can hold the project so firmly that it feels as though the machine swallowed the fabric even when the material never went through the needle opening. From above, the project may be difficult to lift, but the key observation is that the cloth is still sitting on the plate while thread has accumulated below it. That changes the diagnostic direction because the primary visible fault is tangled thread, not captured material.
Do not use the word “eating” as proof of a cause. Upper threading, bobbin threading, thread tangles, needle condition, and other stitch-formation factors can create a stuck project without the fabric itself entering the plate. If the fabric is intact above the plate and the real evidence is a nest underneath, clear the obstruction only as the machine documentation allows, then move to the appropriate thread and stitch checks rather than treating the event as a feed-opening problem.
Note: A captured edge and a thread nest can occur together. If both are present, the safest description is “fabric captured with tangled thread,” not a confident diagnosis of why the event started.
This distinction is especially useful at the beginning of a seam, where several failure paths can converge in the same small area. The visible state after stopping is more reliable than the label you gave the symptom while the machine was still moving.
Separate movable fabric capture from a hard mechanical jam
Fabric can be caught below the plate while the mechanism still has normal, gentle movement once the machine is stopped. That is different from a hard lock where the handwheel will not move normally, the needle repeatedly strikes hard material or metal, or the mechanism stops with an abrupt solid resistance. The second situation is not a cue to apply more force.
A hard mechanical lock moves the problem outside this page’s release-and-retest path. Do not force the handwheel, lever, feed control, or trapped material in an attempt to “break it loose.” If normal motion is locked, follow sewing machine troubleshooting safety boundaries and the machine’s service guidance rather than continuing owner-level removal.
Warning: Stop troubleshooting and use qualified service for smoke, a burning odor, overheating, sparks, exposed wiring, uncontrolled motion, repeated hard needle strikes, a hard mechanical lock, visible broken internal parts, or any procedure the manual reserves for service personnel.
The distinction here is about motion, not how frustrating the jam feels. A project that is awkward to remove is not automatically a mechanical lock, and a locked mechanism is not made safer because the trapped fabric looks small.
Follow the machine’s documented release and removal instructions
Once you have confirmed fabric capture and the mechanism is not hard locked, use the instructions for the machine model you own. Needle removal, presser-foot removal, bobbin-area access, needle-plate cover access, and needle-plate removal are not universal owner procedures. A manufacturer may authorize some of those steps on one model family and handle them differently on another.
Brother’s current support guidance for covered home sewing models begins a fabric-jam procedure by stopping the machine and turning power off, then proceeds through defined user-level access steps. The same support path tells the owner to use service if the issue continues. That is a useful boundary, but it should not be copied onto a different machine as though the screws, covers, tools, or removal order must be identical.
Note: Use a manufacturer jam-removal procedure only for the models it actually covers. One manual may allow owner access to the bobbin area or needle plate while another model uses a different sequence, different fasteners, or a service-only boundary. Match the instructions to the model number on your machine before removing anything.
Use the model number on the machine to locate the correct manual or support page before removing parts. If the documentation does not authorize an access step, do not turn a general internet tutorial into permission to perform it.

This Dritz tool combines a machine needle inserter with a lint brush in one compact accessory. The inserter holds a sewing machine needle steady during removal or installation and is designed to reach areas where fingers may not fit easily. The brush end is intended for removing lint from a sewing machine or serger.
Check On AmazonIf you click this link and buy, we earn a commission at no additional cost to you.
Do not yank the fabric or force the handwheel
Pulling harder feels intuitive because the project is visibly stuck, but force removes information and can increase damage. A strong tug can tear light fabric, distort a captured edge, pull against the needle, or load the mechanism while tangled thread is still holding the project below the plate. The same logic applies to a handwheel that meets hard resistance.
Instead, separate the things that are holding the project according to the documented release procedure. That may mean dealing with thread, the needle, or approved bobbin-area access before the fabric can come free. If a step that should be gentle requires leverage or escalating force, stop and reassess whether you have crossed into a hard-jam or service situation.
Key point: “It will not come out” is a symptom. It is not permission to pull harder.
Preserving the project matters, but protecting the machine and your hands matters more. The goal is controlled release, not winning a tug-of-war with the needle plate.
Inspect the needle only at the documented user level
After a capture event, the needle deserves a deliberate check because it may have been loaded sideways, struck the plate, or become bent while the fabric was trapped. Inspect and replace it only using the method in the machine manual. Do not straighten a bent needle for reuse, and do not continue if the needle has been striking hard surfaces repeatedly.
Needle condition is also part of the baseline for the retest. A release that succeeds mechanically can still leave you with a damaged needle that creates a second symptom on the next sample. Check that the replacement type and insertion orientation match the machine documentation and the already-established sewing setup rather than improvising a different needle as a cure for an unknown cause.
This page is not a needle-selection article, so keep the decision narrow. The immediate question is whether the capture event left the installed needle obviously damaged or unsafe to reuse, not which specialty needle might optimize the project later.

These SCHMETZ Universal sewing machine needles are size 80/12 and are made for domestic sewing machines. The Universal needle uses a slightly rounded point and is intended for a range of woven and knit fabrics. This package contains size 80/12 needles for general household sewing applications where that needle size and type match the machine and material setup.
Check On AmazonIf you click this link and buy, we earn a commission at no additional cost to you.
Confirm feed dogs and presser foot are in a normal baseline state
Once the fabric and thread obstruction are cleared, verify that the machine has returned to an ordinary feeding state before blaming the material. On machines with drop-feed controls, lowered feed dogs can prevent normal fabric advance. Other machines may use a darning plate or a mode-specific control instead, which is why the manual matters more than a generic instruction to move one particular lever.
Also confirm that the presser foot is installed and lowered as expected for ordinary stitching, and that the machine is no longer in a special feed state. Brother support documentation lists lowered feed dogs, thread tangles, needle problems, and an incorrect presser foot among possible reasons fabric does not feed properly on covered models. Use that as a checklist of categories, not as proof that one of them caused your capture.
If the feed dogs are known to remain down when they should return to normal feeding, move to diagnose feed dogs staying down rather than repeatedly testing the captured project. That keeps a control-state problem separate from the fabric-capture event that exposed it.
Retest on stable scrap before returning to the project
Do not make the damaged project your first test after a release. Use a stable scrap that is easy to observe and does not depend on special handling. The purpose is to confirm that the machine can start, feed, form stitches, and stop normally after the obstruction has been cleared.
Keep the retest simple. Avoid changing several settings at once because that makes it difficult to tell whether normal operation actually returned. If the machine passes a basic scrap test, you can then decide whether the original material needs a separate technique discussion rather than continuing to treat every problem as a machine fault.
- Confirm the needle area is clear and all user-removed parts are correctly reinstalled.
- Verify the presser foot and feed state are normal for ordinary stitching.
- Use stable scrap rather than the trapped project for the first test.
- Start with a basic stitch already documented for normal sewing on the machine.
- Watch whether fabric advances without being drawn into the opening.
- Stop immediately if hard resistance, repeated needle strikes, abnormal noise, smoke, odor, or uncontrolled motion appears.
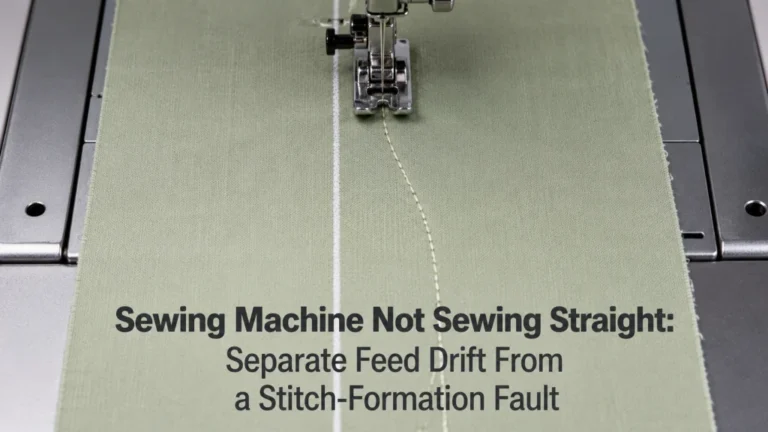
If the fabric now feeds but the seam consistently wanders or the machine shows a different directional problem, move that new symptom to the straight-stitch tracking checks instead of extending the original capture diagnosis. A clean retest is useful partly because it separates the old failure from any new one.

This Robert Kaufman Kona Cotton is a solid black 100 percent cotton broadcloth sold by the yard. The product information lists a fabric weight of 4.35 ounces per square yard and a width of 44 inches. It is intended for sewing applications including quilting and apparel, and the listed care instructions are machine wash cold and tumble dry low.
Check On AmazonIf you click this link and buy, we earn a commission at no additional cost to you.
Route known stuck-down feed dogs to the feed-control problem
If the fabric is free, the mechanism moves normally, but the feed dogs remain below the plate when the machine should be in normal sewing mode, the diagnostic center has changed. The original capture may have happened at the same time, but you now have a specific feed-state symptom that can be checked against the machine’s controls and manual. Do not keep reproducing the fabric-capture event to prove that the feed dogs are down.
Some machines use a drop-feed lever, some use an electronic mode, and some models use a plate that covers feed movement rather than lowering the dogs. That variation is exactly why a one-line instruction such as “flip the feed lever” is not reliable across all domestic machines. Use the machine-specific feed-control path and stop if the control does not operate as documented.
The practical handoff is simple: once the known problem is that feed dogs will not rise, solve that state before returning to delicate project material. The capture article has done its job once the physical obstruction is no longer the main problem.
Route thick-stack-only failures to the bulky-seam path
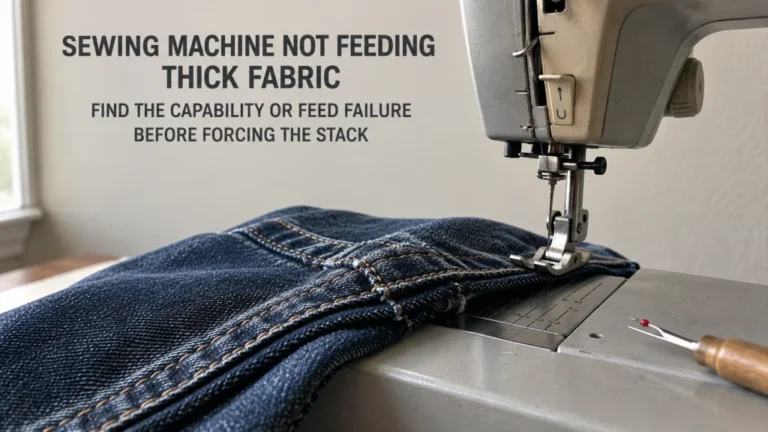
A machine that feeds stable fabric normally but struggles only when it reaches a bulky seam intersection does not have the same symptom pattern as a machine that pulls a light fabric edge into the needle opening during an ordinary start. Layer height can change the presser-foot angle and feeding behavior even when the underlying feed system is working. That makes “only at thick stacks” a useful routing clue.
After the jam is safely cleared and a stable scrap test passes, reproduce nothing on purpose with the bulky project until you have separated the thickness issue from the earlier capture. If the failure consistently appears only at a thick seam, use the thick-fabric feed diagnostic path instead of changing thread tension or forcing the handwheel through the stack.
This keeps two problems from being blended into one. A captured edge can happen on light material, while a foot that tips at a bulky junction is a different mechanical situation at the fabric interface. The next check should follow the condition that reliably reproduces the failure.
Route repeat light or stretch handling problems after the fault is cleared
Lightweight and stretch materials can be more vulnerable at a seam start because the material near the needle opening may be easier to deform than a stable woven scrap. That observation does not prove that the fabric is the cause, and it does not justify a universal stabilizer, stitch, tension, or needle recipe. First make sure the machine has passed the basic post-release test.
If stable scrap feeds normally and the problem returns only with a known light or stretch material, the question has shifted from “is the machine still jammed?” to “how should this material be handled during normal sewing?” Keep that technique question separate from the immediate fault response. It allows you to work on material handling without hiding a mechanical problem behind project advice.
The distinction matters when a sewing machine keeps eating fabric only at the start of the same type of lightweight seam. Repeated material-specific behavior is useful evidence after the machine baseline is known, not before.
Route hard jams or locked motion away from owner-level release
If the handwheel is hard locked, the needle repeatedly strikes something solid, visible internal parts are broken, or the documented removal procedure cannot be completed without force, stop. The problem is no longer a simple question of fabric pulled into the sewing machine. Continuing to push, pry, or turn can turn a bounded jam into a larger repair.
Use the machine manual’s service threshold and qualified-service route rather than opening electrical housings, adjusting timing, moving gears or linkages, or attempting motor repair. Those are not normal owner-level steps. The same boundary applies when the machine shows smoke, burning odor, overheating, sparks, exposed wiring, or uncontrolled motion.
A clear stop point is part of good troubleshooting. You do not need to know the internal failed part before deciding that a locked mechanism has exceeded safe user-level diagnosis.
Final Thoughts: identify capture before choosing the fix
“Eating fabric” becomes much easier to troubleshoot once it is translated into an observable state. Fabric below the needle plate, thread tangled under intact fabric, normal gentle motion, and a hard mechanical lock are different pieces of evidence. Treating them as separate paths prevents a stuck project from turning into random tension changes, forceful pulling, or unnecessary disassembly.
After a safe release, rebuild only the documented baseline: a sound needle, normal feed state, correctly installed presser foot, and a simple stable-scrap test. If another symptom remains, route that symptom on its own. The right next step is determined by what the machine is doing now, not by the dramatic way the original jam looked.
FAQs
🧵 Why did my sewing machine pull my fabric into the needle plate?
Several conditions can lead to fabric capture, and the visible symptom alone does not prove one cause. Stop, identify whether material actually entered the plate opening, clear it only through documented user steps, then verify the needle and normal feed state before retesting.
🪡 Should I pull the fabric out if it is stuck under the needle?
Do not yank it. Stop the machine, power down when required for needle-area access, and follow the model’s documented release procedure. If removal requires force or the mechanism is hard locked, stop and use the service path.
🧶 How do I know if the problem is a thread nest instead?
Look at the physical state after stopping. If the fabric remains above the plate but tangled thread is packed underneath and holding it, treat the visible fault as a thread or stitch problem rather than assuming the material itself was captured.
⚙️ What if the handwheel will not turn after the fabric gets stuck?
Do not force it. A hard lock moves the problem outside a simple fabric-release path, especially if there are repeated hard needle strikes or visible broken parts. Follow the machine’s service guidance.
🦶 Can lowered feed dogs make fabric feeding worse?
Yes, lowered feed dogs can prevent normal fabric advance on machines where that state applies. The control method varies by model, so verify the normal feed position in the manual rather than assuming every machine uses the same lever or mechanism.
🧪 What should I sew first after clearing the jam?
Use stable scrap and a simple normal stitch after all user-removed parts are correctly reinstalled. Confirm that the fabric advances normally before returning to the project or diagnosing material-specific technique.
References and Sources
Manufacturer documentation is the appropriate evidence for safe jam response, user-level access boundaries, and normal feed-state checks because access procedures vary by machine. These sources support those limited points rather than proving one universal cause of fabric capture.
- Brother fabric jam removal guidance: Supports the stop-and-power-off boundary, model-covered user removal steps, and service handoff when the problem continues.
- Brother fabric feed troubleshooting: Supports feed-dog state, needle condition, thread tangles, presser-foot state, and the instruction to consult the machine manual for model-specific information.
These manufacturer pages are used for safety boundaries and documented troubleshooting categories. They do not establish that every listed cause applies to every fabric-capture event or that all sewing machines use the same access procedure.