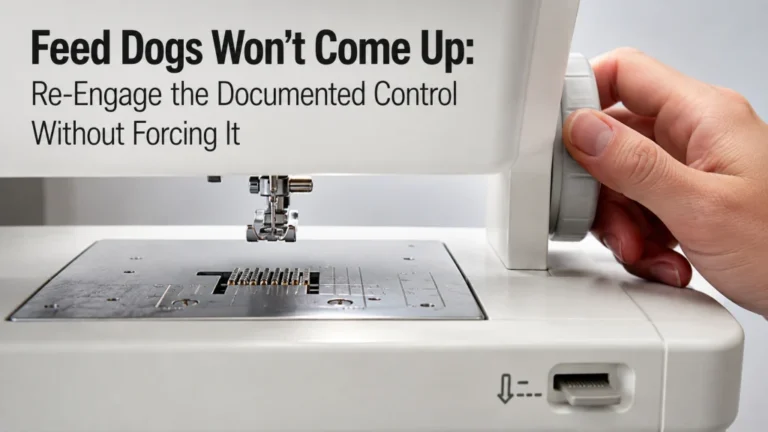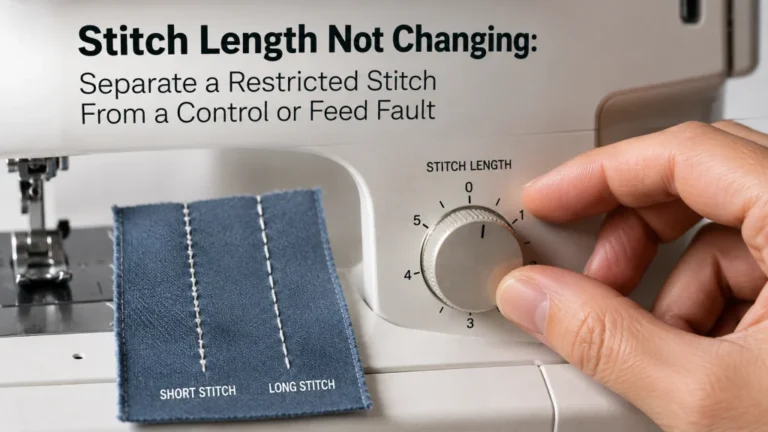
When a sewing machine will not sew straight, the symptom can mean two different things: the fabric path itself veers, or the fabric tracks normally while the individual stitches look crooked or malformed. Start with a basic straight-stitch baseline on stable woven scrap, verify the user-level needle, foot, and feed states required by the exact manual, then watch the fabric trajectory before changing anything else. Persistent sideways path drift belongs to a different diagnostic path from uneven stitch spacing, fabric being pulled into the needle plate, bulk-only feeding trouble, or thread-formation defects. The goal is to prove which symptom you actually have before calling it a machine fault.
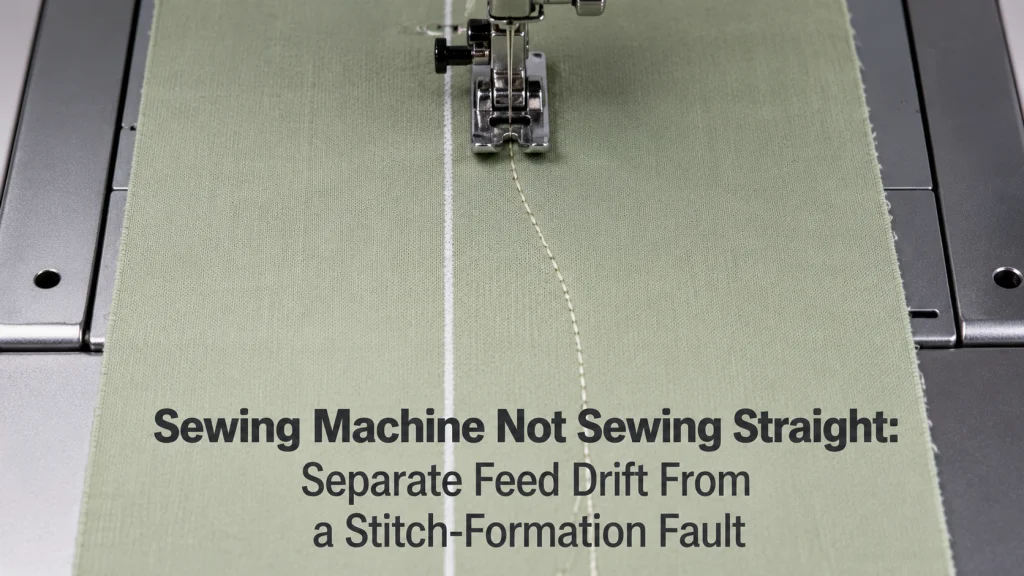
“Not straight” can describe the path or the stitch itself
When a sewing machine is not sewing straight, first define what “straight” means in the failed result. The entire fabric can slowly veer left or right even though you started on a visible reference line, or the fabric can travel along that line while the stitches themselves look irregular, slanted, looped, or otherwise malformed. Those are not the same symptom, so they should not share one catch-all fix.
A useful first comparison is visual. Draw a straight reference line on stable woven scrap and sew beside it using the machine’s ordinary straight-stitch setup. If the fabric edge and reference line physically rotate away from the intended path, record path drift. If the fabric remains aligned but the stitch formation looks wrong, stop treating steering as the main problem and move toward stitch-formation checks instead.
| What you observe | What it suggests you should investigate next |
|---|---|
| The whole fabric path veers sideways | Keep working through the controlled feed-path checks in this article |
| The fabric tracks straight but stitches look malformed | Move away from path diagnosis and investigate stitch formation |
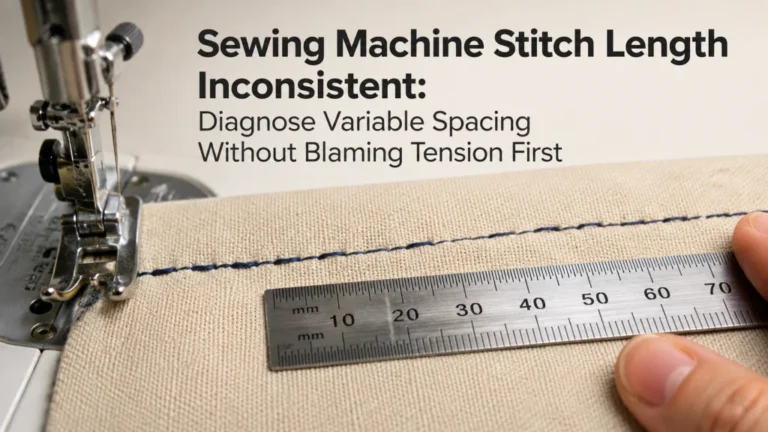
| The fabric tracks straight but stitch spacing changes | Compare the symptom with inconsistent stitch-length diagnosis |
| The fabric is pulled down into the needle-plate opening | Use the fabric-eating diagnostic path instead |
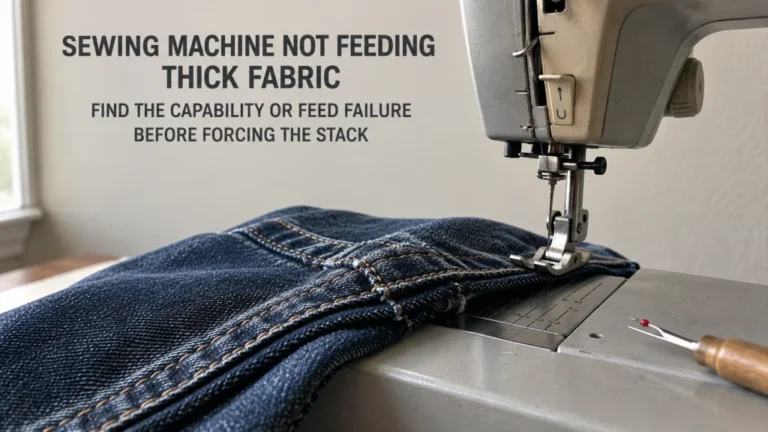
| Drift appears only at a bulky seam or thick stack | Use the thick-fabric feeding path instead |
Without that first split, it is easy to change tension or needle choices before confirming whether the machine is actually moving the fabric sideways.
Select a documented basic straight-stitch baseline
Return the machine to the basic straight-stitch arrangement described in its exact manual before testing path drift. Use the documented straight stitch, its compatible presser foot, an allowed needle position, and normal feed-dog state for ordinary sewing. Do not borrow a stitch number, needle position, presser-foot pressure, or other setting from a different model just because the control panel looks similar.
The point of the baseline is not to discover the perfect seam setting. It is to remove decorative stitches, special feeding modes, unusual feet, and other variables that can change how the fabric is guided. For broader owner-level diagnosis before this narrower test, use the sewing machine troubleshooting framework rather than guessing at an internal cause.
Key point: A baseline is valid only when it matches the exact machine manual. There is no universal stitch number or control position that should be copied across unrelated machines.
Once that baseline is established, the next question is whether the test material itself makes the path easy to observe.
Use stable woven scrap with a visible reference line
A stable woven scrap reduces stretch and curl while you are trying to observe direction. Mark a visible straight line far enough from the raw edge that fraying does not become the main visual cue. The purpose is not to teach seam guiding; it is to create a repeatable path that makes sideways movement easier to distinguish from an imperfect hand position.
Keep the sample simple. One ordinary layer or another configuration permitted by the machine manual is more useful here than a bulky intersection, slippery stack, or highly elastic fabric because those introduce separate feed conditions. If the machine behaves normally on the stable baseline and only veers when bulk is added, that difference is diagnostic information rather than proof of a general straight-stitch fault.
| Baseline item | What to record |
|---|---|
| Machine state | Basic straight stitch and normal feed state from the exact manual |
| Presser foot | Exact foot specified or permitted for that stitch |
| Needle | Correctly installed, undamaged, and allowed by the machine manual |
| Test material | Stable woven scrap without a bulky seam intersection |
| Reference | Clearly marked straight line |
| Observation | Whether the material path itself moves left or right |
Now the complaint becomes repeatable evidence instead of a vague impression from one project seam.

The Fiskars Sewing Ruler is a clear 6 by 24 inch acrylic ruler designed for sewing and fabric work. It has incremental grid lines with two-tone markings that remain visible against light and dark materials. The ruler also includes 30, 45, and 60 degree reference lines for measuring and marking angled layouts.
Check On AmazonIf you click this link and buy, we earn a commission at no additional cost to you.
Verify needle insertion and the correct documented foot at user level
Before judging the feed path, verify that the needle is installed in the orientation required by the exact manual and that it is not visibly bent or damaged. Also confirm that the presser foot is the one specified or permitted for the selected straight stitch. Brother support specifically includes the correct presser foot among its checks for irregular, inconsistent, or crooked stitch results.
Do not turn this into a compatibility-shopping exercise. If the foot is missing, unidentified, or not verified for the machine, resolve that compatibility question before diagnosing path drift. If changing or inspecting the foot requires the machine to be powered off or controls to be locked, follow the exact manual rather than reaching under an active needle area.
Warning: Power off the machine before any access the exact manual requires with power off. Do not bypass guards, force controls, or continue after repeated hard needle strikes.
With the needle and foot states confirmed, you can make a cleaner observation of what the feed system is doing to the fabric.
Guide without pushing or pulling
The baseline fails if your hands become another feed mechanism. Brother’s crooked-stitch support tells users to check whether the fabric was pulled, pushed, or fed at an angle, then to guide it so it feeds in a straight line. For diagnosis, use light guidance that keeps the sample oriented without dragging it forward or steering it sideways against the feed dogs.
This is an important boundary between normal technique and machine-fault diagnosis. A beginner who simply needs practice following a seam guide does not yet have evidence of a feed problem. Persistent sideways movement becomes more meaningful only after obvious hand pressure and deliberate steering have been removed from the test.
If the path still departs from the reference line under light guidance, record the direction and consistency of that drift rather than immediately changing internal adjustments.
Observe whether the fabric path itself veers
Watch the marked line and the orientation of the whole sample, not just the needle. A true path-drift observation is that the material gradually rotates or translates sideways relative to the intended route while the test conditions remain controlled. Repeat the same baseline on another section of the scrap before treating one wobble at the start or end of a seam as persistent drift.
Also note whether the veer is consistent. A sample that repeatedly moves in one direction under the same baseline gives you a different symptom from a sample that wanders unpredictably as your hands change position. The observation still does not identify an internal cause, but it establishes whether there is a reproducible feed-path question worth escalating.
Note: Manufacturer support groups crooked results with several possible user-level causes, including the wrong presser foot and fabric being pulled, pushed, or fed at an angle. Those checks support narrowing the symptom, but they do not prove internal feed alignment failure.
Once path drift is visible, look at stitch spacing before deciding which neighboring diagnostic route fits best.
Observe whether spacing also changes
Sideways drift and fore-aft stitch spacing are separate observations. A seam can veer while the distance between successive stitches remains reasonably consistent, or the path can be straight while stitch length varies along the seam. When both appear together, record both instead of compressing them into the single phrase “crooked stitches.”
If the main failure is changing fore-aft spacing, compare the result with diagnose inconsistent stitch length. That path deals with variable advance distance rather than simply where the material travels across the machine bed.
For example, a marked line that curves left while each stitch remains similarly spaced is still primarily a path observation. A line that remains straight while stitches alternately bunch and spread is not evidence that the fabric is feeding sideways.
The next check should follow the motion you can actually see, not the wording of the complaint.
Separate path drift from crooked or malformed stitch formation
Sometimes the fabric follows the reference line correctly but the individual stitches still look crooked. That can happen when the reader is reacting to thread appearance, stitch balance, loops, skipped stitches, needle deflection, or another formation problem rather than actual sideways transport. The visible seam may look untidy even though the fabric trajectory is straight.
Do not diagnose those defects by increasing hand pressure or by trying to realign the feed system. Once the fabric path is proven straight, the question changes from “where is the material going?” to “how is the stitch being formed?” Needle, thread, threading, tension, and other stitch-formation checks belong on that separate path.
| Test result | Primary issue | Do not assume |
|---|---|---|
| Reference line and fabric both veer | Path drift remains under investigation | That tension is automatically the cause |
| Fabric stays on line, stitches look slanted or malformed | Stitch formation | That the feed system is misaligned |
| Fabric stays on line, spacing varies | Fore-aft feeding or stitch-length consistency | That sideways drift is present |
The path-versus-stitch split is the central diagnostic decision in this article. It should be settled before any deeper troubleshooting branch is chosen.
Compare with inconsistent stitch length when fore-aft spacing varies
If the sample stays oriented but the stitch spacing visibly changes, the symptom has moved away from pure sideways drift. Look for a repeatable difference in how far the fabric advances from stitch to stitch rather than a curve across the reference line. That is the distinction handled by the inconsistent-length diagnostic path.
Do not change a large group of controls at once. Preserve the same baseline conditions long enough to see whether the problem is direction, spacing, or both. One controlled comparison is more useful than several setting changes that make it impossible to tell which symptom was present first.
The neighboring article on inconsistent sewing machine stitches is the better route when variable spacing controls the failed result. Return here only if the material itself also veers sideways.
A spacing problem can then stay on its own diagnostic path instead of being mislabeled as steering or alignment trouble.
Compare with fabric-eating symptoms when material enters the needle plate
If the fabric is being pulled down into the needle-plate opening, bunching at the start, or becoming trapped below the presser foot, stop using sideways drift as the main description. The fabric may look crooked because it is no longer lying and feeding normally, but the defining symptom is material entering or catching at the needle-plate area.
That route has a different evidence set because needle choice, stitch selection, starting position, stabilization, and the needle-plate opening can matter in ways that a simple path test does not capture. Use diagnose fabric entering the needle plate instead of forcing the trapped sample along a marked line.
Do not pull hard on fabric that has already been caught. Stop the machine and follow the exact manual’s safe release and access instructions before removing covers or working near the needle area.
Once the fabric lies flat and feeds normally again, a separate path-drift test can be meaningful if the seam still veers.
Compare with thick-fabric feeding when drift appears only across bulk
A machine that tracks normally on stable woven scrap but veers only at a thick seam intersection does not show the same baseline symptom as a machine that drifts on ordinary fabric. Bulk can change the angle of the presser foot and the way layers enter the feed area. Some machines have documented leveling aids or procedures for those transitions, but they are model specific.
Brother support, for example, documents cases where a compatible presser foot can tilt at a thick seam and provides a model-dependent leveling method. That evidence supports treating bulk-only trouble as its own condition, not as proof of general feed misalignment.
If the problem appears only when the stack becomes bulky, use diagnose thick-fabric feeding problems. Do not infer capacity from motor wording, machine weight, or a sharp needle, and do not force the handwheel or fabric through a hard stop.
The ordinary-fabric baseline remains useful here because it shows that the failure is conditional rather than universal.
Route ordinary steering practice away from fault diagnosis
Following a seam allowance is a learned machine-handling skill. Small changes in hand position, visual focus, fabric edge, speed, or the way a beginner corrects direction can create a wavy seam without any machine defect. If the machine holds a reasonable path when the material is lightly guided on a stable baseline, the remaining problem may simply be steering practice.
That is where this troubleshooting article should stop. Technique instruction can cover seam guides, hand placement, visual reference points, and practice drills without labeling normal learning variation as hardware failure. A diagnostic article should not manufacture a mechanical problem just because a new sewist cannot yet follow a line perfectly.
Note: The baseline here is meant to separate symptoms, not to teach straight-seam technique. If the material does not reproducibly veer on its own, stay with normal sewing practice rather than escalating the machine diagnosis.
Persistent independent drift, however, still deserves a bounded user-level check and a clear service threshold.
Route skipped, looped, or tension-led defects away from path diagnosis
Skipped stitches, loops on one side, obvious thread imbalance, or irregular stitch formation can make a straight seam look visually crooked even when the fabric travels correctly. Those symptoms require a different baseline focused on threading, needle condition and compatibility, thread path, bobbin setup, tension, and stitch formation.
Do not adjust tension merely because the line looks crooked from a distance. First confirm whether the fabric path actually departs from the reference line. If the trajectory is straight, moving into thread-formation diagnosis is more defensible than changing feed assumptions.
The phrase sewing machine stitches crooked is therefore only a description of appearance, not a diagnosis of the mechanism producing it.
Once malformed stitches become the dominant evidence, preserve the straight-path observation and leave feed alignment alone unless a separate symptom supports returning to it.
Stop before feed alignment or internal mechanism adjustment
Persistent drift after the documented user checks does not give enough evidence to prescribe feed-dog alignment, timing, linkage, gear, motor, or internal pressure adjustments. Those mechanisms vary by machine, and an external symptom cannot establish which internal component is responsible. Brother’s support path for crooked or inconsistent results moves to service when its listed user checks do not resolve the problem.
Keep owner-level work inside the exact manual. If the manual permits cleaning a particular area, power off and unplug the machine when instructed before access. Do not remove electrical housings, bypass guards, force feed dogs or controls, or turn a hard-locked handwheel through resistance.
Warning: Stop and seek qualified service for smoke, a burning odor, overheating, exposed wiring, uncontrolled motion, repeated hard needle strikes, a hard mechanical lock, visible broken internal parts, or a persistent symptom after the documented user checks. If smoke or a burning smell appears, switch the machine off and disconnect power rather than continuing the test.
A service referral is not a diagnosis of the internal fault. It is the correct boundary when the evidence has reached the limit of safe owner-level checking.
Use one straight-line test sheet before deciding what failed
A short written record makes this symptom easier to separate from neighboring problems. You do not need a repair log. You need enough information to repeat the baseline and describe what the fabric actually did.
Use the same sheet if you later contact support or a service provider. A statement such as “stable woven scrap veers left under the manual’s basic straight-stitch setup, with the correct foot and no hand pressure” is more useful than “the machine sews crooked.”
- Machine setup: Record the basic straight stitch and feed state used from the exact manual.
- Needle and foot: Confirm correct installation and the documented foot for the stitch.
- Material: Use stable woven scrap without a bulky crossing seam.
- Reference: Mark a visible straight path before sewing.
- Hands: Guide lightly without pushing or pulling.
- Path: Record whether the whole fabric veers left, right, or stays aligned.
- Spacing: Record whether fore-aft stitch spacing stays consistent.
- Stitch shape: Note loops, skipped stitches, slanting, or other malformed formation separately.
- Condition changes: Note whether the symptom appears only with bulk, stretch, or another specific material condition.
For repeatability, label comparable passes A, B, and C and record each as left, right, or aligned. Keep the same baseline setup. The manufacturer guidance used here gives no universal inch or stitch-count cutoff, so stronger evidence is the same directional drift recurring under comparable conditions.
That record is enough to choose the next diagnostic route without pretending you have identified an internal failure.
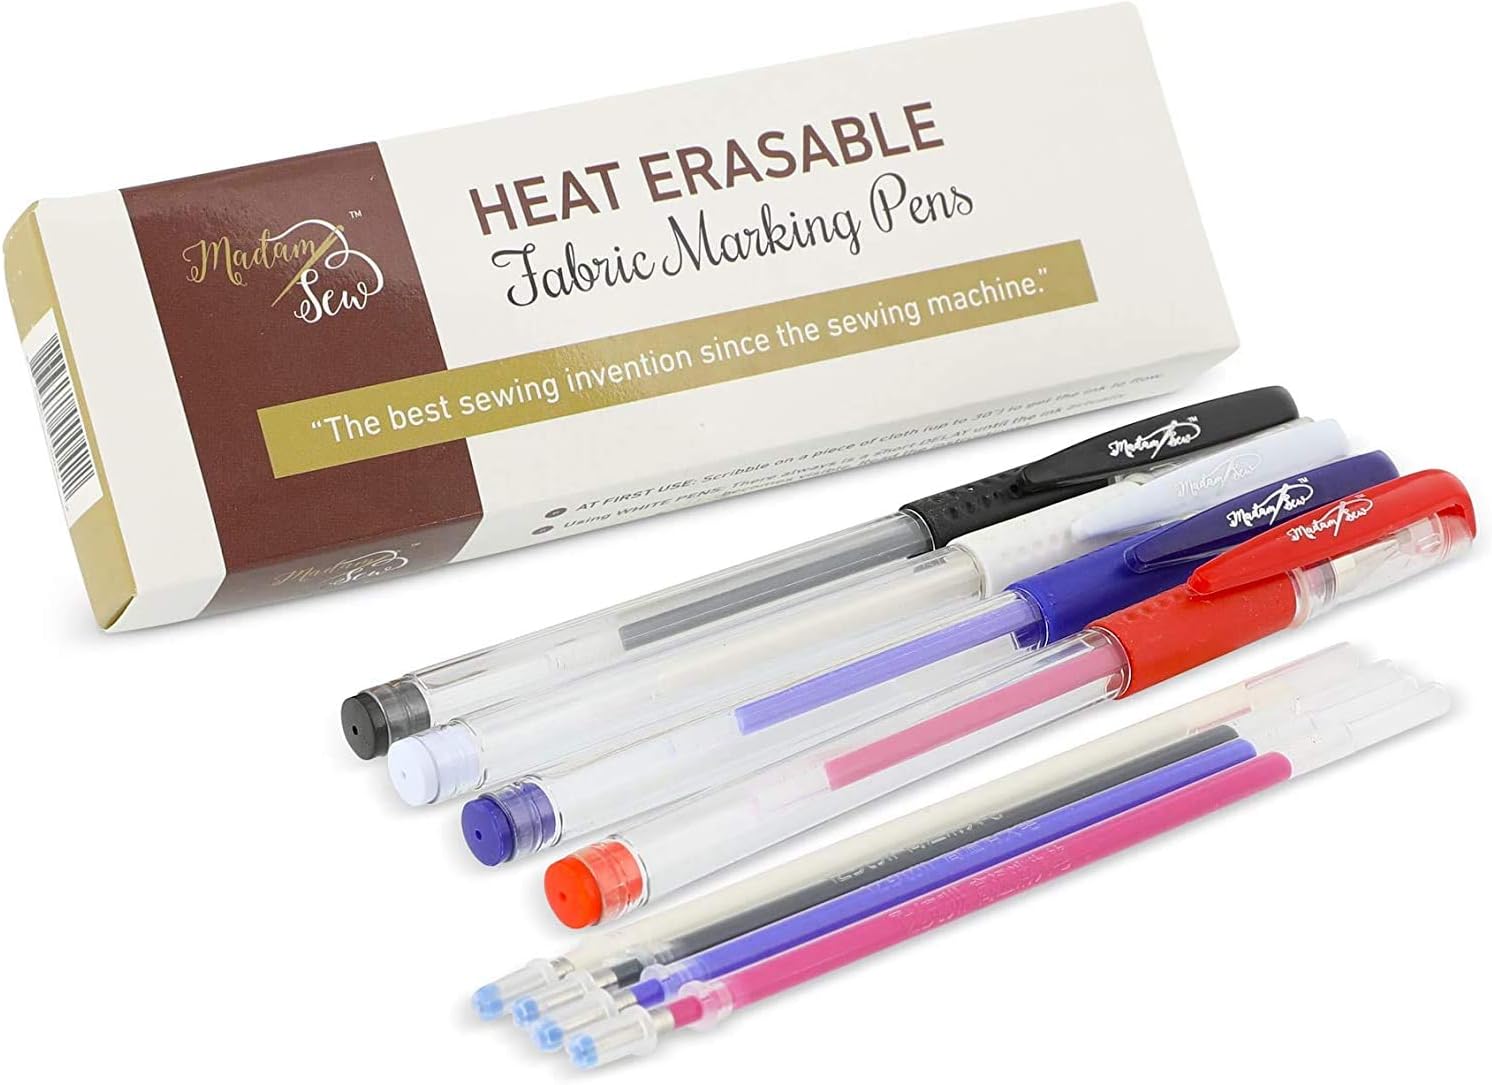
Madam Sew Heat Erasable Fabric Marking Pens use heat-sensitive gel ink for temporary sewing and quilting marks. The set contains red, white, black, and blue pens plus one matching refill for each color. Each pen has a 0.7 mm writing point, and Madam Sew recommends testing the marking method on scrap fabric before using it on a project.
Check On AmazonIf you click this link and buy, we earn a commission at no additional cost to you.
Final Thoughts: Prove whether the path or the stitch is crooked
The strongest first move when a sewing machine is not sewing a straight line is not a tension change or an internal adjustment. Establish the exact machine’s basic straight-stitch baseline, mark a stable woven sample, guide without force, and watch whether the entire fabric path veers. That single observation separates a genuine path question from several look-alike symptoms.
If spacing changes, fabric enters the needle plate, bulk triggers the problem, or the stitches themselves are skipped, looped, or malformed, use the diagnostic path that matches that evidence. If reproducible drift remains after the manual’s user-level checks, stop before internal alignment work and use qualified service. The goal is not to guess which part failed; it is to describe the failure accurately enough to take the next safe step.
FAQs
📏 Why is my sewing machine not sewing a straight line?
First check whether the fabric itself veers or whether the fabric tracks straight and only the stitches look crooked. Use a stable woven sample, the exact manual’s basic straight-stitch setup, and light guidance before treating the symptom as a machine fault.
🧭 How can I tell whether the fabric is feeding sideways?
Mark a straight reference line on stable woven scrap and observe the orientation of the whole sample. Repeated movement away from that path under the same baseline is more meaningful than one small wobble while your hand position changes.
🦶 Can the wrong presser foot make stitching look crooked?
Yes, manufacturer support includes the correct presser foot among the checks for crooked or inconsistent stitching. Verify the foot specified or permitted for the selected stitch on the exact machine rather than substituting a visually similar foot.
🧵 Should I change thread tension when straight stitches look crooked?
Not before separating fabric-path drift from stitch-formation defects. If the fabric tracks straight but loops, imbalance, or malformed stitches are visible, tension and threading may belong to the next diagnostic path.
🧱 What if the machine only veers over thick seams?
Treat that as a bulk-dependent feed problem rather than a general straight-path failure. Verify the exact machine’s documented procedure for thick transitions and do not force the fabric or handwheel through resistance.
🛠️ Should I adjust the feed dogs if the machine keeps veering?
Do not prescribe internal feed alignment from path drift alone. Confirm only the user-level feed state and procedures allowed by the exact manual, then use qualified service if persistent drift remains after those checks.
References and Sources
These manufacturer sources are included because the article relies on specific user-level checks, safety steps, and service boundaries rather than general sewing advice.
- Brother crooked-stitch troubleshooting: Supports checking the correct presser foot, stabilization, and whether fabric was pulled, pushed, or fed at an angle, with service as the next step when the listed checks do not resolve the symptom.
- Brother fabric-feed troubleshooting: Supports user-level checks for feed-dog state, stitch length, presser foot, needle condition, tangled thread, and bulk-related presser-foot angle on covered household models.
- Brother presser-foot safety instructions: Supports powering off the machine before changing the presser foot on covered models and using the correct foot for the selected stitch.
- Brother care and maintenance instructions: Supports unplugging the machine before cleaning access covered by the manual.
- Brother smoke and odor safety guidance: Supports immediately turning off and disconnecting power when smoke or an abnormal smell occurs.
Model-specific controls and access steps still belong to the exact manual for the machine being diagnosed. These sources do not establish an internal mechanical cause from crooked stitching alone.