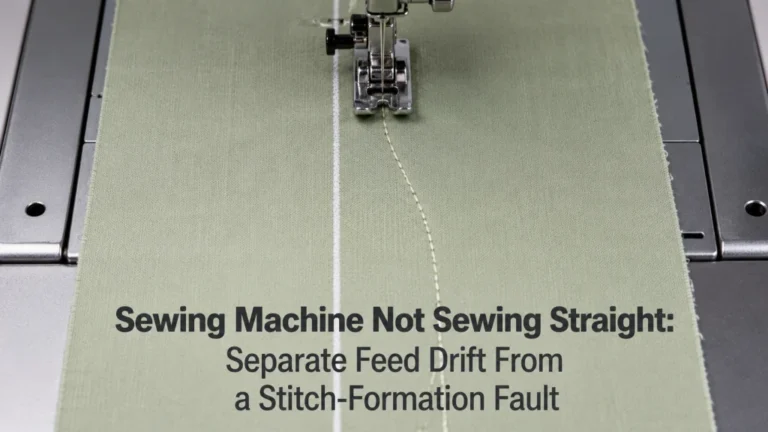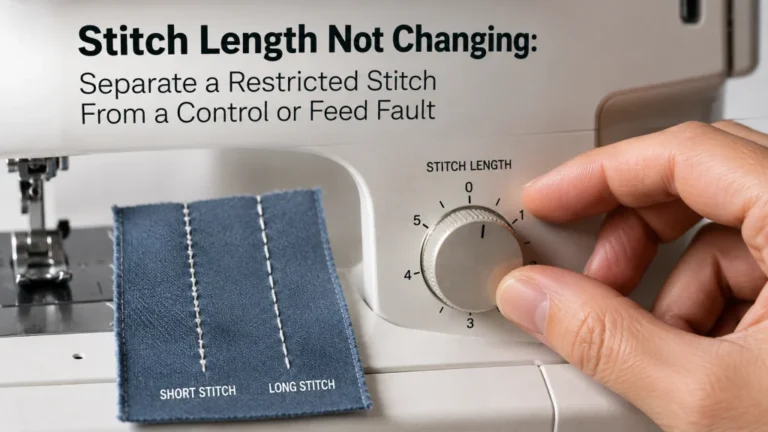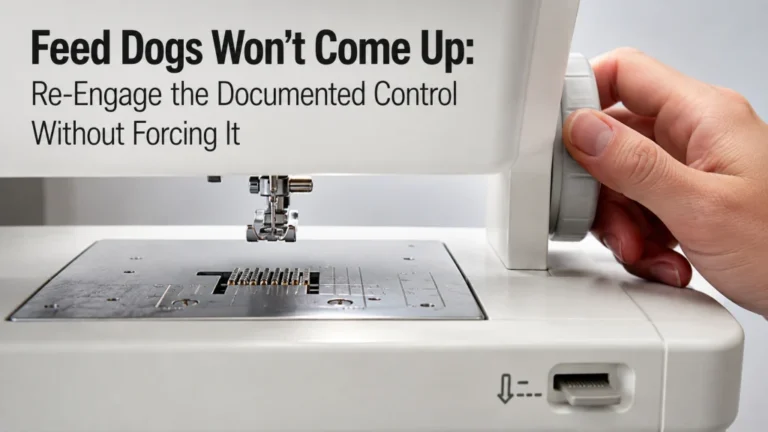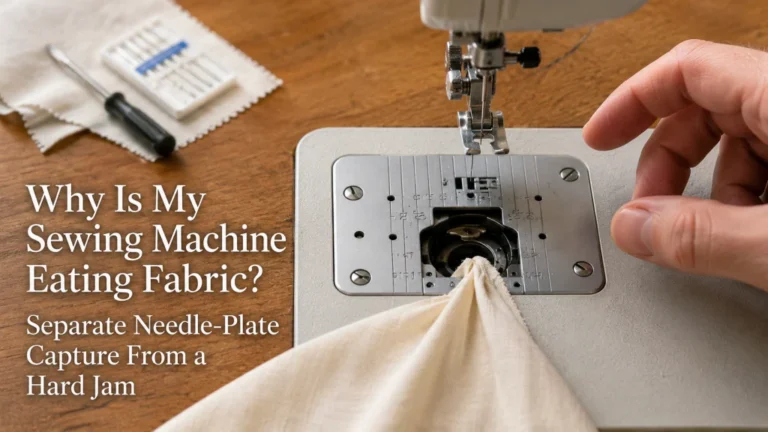
When stitch spacing changes within the same sewing run, prove that the distance between needle penetrations is actually changing before adjusting thread tension. A seam can look uneven because of skipped stitches, loops, puckering, or sideways drift even when the physical stitch spacing is regular. The useful diagnostic path is to measure the seam, retest on a stable woven stack without pushing or pulling, verify the documented presser-foot and feed state, and note exactly where the spacing changes. Persistent irregular feed after the machine’s documented user-level checks belongs in qualified service, not an internal timing or linkage adjustment at home.
Prove the spacing is inconsistent before changing tension
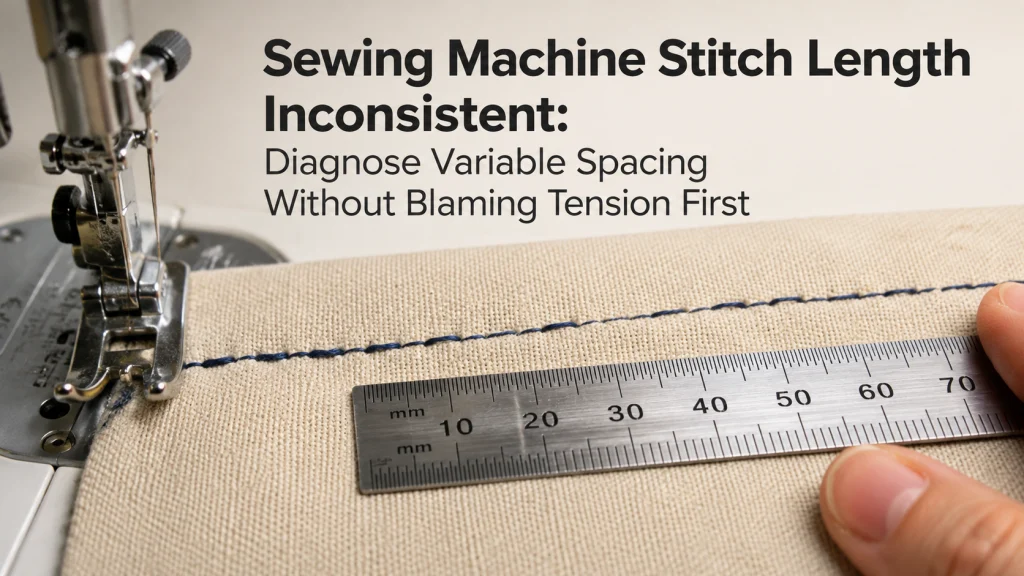
If stitch length on your sewing machine is inconsistent, place a ruler beside the seam before touching the tension control. Look at the distance from one needle penetration to the next. If a run contains clearly longer and shorter gaps even though the selected stitch-length setting stayed unchanged, you have evidence of a spacing-consistency problem rather than merely an unattractive stitch.
Now compare that with a seam whose punctures are evenly spaced but whose thread forms loose loops underneath. The second seam can look just as irregular from a distance, but the physical feed distance may be normal. Changing tension before making that distinction mixes two fault families and can hide the useful evidence you already have.
Key point: Diagnose the distance between needle penetrations first. Thread appearance, loop formation, skipped stitches, and seam direction are separate observations.
This measurement-first approach also keeps the troubleshooting bounded. Manufacturer support commonly groups distorted, inconsistent, and crooked stitching together, so the job here is to narrow that broad symptom to variable physical spacing before deciding what to check next.
Mark and measure actual needle-penetration spacing
Use a completed test seam rather than judging while the fabric is moving. Choose a straight section, mark several consecutive needle holes, and measure the gaps along the seam line. You do not need laboratory precision. You need enough information to show whether the spacing is repeating normally or changing in a pattern that is visible on the same material stack.
| Spacing worksheet | What to record | Why it matters |
|---|---|---|
| Selected stitch | Stitch type and displayed or dialed length | Confirms the requested setting stayed unchanged |
| Material stack | Fabric type and number of layers | Keeps the retest comparable |
| Measured section | A short run of consecutive needle penetrations | Separates one odd stitch from repeated variation |
| Where spacing changes | Flat area, seam crossing, edge, curve, or random location | Shows whether a material transition is involved |
| Fabric handling | Guided only, pushed, pulled, or redirected | Identifies outside interference with feed |
Write down what you can see rather than naming a cause. “Three short gaps appear immediately before the bulky seam crossing” is useful evidence. “The feed mechanism is worn” is an internal diagnosis that the seam alone cannot prove.

The SINGER 00220 is a 6-inch sewing gauge with a sliding marker. Its ruler is printed in inches and centimeters, and the slider holds a position for repeated measurements or markings. For this troubleshooting step, it can help compare the distance between consecutive needle penetrations on a completed test seam.
Check On AmazonIf you click this link and buy, we earn a commission at no additional cost to you.
Separate uneven spacing from skipped stitches and loops
An uneven stitch length on a sewing machine means the physical distance between penetrations varies. A skipped stitch is different: the machine fails to form a normal stitch at one or more expected penetrations. A loop or tension imbalance is different again because the thread relationship looks wrong even though the material may have advanced by a regular distance.
| What you see | Spacing between needle holes | Primary route |
|---|---|---|
| Alternating longer and shorter gaps | Variable | Continue with feed-spacing checks |
| A penetration occurs but no normal stitch locks there | May remain regular | Route to stitch-formation troubleshooting |
| Loops or loose thread collect above or below | May remain regular | Route to threading and tension-related stitch formation |
| Spacing is regular but the seam wanders sideways | Regular or nearly regular | Separate directional tracking from length consistency |
This distinction matters because broad searches for irregular stitch length on a sewing machine often return tension, threading, needle, and feed advice in one list. Those checks may all matter somewhere in troubleshooting, but they are not interchangeable. Keep only the observations that match the symptom in front of you.
Retest on a stable woven baseline stack
Once variable spacing is confirmed, remove avoidable material variables. Use a stable woven fabric in a simple, even stack that the machine normally handles, select an ordinary straight stitch permitted by the exact manual, and sew a short test at a moderate, controlled pace. The goal is not to find a universal stitch-length number. It is to create a repeatable baseline that can be compared with the problem seam.
If the baseline spacing is regular while the original project becomes irregular only on a stretchy, slippery, bulky, or rapidly changing stack, that difference is evidence. It points you toward how the material is moving under the foot rather than proving that the stitch-length control itself has failed. If the baseline also varies, the symptom is broader and the feed state deserves closer inspection.
Keep the needle, thread, presser foot, and selected stitch documented during the comparison. Changing several variables at once can make the next clean seam look like a fix without showing which change mattered.
Note: Use a plain straight stitch as the diagnostic baseline unless the exact model manual requires something else. Zigzag, stretch, satin, and decorative stitches can use different model-specific length or width settings, so their visual pattern is not a clean substitute for measuring forward spacing on a straight seam. If the irregularity appears only with one non-straight stitch, verify that stitch’s documented settings first, then compare it with the straight-stitch baseline before calling the machine’s feed spacing inconsistent.

This PEASUG fabric is a 63-inch by 2-yard cut of 100% cotton muslin in a natural unbleached color. The listing describes it as medium weight and suitable for sewing, embroidery, garments, and crafts. It provides a simple woven material for creating repeatable diagnostic samples while keeping the fabric stack consistent between tests.
Check On AmazonIf you click this link and buy, we earn a commission at no additional cost to you.
Keep your hands from pushing or pulling the material
Brother’s current support for irregular, inconsistent, or crooked stitch patterns specifically tells users to check that the fabric was not pulled, pushed, or fed at an angle. Singer gives the same practical boundary in its current troubleshooting material: the feed dogs are intended to draw the fabric under the foot, while the user’s hands guide rather than force it.
For the diagnostic retest, support the material so its weight is not dragging off the table, then guide it lightly enough that the feed system controls forward movement. Do not pull from behind to make the fabric “keep up,” and do not push from the front to force it through a bulky area. Both actions can change the distance the fabric travels between needle penetrations and can also deflect the needle.
If the spacing becomes regular when the material is only guided, record that result before changing another setting. It is much more useful than simply deciding that the machine “sews better” on the second run.
Confirm the documented presser foot and feed state
The next check is the exact setup the machine expects for normal feeding. Brother includes correct presser-foot choice in its current irregular-stitch support, while Singer notes that fabric may fail to feed when the presser foot is not lowered, the feed dogs are disengaged, or the stitch-length control is set to zero on machines where those conditions apply. These are documented state checks, not reasons to force a control.
Use the exact model manual to confirm which foot belongs with the selected stitch, whether the feed dogs should be raised, and how a drop-feed control returns to normal sewing. Some mechanisms do not visibly rise until the handwheel is turned through the re-engagement sequence specified for that machine. Do not pry at the feed dogs or assume another model’s lever sequence applies.
- Confirm the presser foot matches the selected stitch and machine instructions.
- Confirm the presser foot is fully lowered for normal sewing.
- Confirm the feed dogs are in the documented normal-feed state.
- Confirm the stitch-length control is not in a zero-feed setting when that control applies.
- Retest before changing another variable.
If fabric is not advancing normally at all, use the broader path to diagnose fabric feed problems. If the feed dogs themselves do not return to their documented sewing state, check feed dog operation as a separate symptom.
Observe whether inconsistency appears only at bulk transitions
A seam can be regular across a flat two-layer area and change when the presser foot climbs onto a thick intersection. That pattern is different from random spacing variation across an otherwise uniform test strip. Record the few stitches before, across, and after the transition so you can see whether the irregularity is tied to the change in stack height.
Do not solve that observation by pushing the fabric through. Support the work, use only handling methods permitted for the machine and project, and make the comparison again. If the spacing returns to normal once the foot is level on the other side, the evidence is localized to the material transition rather than a constant failure of the requested stitch length.
This is also where normal sewing technique and troubleshooting meet but should not be confused. The diagnostic question is whether the bulk transition interrupts feed. Project-specific technique for sewing that transition belongs outside this fault page.
Check accessible lint or thread around the feed area as documented
Lint and trapped thread can accumulate around feed and bobbin areas, but access differs by machine architecture. Follow the exact model manual before removing a needle plate, bobbin case, shuttle cover, or any other part. Singer’s current front-load cleaning instructions, for example, begin by turning the machine off and unplugging it before accessing the feed dogs and shuttle area.
That example is useful because it shows why “clean the feed dogs” is not a universal disassembly instruction. A top-load machine, front-load machine, or model with different covers can require a different sequence. Clean only the areas and parts the manufacturer identifies as user-accessible, with the machine powered off whenever the manual requires it.
After cleaning, restore every removed user-serviceable part exactly as documented, then run the same baseline test again. If the stitch spacing changes, record the before-and-after observation without claiming that lint was the confirmed root cause unless the evidence actually establishes that connection.

This SINGER maintenance kit includes an angled-edge lint brush, needle inserter, needle threader, three screwdrivers, and a storage pouch. The lint brush uses nylon bristles designed to lift lint from sewing machine areas. For this troubleshooting step, use cleaning tools only in areas the exact machine manual identifies as user-accessible and follow its required power-off procedure.
Check On AmazonIf you click this link and buy, we earn a commission at no additional cost to you.
Keep a feed-interruption evidence log
A short log prevents the troubleshooting sequence from turning into a chain of guesses. Each row should record one condition and one result. That is especially helpful when the spacing changes only occasionally, because an intermittent symptom is easy to remember as “random” even when it follows a repeatable material or handling transition.
| Test condition | Observed spacing | What changed from prior test | Next decision |
|---|---|---|---|
| Stable woven baseline, guided only | Regular or variable | Project material removed | Decide whether the symptom follows the project stack |
| Same baseline after feed-state verification | Regular or variable | Foot and feed state confirmed | Keep or eliminate setup state as a lead |
| Original seam near bulk transition | Note exact location of short and long gaps | Stack height changes | Decide whether the inconsistency is localized |
| Baseline after documented cleaning | Regular or variable | User-accessible lint or thread removed | Escalate if the symptom persists |
Do not add an internal mechanism diagnosis to the log unless a qualified service finding later supplies one. The purpose of the record is to preserve external evidence that can help you decide whether the problem is handling, material-specific, setup-related, persistent across conditions, or ready for service.
Separate variable spacing from a stitch-length command that does not respond
There is an important difference between consistency failure and command failure. On this page, the selected stitch length remains unchanged while the physical gaps vary within the run. A different problem exists when changing the machine’s stitch-length setting produces no meaningful change in the commanded result at all.
For example, if a machine produces a consistent short stitch when set to one length and still produces the same consistent short stitch after a clearly different permitted setting is selected, the issue is not alternating spacing within one seam. Use the path for a stitch length control not responding instead of repeating feed-consistency tests that do not match the symptom.
Separate spacing inconsistency from a seam that veers sideways
A seam can wander left or right even while the distances between consecutive needle penetrations stay reasonably consistent. That is a directional-tracking problem, not automatically a stitch-length problem. Measure first so the visual crookedness of the seam does not substitute for evidence about forward spacing.
If the seam direction is the dominant fault, follow the checks for a sewing machine not sewing straight. If both direction and spacing change together, record both observations separately because one visible seam can contain more than one symptom.
Route skipped or looped stitch formation away from spacing diagnosis
If the ruler shows regular penetration spacing but the seam contains missing lockstitches, loose loops, thread nests, or obvious top-to-bottom thread imbalance, stop calling the primary problem inconsistent stitch length. Those symptoms concern stitch formation. Tension may belong in that diagnostic family, but it should not be the first response to a spacing fault that has not yet been proven.
This boundary prevents a common troubleshooting spiral: change tension, rethread, change a needle, alter stitch length, and then forget what the original seam actually did. Use the broader sewing machine troubleshooting process to route a malformed stitch to the correct symptom family instead of stacking unrelated adjustments onto the feed test.
Stop before internal feed timing or mechanism adjustment
User-level evidence can show that spacing remains variable on a stable baseline after fabric handling, presser-foot state, feed state, and documented cleaning have been checked. It cannot prove from the outside that an internal feed cam, linkage, gear, timing relationship, motor, or control board is defective. Do not open housings or begin internal adjustment to turn an observation into a diagnosis.
Brother’s current support directs users to service when its listed irregular-stitch checks do not resolve the symptom. That is an appropriate boundary here as well: if repeatable spacing inconsistency persists after the exact machine’s documented user checks, take the evidence log, test sample, model number, and manual information to qualified service.
Warning: Stop using the machine for smoke, a burning odor, overheating, sparks, exposed wiring, uncontrolled motion, repeated hard needle strikes, a hard mechanical lock, or visible broken internal parts. Power off and disconnect the machine before user-accessible inspection whenever the exact manual requires it. Do not force the handwheel, feed dogs, controls, fabric, or guards.
The useful endpoint is not a guessed repair. It is a clean record showing that the symptom survived the safe, documented checks and now needs a service-level diagnosis.
Final Thoughts: Diagnose spacing, not the appearance of the whole stitch
Stitches of different lengths on a sewing machine are a feed-spacing symptom only when the distance between actual needle penetrations varies. Measure that distance, compare it with skipped or looped stitch formation, and retest on a stable baseline before changing settings that belong to another fault family.
From there, keep the sequence controlled: guide rather than push or pull, verify the correct foot and feed state, note bulk transitions, clean only the areas the manual makes user-accessible, and record what each retest changes. If the requested stitch length itself does not respond, or the seam primarily veers sideways, route those symptoms separately.
When variable spacing persists across the controlled baseline after documented user-level checks, stop at the service boundary. The measurements and evidence log are enough to make the next decision without pretending they reveal an internal mechanical cause.
Frequently Asked Questions
📏 How do I know if my sewing machine stitch length is actually inconsistent?
Measure the distance between several consecutive needle penetrations while the selected stitch-length setting stays unchanged. If those physical gaps alternate or vary repeatedly, you have evidence of a spacing-consistency problem.
🧵 Can thread tension cause stitches to look uneven?
Thread tension can make a seam look uneven through loops or thread imbalance, but that does not prove the fabric advanced by uneven distances. Check penetration spacing first, then route looped or malformed stitches to stitch-formation troubleshooting.
✋ Can pulling the fabric change stitch length?
Yes. Current Brother and Singer support both warn against pushing or pulling fabric because it interferes with normal feeding. During diagnosis, support the work and let the feed system control forward movement while your hands guide it.
🪜 Why do my stitches get shorter or longer at a thick seam?
A localized change at a bulk transition suggests that the material-height change is affecting how the stack moves under the foot. Record the stitches before, across, and after that transition and compare them with a flat baseline before assuming the machine has a general feed fault.
🧰 When should inconsistent stitch length go to service?
Use qualified service when repeatable spacing inconsistency persists on a controlled baseline after the exact manual’s user-level setup and cleaning checks. Stop sooner for smoke, burning odor, overheating, exposed wiring, uncontrolled motion, repeated hard strikes, a hard mechanical lock, or visible broken internal parts.
References and Sources
- Brother irregular stitch support: verifies current checks for presser-foot choice, fabric handling, and the service route when the listed checks do not resolve the symptom.
- Singer sewing troubleshooting guidance: supports the documented feed-dog, presser-foot, stitch-length, and no-pushing-or-pulling checks used to separate feed state from handling interference.
- Singer stitch-pattern guidance: verifies that decorative and stretch stitches can require model-specific stitch-length settings, supporting the use of a plain straight stitch as the diagnostic spacing baseline.
- Singer feed-area cleaning instructions: verifies the power-off and unplug requirement and the model-architecture-specific nature of user-accessible feed-area cleaning.