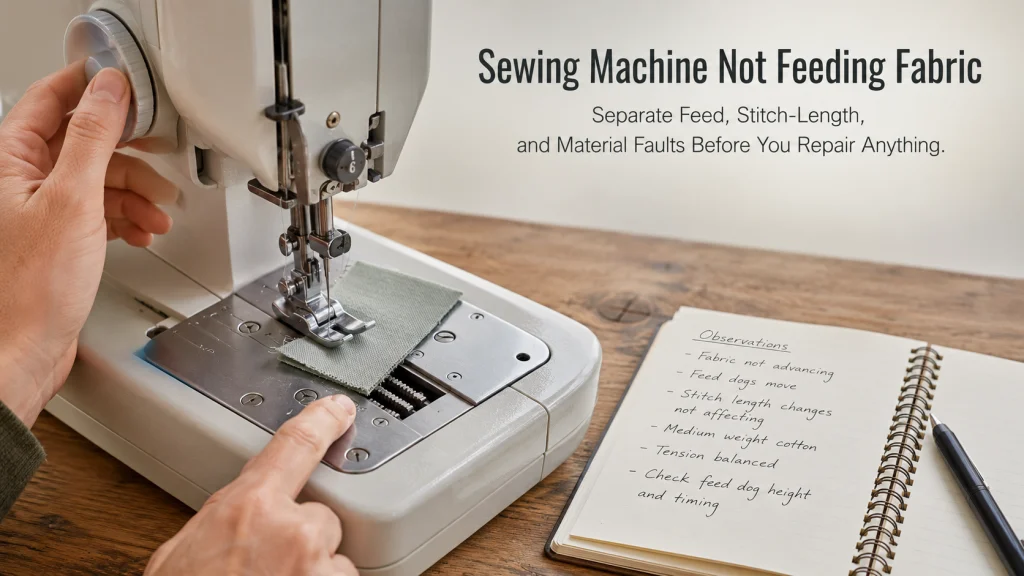
Sewing Machine Stitches: Select the Stitch First, Then Change Only the Geometry You Need
Sewing Machine Stitches

Sewing machine stitches make more sense when you start with the sewing job instead of the stitch number. On a functioning domestic machine, the practical sequence is to identify the stitch in the exact chart or on-screen menu, select it with the documented control, check which settings that stitch actually allows, and test the result
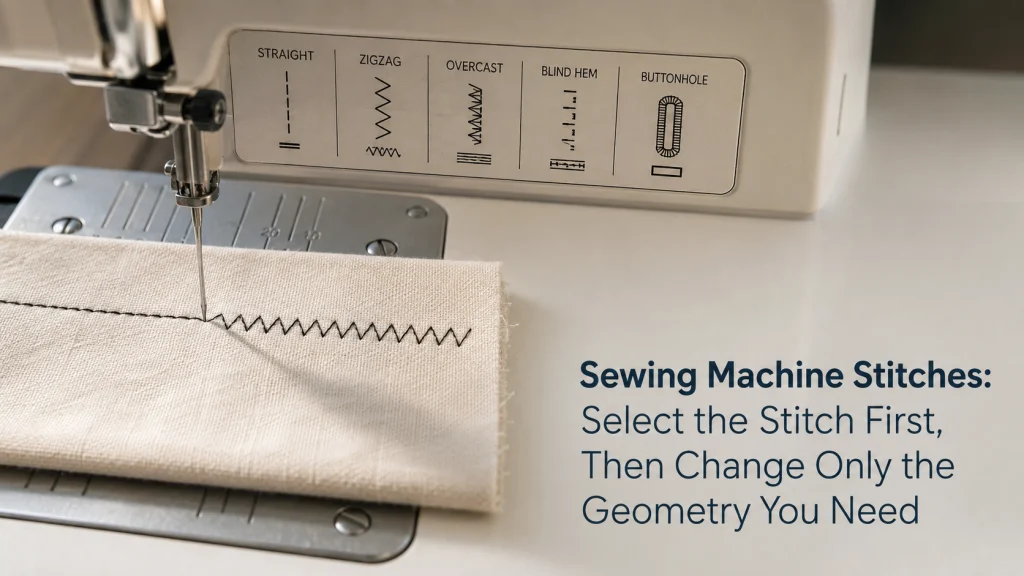
Sewing Machine Stitch Length Inconsistent: Diagnose Variable Spacing Without Blaming Tension First

Sewing Machine Stitch Length Inconsistent

When stitch spacing changes within the same sewing run, prove that the distance between needle penetrations is actually changing before adjusting thread tension. A seam can look uneven because of skipped stitches, loops, puckering, or sideways drift even when the physical stitch spacing is regular. The useful diagnostic path is to measure the seam, retest

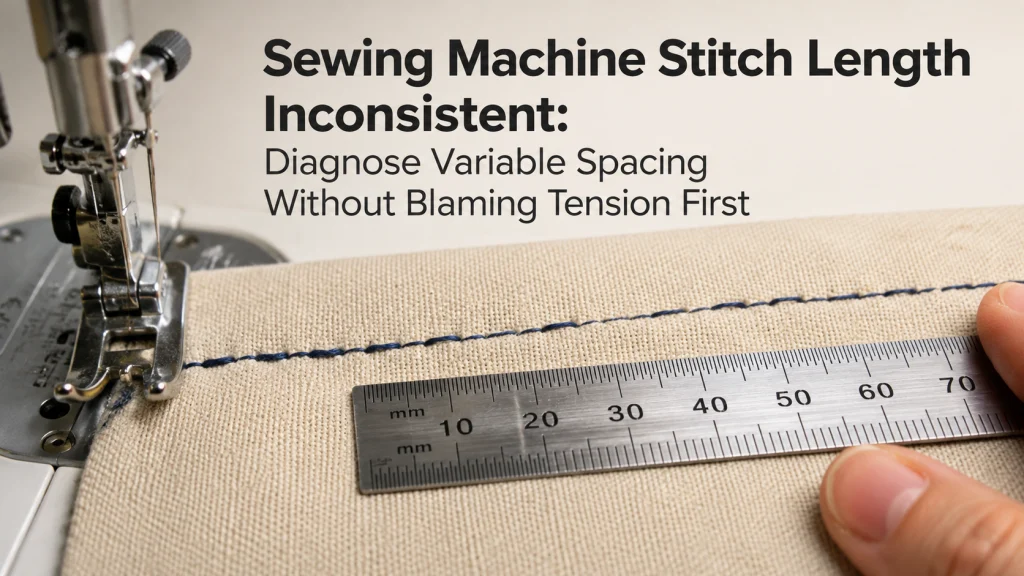
Stitch Length Not Changing: Separate a Restricted Stitch From a Control or Feed Fault

Stitch Length Not Changing

An unresponsive stitch-length control can mean two different failures: the selected stitch or control will not accept a new length, or the displayed setting changes but the sewn spacing does not respond as expected. Start by recording the exact stitch and current setting, then confirm whether that stitch is editable on the exact machine before

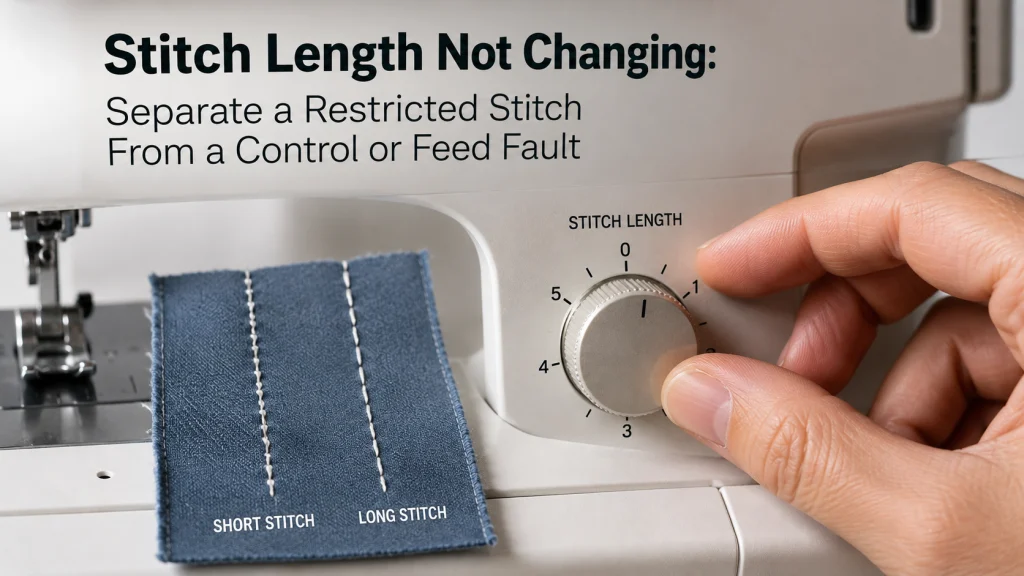
Sewing Machine Not Feeding Fabric: Separate Feed, Stitch-Length, and Material Faults Before You Repair Anything

Sewing Machine Not Feeding Fabric

A sewing machine not feeding fabric can come from several different states that look similar at first: the presser foot is not in its normal sewing position, the feed dogs are disengaged, the feed system has not completed its re-engagement cycle, stitch length is set to no-feed, the material stack changes how the machine advances,