Sewing machine stitches make more sense when you start with the sewing job instead of the stitch number. On a functioning domestic machine, the practical sequence is to identify the stitch in the exact chart or on-screen menu, select it with the documented control, check which settings that stitch actually allows, and test the result on representative scrap. Reverse or reinforcement behavior, stitch length, stitch width, needle position, and buttonhole operation are not interchangeable controls, and some are fixed or limited by the selected stitch. If a selected stitch or control does not behave as the manual describes, stop treating the issue as normal stitch selection and move to troubleshooting.
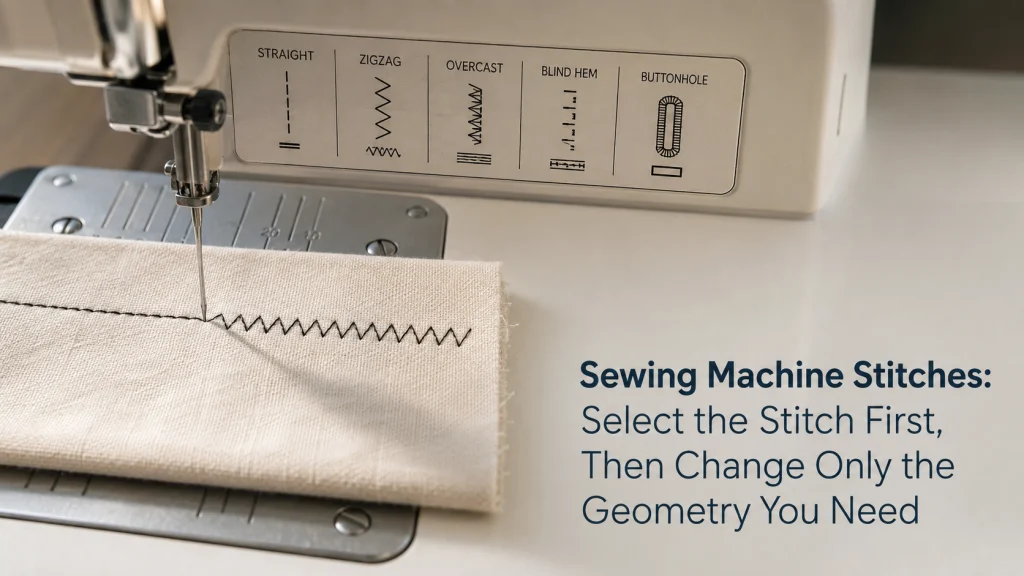
Select the Job Before the Stitch Number
A beginner can open a stitch chart and see straight lines, zigzags, stretch patterns, overcasting shapes, blind-hem symbols, decorative motifs, and buttonholes all competing for attention. The useful first question is not which number looks most versatile. It is what the stitch needs to do in the current sewing job: join fabric, allow lateral coverage, finish an edge, provide a built-in stretch pattern, decorate a surface, or execute a documented buttonhole cycle.
That job-first approach keeps sewing machine stitches from becoming a memorization exercise. Two machines can assign different numbers to similar stitch families, and even machines from the same brand can expose different controls after a stitch is selected. If you need the wider operating sequence around threading, controls, and normal machine use, learn the full sewing machine workflow before treating one stitch setting as an isolated rule.
| Sewing job | First stitch question | Next control to verify |
|---|---|---|
| Ordinary seam | Does the machine provide the straight-stitch form the task calls for? | Length and permitted needle position |
| Lateral stitch coverage | Is a zigzag or related utility stitch appropriate? | Width and length range |
| Stretch or finishing function | Which exact built-in utility pattern matches the documented use? | Editable settings and required foot |
| Decorative stitching | Which decorative pattern is selected? | Whether length, width, or other geometry is editable |
| Buttonhole | Which buttonhole mode does the exact machine provide? | Required foot and documented buttonhole procedure |
This routing map is intentionally broad. It tells you which branch of the machine’s controls to inspect next without pretending that one stitch number, length, width, or foot applies to every model and fabric.
Read the Exact Machine’s Stitch Chart or On-Screen Menu
The stitch chart is the machine-specific map between a symbol or number and the controls available for that stitch. A mechanical model may use a pattern-selection dial, while a computerized model may use category and stitch-selection keys. Brother support documents both approaches on different machine families, which is enough to show why a generic instruction such as “turn the stitch dial to 3” cannot be transferred between machines.
Start by locating the exact stitch name or symbol in the manual. Then record any default length, width, needle position, reverse or reinforcement behavior, and presser-foot designation that the chart provides. If the manual lists a range rather than one fixed value, that range defines the permitted control space for the machine, not a recommendation to use every possible value on the current fabric.
| Manual worksheet item | What to record |
|---|---|
| Stitch name or symbol | The exact label shown for the owned machine |
| Selection method | Dial, keys, category menu, touch screen, or another documented control |
| Default geometry | Any documented starting length, width, or needle position |
| Editable geometry | Which values can be changed and within what documented range |
| Securing behavior | Whether the stitch uses reverse, reinforcement, automatic securing, or another documented behavior |
| Presser-foot designation | The foot name or letter required by the exact stitch chart |
Completing this worksheet before changing settings prevents a common beginner mistake: assuming that every visible control applies to every selected stitch. The machine may show a width control, for example, while the selected stitch uses that control differently or does not permit the full range.
Separate Utility, Stretch, Finishing, Decorative, and Buttonhole Groups at Use Level
Stitch groups are useful as navigation, not as universal recipes. Utility stitches handle everyday construction functions such as straight or lateral stitching. Stretch and finishing patterns change the stitch path for particular material or edge-management needs, while decorative stitches are selected primarily for visible patterning. Buttonholes are different again because the machine can control a multi-part sequence rather than simply repeating one ordinary stitch unit.
The important limit is that these group names do not tell you every setting to use. A stretch-pattern symbol does not provide a universal fabric recipe, and an overcasting-style stitch does not prove that one foot or width fits every machine. On many charts, basic utility families are visually simpler, such as straight or zigzag paths, while decorative groups use more complex repeated motifs; treat that visual difference only as a navigation cue, not as a substitute for the exact stitch name and manual description. Use the group to find the relevant stitch, then return to the exact chart for the controls and foot designation that apply to that model.
Keep Stitch Counts and Feature Labels Separate From Normal Stitch Use
A machine may advertise a large stitch count, multiple buttonhole styles, or named feature groups, but those are not the same question as how to use an owned machine normally. Once the machine is in front of you, the relevant task is narrower: locate the needed built-in stitch, understand the controls available for it, and execute the documented procedure.
Do not assume that a larger stitch library makes a particular seam easier, or that two similarly named stitches behave identically across machines. The stitch count is a feature description. The stitch chart and manual are the operational evidence that tells you what one selected pattern actually does on the exact machine.
Select or Change the Stitch With the Documented Dial, Keys, or Screen
Follow the machine’s own selection sequence instead of transferring steps from another interface. Brother documentation for some computerized models uses utility-stitch category and selection keys, while support for some mechanical models uses a pattern-selection dial and instructs the operator to place the needle in a specified position before turning that dial. Those procedures belong to the models covered by the documentation, not to every Brother machine or every domestic machine.
After selection, confirm that the display, dial mark, or other indicator matches the intended stitch before sewing. If the machine automatically loads default geometry, treat that as the machine’s documented starting state. Change only the setting needed for the job and only within the range the exact stitch permits.
Control safety: Follow the exact manual before changing stitch width or needle position. An unsupported lateral position can place the needle in the path of the installed presser foot or needle plate.
The safety check is mechanical, not cosmetic. A stitch symbol can look correct on the screen while an incompatible width or needle position creates a strike risk at the needle area.
Choose Between Straight and Zigzag Before Fine-Tuning Geometry
Straight and zigzag are often the first two stitch families a new owner recognizes, but the choice should still come before length or width adjustments. A straight stitch follows one needle path, while a zigzag adds lateral needle movement. That basic geometry changes which controls matter and what the selected stitch can do.
If the current decision is specifically between those two families, compare straight stitch and zigzag before changing secondary settings. Once the stitch family is settled, return to the exact machine chart for the length, width, and needle-position options that remain available.
Treat Reverse and Reinforcement as Stitch-Specific Behaviors
A reverse button does not always make every selected stitch sew backward. Brother’s support documentation distinguishes reverse stitching from reinforcement stitching: on covered models, some stitches sew in the opposite direction when the control is held, while other stitches use reinforcement stitches in place rather than reversing the stitch path. The exact stitch settings chart determines which behavior applies.
That distinction matters because the user’s responsibility changes with the selected stitch. If the manual says the stitch supports reverse, the control may move the stitching back along the seam. If the selected stitch uses reinforcement instead, pressing the same physical button can produce securing stitches without recreating the pattern in reverse.
For the full operating sequence, use reverse and reinforcement correctly rather than treating the button as a universal backstitch switch.
Change Stitch Length and Width Only Where the Selected Stitch Allows It
Stitch length changes the forward spacing of stitch formation, while stitch width controls lateral geometry on stitches that support side-to-side movement. On some machines, the width control also has another role when a straight stitch is selected, such as shifting needle position. That is why the label on a control is not enough to predict what it changes under every stitch.
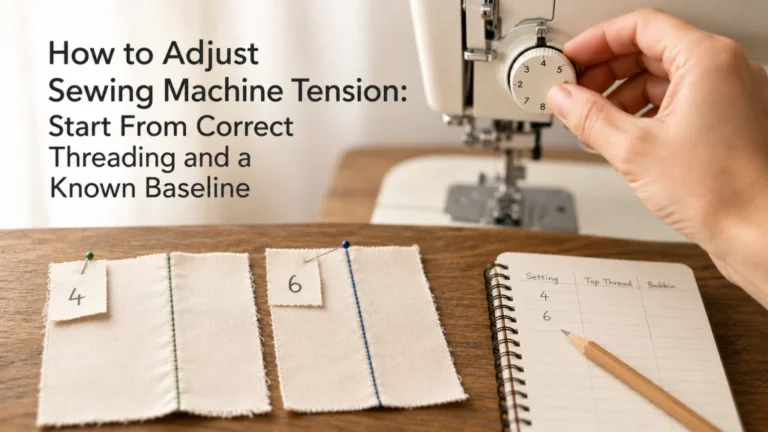
Brother support for covered computerized models instructs users to select the stitch before adjusting length or width with the plus and minus controls. The exact allowable values still belong to the model and stitch chart. For a focused explanation of those two dimensions, understand stitch length and width before applying any fabric-specific setting.
This is the reason a universal stitch-settings chart is unreliable. The control meaning starts with the selected stitch and exact machine, then the material and sewing task determine whether any adjustment inside the permitted range is useful.
Change Lateral Needle Position Only on Stitches That Support It
Needle position is not a free-standing control on every machine. Brother support shows one model group where straight and triple-stretch stitches use the stitch-width dial to move the needle from left to right, while another group has preset positions tied to specific stitch numbers and does not provide the same right-position option. Both are normal designs.
That model variation is the reason to check the exact stitch first. If the current sewing job requires lateral placement, change the sewing machine needle position only through the documented control and range. Never assume that a width dial can safely move the needle under every installed foot or plate opening.

The Dritz 3100 is an aluminum sewing gauge with 14 commonly used measurements ranging from 1/8 inch to 2 inches. Measurement markings appear on both sides for checking small dimensions while sewing or quilting. The compact gauge can be used when measuring hems, buttons, appliqué placement, and other small fabric details.
Check On AmazonIf you click this link and buy, we earn a commission at no additional cost to you.
Verify the Required Presser-Foot Name Without Assuming Compatibility
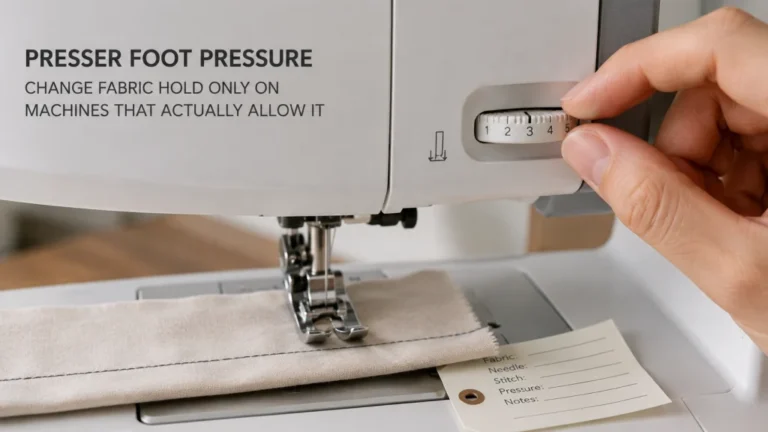
A stitch chart often identifies a presser foot by name, symbol, or letter. Record that requirement because the foot geometry can provide the clearance or guidance the stitch needs. A buttonhole procedure, for example, may explicitly identify a buttonhole foot, while other utility stitches can call for a general-purpose or specialty foot.
The chart’s foot designation does not prove that any accessory with the same generic name fits the machine. Attachment system, holder, shank arrangement, width clearance, and exact model support are separate compatibility questions. At this stage, the correct action is simply to identify the foot named by the machine documentation and verify that the installed foot is the documented one for that model and stitch.
Test the Selected Stitch on Representative Scrap
After the stitch and permitted controls are set, test on scrap that represents the project material and layer arrangement. The purpose is not to invent a universal “best” setting. It is to confirm that the selected stitch, geometry, foot, needle position, and normal machine behavior produce the intended result before the project piece goes under the needle.
Keep the test bounded. If the stitch forms normally but the material calls for a different length, width, or handling choice, that is a normal technique decision. If the selected stitch will not form as documented, the controls do not respond normally, the needle strikes a foot or plate, or reverse behavior fails unexpectedly, stop the normal-selection workflow and diagnose the symptom instead.

The Dritz Dual Purpose Marking Pen has a blue Mark-B-Gone tip on one end and a purple disappearing-ink tip on the other. The blue ink is water soluble, while the purple ink can disappear through air exposure or be removed with water. It is designed for temporary sewing, quilting, seam allowance, alteration, and other fabric markings.
Check On AmazonIf you click this link and buy, we earn a commission at no additional cost to you.
Keep Fabric Settings and Seam Technique Outside the Basic Stitch Map
The same built-in stitch can behave differently when fabric stretch, thickness, surface texture, layer count, needle, thread, presser foot, or seam construction changes. Those variables matter, but combining all of them into this page would turn a normal stitch-selection map into a collection of recipes that do not transfer cleanly between projects.
Use this article to establish the machine-side state: which stitch is selected, which controls are available, which foot is named, and whether the machine behaves normally. Then use the fabric or construction method to decide how that valid stitch setup should be applied to the real project.

This SCHMETZ assortment contains 10 Universal household sewing machine needles using the 130/705 H system. The needles have a slightly rounded point and the pack contains multiple sizes for different sewing applications. They are intended for domestic sewing machines that accept the 130/705 H needle system, which should be confirmed in the machine manual before use.
Check On AmazonIf you click this link and buy, we earn a commission at no additional cost to you.
Stop if the Selected Stitch or Control Does Not Behave Normally
Normal operation ends where the machine stops doing what its documentation says. If the correct stitch is selected but the pattern forms incorrectly, the reverse or reinforcement control fails to perform its documented action, a setting key does not change an allowed value, or the needle path produces a hard strike, do not keep changing unrelated controls in search of a workaround.
That is the point to move from normal setup into symptom-led troubleshooting. Do not attempt internal timing correction, needle-bar adjustment, feed synchronization, or mechanical repair from a stitch-selection article. A functioning machine should respond to its owner controls within the limits described by the exact manual.
Keeping that boundary clear prevents a simple stitch choice from turning into improvised repair. It also makes troubleshooting more useful because the exact selected stitch and control state are already known.
Final Thoughts: Select First, Adjust Second
The most reliable way to use built-in stitches is to let the exact machine chart set the boundaries. Identify the sewing job, select the documented stitch, confirm its required foot and securing behavior, then change length, width, or needle position only where that stitch allows it. A representative scrap test gives you a safe place to confirm the machine-side setup before sewing the project.
This sequence also makes the limits clear. Stitch names and controls can vary by model, fabric-specific choices belong with the material and construction task, and an abnormal stitch or failed control is no longer a normal selection question. Select first, adjust second, and stop when the machine stops behaving as documented.
See More in This Section
Once the basic stitch-selection process is clear, the related topics below separate the next decision by function. Use the one that matches the control or stitch behavior you actually need to change.
| Topic | What you’ll find |
|---|---|
| Straight Stitch vs Zigzag Stitch | Choose between the two basic stitch families before changing geometry. |
| Sewing in Reverse | Use reverse or reinforcement according to the selected stitch and machine controls. |
| Stitch Length and Width | Understand the two geometry controls and why their available ranges vary. |
| How to Change Needle Position | Move the needle laterally only where the selected stitch and machine allow it. |
| How to Sew a Buttonhole | Follow the dedicated buttonhole sequence instead of treating it like an ordinary utility stitch. |
Treat these as separate control decisions rather than settings to change all at once. Select the stitch first, then open only the branch that the current sewing job actually requires.
FAQs
🧵 Which sewing machine stitch should I use first?
Start with the job the stitch must perform, then identify the matching stitch in the exact machine chart. Do not choose from the stitch number alone because numbering and available controls vary by model.
📖 How do I know what all the stitch symbols mean?
Use the stitch chart or manual for the exact machine. Record the stitch name, selection method, available geometry, securing behavior, and required presser-foot designation rather than relying on a generic symbol chart.
↩️ Why does the reverse button reinforce instead of sewing backward?
On some machines, the same control performs reverse on certain stitches and reinforcement on others. Check the selected stitch in the model’s settings chart to see which behavior is documented.
📏 Can I change stitch length and width on every stitch?
No. Some stitches offer an adjustable range, while others limit, fix, or repurpose a control. The exact machine chart determines what can be changed after the stitch is selected.
🪡 Why does stitch width move the needle on a straight stitch?
Some machines use the width control for lateral needle position when a supported straight stitch is selected. That behavior is model-specific, so use the documented range and confirm clearance at the installed foot and needle plate.
🔘 Is a buttonhole just another decorative stitch?
No. A buttonhole can require a dedicated stitch mode, specified foot, alignment steps, and additional machine controls. Follow the exact buttonhole procedure for the owned model.
⚠️ When does a stitch-setting question become troubleshooting?
Move to troubleshooting when a correctly selected stitch or control does not behave as the manual describes, or when the needle path creates a hard strike or other abnormal symptom. Do not use unrelated setting changes as a substitute for diagnosing the fault.
References and Sources
- Brother stitch-selection support: Documents stitch selection by category and selection keys on the covered computerized models.
- Brother reverse and reinforcement support: Confirms that reverse and reinforcement behavior depends on the selected stitch and model settings chart.
- Brother stitch length and width support: Documents user adjustment of stitch geometry after stitch selection on the covered models.
- Brother needle-position support: Shows a model-specific example where the stitch-width control changes lateral needle position.
- Brother buttonhole support: Documents a complete model-specific buttonhole sequence, including stitch selection, the designated foot, and buttonhole controls.