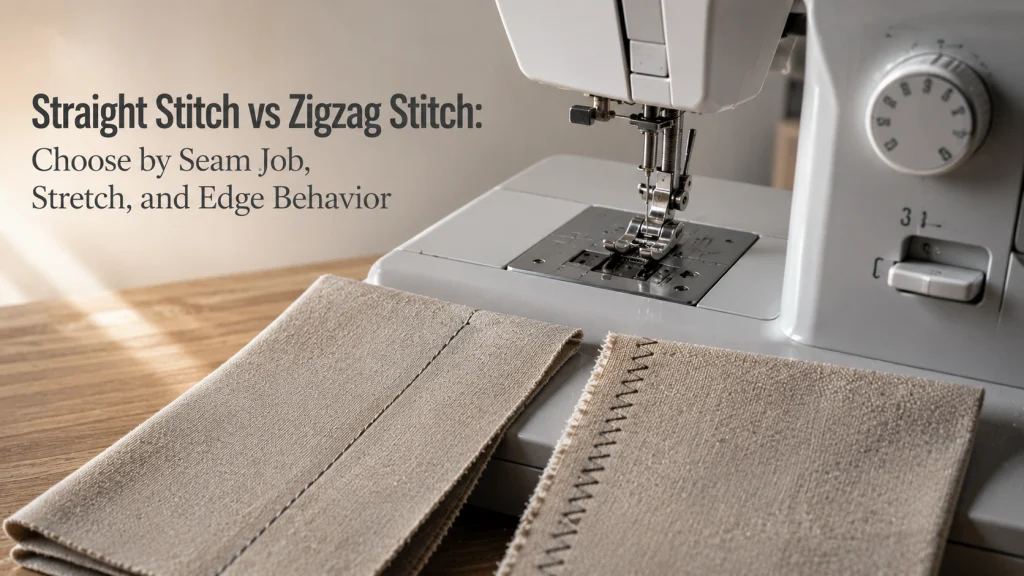
Straight stitch vs zigzag stitch is not a fabric-label decision. Start by asking what the seam or edge must do: join layers without needing lateral movement, accommodate stretch, cover a raw edge, or hand the job off to a more specific technique such as a buttonhole. Straight stitch is the simpler choice when ordinary non-stretch joining is all the seam requires; zigzag becomes relevant when side-to-side needle motion or edge coverage is part of the job. Exact length, width, needle position, fabric settings, and construction technique still belong to the machine manual and the specific material or seam method.
Choose by the Job, Not a Fabric Slogan
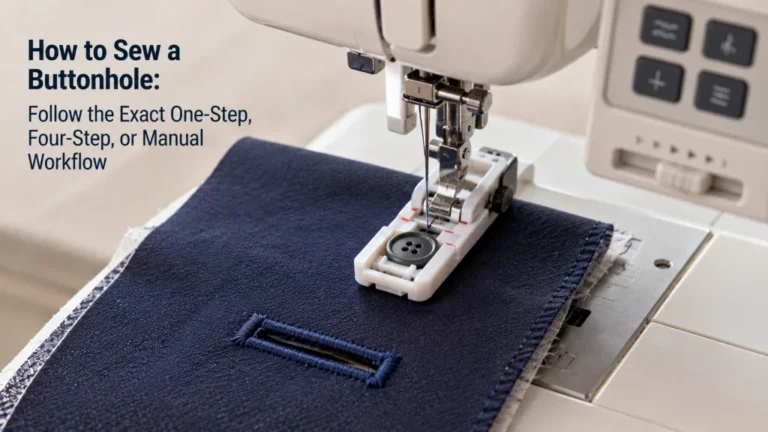
Four sewing jobs can look similar at first glance: joining two stable woven pieces, joining a seam that must stretch in use, covering a raw edge, and making a button opening. Only the first three belong in a basic straight-versus-zigzag comparison. The button opening should leave this decision entirely because a documented buttonhole mode is a separate stitch procedure, not a reason to force one of the two basic stitch families into every task.
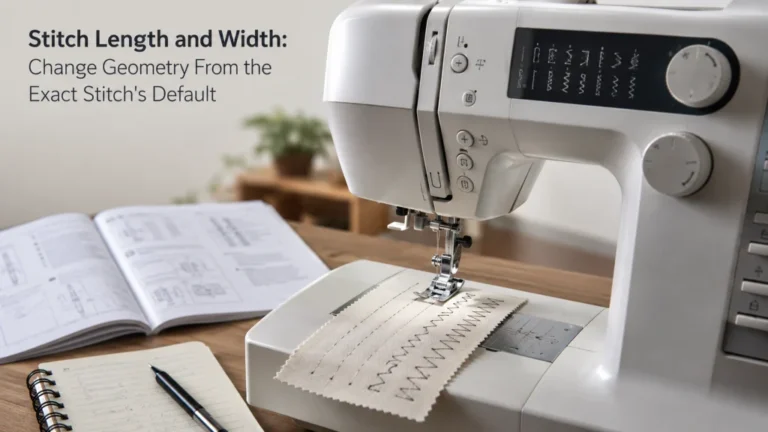
That is the useful frame for straight stitch vs zigzag stitch. A straight stitch follows one needle path, while a zigzag moves side to side as it advances. If you need the broader selection map first, choose among sewing machine stitches before narrowing the decision to these two families. If the machine controls themselves are still unfamiliar, follow the basic sewing machine workflow before changing stitch settings. The stitch family should match the job the seam or edge has to perform before you start adjusting geometry or copying a setting from another fabric.
| Job in front of you | First selection question | Where the decision goes next |
|---|---|---|
| Ordinary joining seam | Does the seam need only a stable line of joining stitches? | Straight stitch may be sufficient if the material and construction permit it. |
| Seam that must stretch | Does the stitch itself need to tolerate movement in the seam direction? | Consider a stitch family with lateral or stretch behavior, then verify the material-specific method. |
| Raw-edge finishing | Is the stitch covering or wrapping the cut edge rather than merely joining two pieces? | Use an edge-finishing stitch or method documented for the machine and fabric. |
| Button opening | Is the task actually a buttonhole? | Leave this comparison and use the machine’s buttonhole procedure. |
The table is a routing tool, not a universal stitch chart. It separates the job first so later settings are chosen for a reason instead of because a fabric was given a simple label such as “woven” or “knit.”
Define What the Seam or Edge Must Do
A joining seam and an edge finish can occupy the same piece of fabric but solve different problems. Joining holds two or more pieces together along a seam line. Edge finishing manages the cut edge so the construction method, material behavior, and later handling do not leave that edge doing a job the joining stitch was never meant to perform.
Movement is another separate requirement. A seam can be on stretch fabric yet sit in a direction or construction that does not need the same amount of extension as another seam on the same garment. Conversely, a stable-looking material can still be used in a construction where the stitch choice is driven by the technique rather than the fiber label alone.
Selection rule: Name the seam job first: join, accommodate movement, finish an edge, or follow a special technique. Only then decide whether straight or zigzag is the relevant family.
This job-first description also keeps the article inside normal stitch selection. It does not claim that one family is stronger, more durable, or more appropriate for every material carrying the same retail name.
Use Straight Stitch for Ordinary Non-Stretch Joining Only When the Job Permits It
Straight stitch is the basic choice when the machine needs to create a line of stitches without side-to-side needle motion. Brother’s current domestic-machine documentation shows straight stitch as a standard built-in utility option, and its support instructions for straight stitching treat needle position and stitch geometry as model-specific controls rather than one universal setup.
The important phrase is “when the job permits it.” A simple seam in stable material can be a straightforward straight-stitch task, but this comparison should not convert that example into “all woven fabric uses straight stitch.” Grain direction, seam construction, fabric structure, stress in use, and the specific project can change what the seam needs.
For a beginner, the practical misunderstanding is often that straight stitch is the default because it looks simplest. Simplicity is useful only when the seam requirements match it. If the seam must extend or the stitch needs to cover an edge, the next question is about movement or coverage rather than whether straight stitch is easier to recognize on the stitch chart.
Use Zigzag When Side-to-Side Movement or Edge Coverage Is the Actual Requirement
Zigzag adds lateral needle movement to the forward feed path. Brother support for covered models treats zigzag width as an adjustable dimension, which confirms that the side-to-side path is part of the stitch’s user-facing geometry. That extra path can be useful when the job calls for coverage across an area rather than a single straight line.
Edge finishing is one example. Brother’s overcasting instructions use stitches that travel at or over the fabric edge, and the company notes that some overcasting stitches can also serve stretch-material applications on the covered machines. That supports the broad selection principle that lateral stitch motion can be relevant to edge coverage or movement, but it does not prove that one generic zigzag setting is correct for every raw edge or stretch fabric.
So “when to use zigzag stitch” is best answered by function. Use it when the selected technique needs lateral coverage or when the documented seam method calls for a stitch that can accommodate movement. Then hand the exact width, length, foot, needle, and fabric combination to the relevant machine and technique instructions.
Separate Seam Joining from Raw-Edge Finishing
A seam can be joined with one stitch family and have its raw edge managed by another operation. Treating those as one decision is how a simple comparison turns into an unreliable rule such as “zigzag is for edges, straight is for seams.” In practice, the construction method decides whether joining and finishing happen separately or as part of a documented combined operation.
Brother’s overcasting support is a useful model-specific example because it describes stitches that can join seams and finish them in one operation on the covered machines. That does not make every zigzag an overcasting stitch or every seam a combined join-and-finish job. It simply shows why seam purpose must be identified before selecting the stitch family.
If your project calls for a raw-edge method, stop at that boundary and use the exact construction instructions rather than trying to make this comparison prescribe the complete edge finish.
Separate Material Stretch from the Entire Construction Method
“Knit equals zigzag” is too broad to be a dependable sewing rule. Stretch behavior depends on the fabric, direction of stretch, seam orientation, garment or project use, stitch family, and construction method. A machine may also provide dedicated stretch stitches beyond a basic zigzag, so reducing every flexible seam to one stitch name hides useful options that belong to the exact machine and technique.
| Question | If no | If yes |
|---|---|---|
| Must this seam or stitched area extend in use? | A basic non-stretch joining stitch may still be appropriate if the construction allows it. | Move to a stitch or technique that is documented for the required movement. |
| Is the decision only about material stretch? | Keep evaluating edge, seam, and construction requirements. | Do not stop at the fabric label; verify the actual seam direction and technique. |
| Does the machine provide a dedicated stretch or utility stitch for the task? | Do not invent a substitute setting from another model. | Follow that machine’s stitch chart and the material-specific method. |
The decision flow deliberately avoids naming one width or length. Its job is to establish whether seam movement matters enough to leave an ordinary straight-stitch choice, then route the exact setup to the material and construction instructions that own it.

SCHMETZ Jersey needles are size 80/12 machine needles supplied in a five-needle pack. They use a medium ball point designed to pass between knitted fibers rather than cutting directly through them. The needles are intended for knit fabrics and some stretch materials on compatible domestic sewing machines.
Check On AmazonIf you click this link and buy, we earn a commission at no additional cost to you.
Keep Stitch Length and Width Adjustment Separate from the Family Choice
Choosing straight or zigzag comes before fine-tuning geometry. A straight stitch still has length, and on some machines a width control can change lateral needle position even when a supported straight stitch is selected. A zigzag has both forward spacing and lateral width, but the available ranges depend on the exact stitch and machine.
For that control-level decision, understand stitch length and width after the stitch family has been chosen. Do not use a width number from another model, and do not assume that moving a width control has the same effect under straight and zigzag selections.
Route Fabric-Specific Choices to the Material Workflow
Once the broad stitch family is selected, fabric behavior becomes more important. Stretch, thickness, density, surface friction, weave or knit structure, layer count, needle choice, thread, and stabilization can all change the usable setup. That is why this page refuses to publish a universal straight-versus-zigzag chart by fabric name.
A stable cotton woven used for one seam and a lightweight lining used for another can both be “woven” while needing different handling. Two knits can also differ sharply in stretch and recovery. Use the material-specific workflow to make those decisions after this page has answered the simpler family-level question.
Route Seam, Hem, and Elastic Technique to the Construction Workflow
A seam, hem, elastic application, appliqué edge, or similar construction method can prescribe its own stitch path and operating sequence. At that point, the technique owns the decision. The basic straight-versus-zigzag comparison should not override a documented construction method just because one stitch family seems generally associated with the fabric.
The distinction prevents two common forms of drift. Material advice should not become a complete garment-construction tutorial, and a construction method should not be reduced to a one-line rule about straight or zigzag stitching.
Use this article only until the family-level choice is clear. Then let the material and construction method determine the rest of the setup.
Treat Reverse and Reinforcement as a Separate Operation
Selecting straight or zigzag does not automatically tell you how the machine secures the start or end of the seam. Some stitches support reverse behavior, while others can use reinforcement instead. The same physical control can behave differently depending on the selected stitch and machine.
Once the stitch family and exact stitch are chosen, use reverse and reinforcement correctly according to the machine’s stitch chart. Do not assume that pressing reverse simply makes every zigzag or utility stitch retrace itself backward.

The Dritz 3100 is an aluminum sewing gauge with 14 commonly used measurements in one compact tool. Its measurement points range from 1/8 inch to 2 inches and are marked on both sides. The gauge is designed for checking small sewing and quilting measurements, including hems, buttons, appliqué placement, and similar fabric details.
Check On AmazonIf you click this link and buy, we earn a commission at no additional cost to you.
Test the Chosen Stitch Family on Representative Scrap
After choosing the family and applying the machine-specific settings from the relevant instructions, test on scrap that matches the project fabric and layer arrangement. The purpose is not to prove that straight or zigzag is universally stronger. It is to check whether the selected family behaves normally and suits the intended movement or edge function before the real project is sewn.
Change only the variables that belong to the current setup. If the stitch family is correct but the material needs a different length, width, needle, thread, presser foot, or handling method, that belongs to the material or technique workflow. If the machine cannot form the selected stitch normally, stop adjusting for preference and treat it as a troubleshooting question.

The Dritz Dual Purpose Marking Pen combines two temporary fabric-marking systems in one tool. One end uses blue water-soluble Mark-B-Gone ink, while the other uses purple disappearing ink that can fade with air exposure or be removed with water. It is intended for temporary sewing, quilting, alteration, seam allowance, and other washable-fabric markings.
Check On AmazonIf you click this link and buy, we earn a commission at no additional cost to you.
Stop if the Machine Cannot Form the Selected Stitch Normally
A normal selection question ends when the machine fails to create the chosen stitch as its documentation describes. Repeated needle strikes, an abnormal stitch path, a control that will not select the intended stitch, or a zigzag that does not form correctly are not reasons to keep widening or narrowing the stitch until something happens.
Brother’s support material separates stitch-selection problems from normal use and directs persistent faults toward service after owner-level checks. Keep the same boundary here. Do not use a comparison article to attempt internal timing, needle-bar, feed, or mechanical correction.
Also check whether the installed needle plate matches the selected stitch family. Brother documents straight-stitch needle plates with a small single opening that are intended only for straight stitches in the middle needle position; selecting a stitch with lateral needle movement while that plate is installed can create a collision risk or trigger a machine warning on supported models. A zigzag or other side-to-side stitch needs the plate and presser-foot clearance specified for the exact machine, so plate choice belongs in the normal safety check before treating a strike as a deeper fault.
Stop point: If the needle repeatedly strikes the foot or plate, or the selected stitch does not form normally after the documented setup is confirmed, stop sewing and move to troubleshooting rather than forcing another stitch setting.
This keeps a family-selection decision from becoming improvised repair. It also gives troubleshooting a cleaner starting point because the intended stitch and normal control state are already known.
Final Thoughts: Let the Seam Job Choose the Stitch Family
Straight stitch and zigzag stitch are basic families, but the useful choice is not “woven or knit.” Ask whether the job is ordinary joining, needs movement, covers a raw edge, or belongs to a more specific technique. That answer tells you whether a straight path, lateral stitch path, or another dedicated procedure deserves the next look.
After that, let the exact machine and project take over. Length and width, reverse behavior, fabric setup, seam construction, and buttonholes each have their own operating decisions. Choosing the family first keeps those later adjustments purposeful instead of turning one simple slogan into a universal sewing rule.
FAQs
🧵 Should I use straight stitch or zigzag stitch for a normal seam?
If the seam is ordinary joining and does not need lateral stitch movement or a special construction method, straight stitch may be appropriate. Confirm the material and seam requirements before treating that as a universal rule.
↔️ When should I use a zigzag stitch?
Use zigzag when side-to-side needle movement or edge coverage is part of the job, or when the exact material or construction method calls for it. Do not choose it solely because the fabric has a particular label.
🪡 Do all knit fabrics need a zigzag stitch?
No. The choice depends on how the seam must move, the knit’s behavior, the construction method, and the stitches available on the exact machine. Some machines also provide dedicated stretch stitches.
🧶 Do all woven fabrics use straight stitch?
No. Straight stitch is common for ordinary stable joining, but edge finishing, appliqué, stretch in a particular construction, or another technique can require a different stitch path.
✂️ Is zigzag stitch the same as an overcasting stitch?
Not necessarily. Some overcasting stitches use lateral needle movement and are designed for edge work, but the machine may provide dedicated overcasting patterns beyond a basic zigzag. Use the exact stitch chart and foot requirement.
📏 Should I choose stitch width before deciding between straight and zigzag?
No. Choose the stitch family and exact stitch first, then adjust geometry only within the range the machine permits. On some straight stitches, a width control can change needle position instead of creating zigzag width.
🔘 Should I use zigzag to make a buttonhole?
Use the machine’s dedicated buttonhole procedure when one is provided. A buttonhole is a separate stitch operation with model-specific controls and foot requirements, not merely a generic zigzag choice.
References and Sources
- Brother GX37 stitch specifications: Confirms straight and zigzag stitch availability and adjustable stitch geometry on a current domestic machine example.
- Brother stitch-selection support: Documents model-specific stitch selection and reinforces the need to use the exact machine’s controls rather than a universal stitch number.
- Brother overcasting-stitch support: Shows model-specific use of overcasting stitches for joining, edge finishing, and stretch-material applications while preserving foot and stitch restrictions.
- Brother stitch width and length support: Documents that zigzag width is adjustable and that the same control can change needle position on supported straight stitches.
- Brother straight-stitch needle plate guidance: Documents that the straight-stitch plate is limited to center-position straight stitches and requires clearance checks before sewing.