An unresponsive stitch-length control can mean two different failures: the selected stitch or control will not accept a new length, or the displayed setting changes but the sewn spacing does not respond as expected. Start by recording the exact stitch and current setting, then confirm whether that stitch is editable on the exact machine before testing a documented basic straight-stitch baseline. If the control responds but fabric movement does not, route the problem toward feed behavior rather than assuming the length control itself is broken. Persistent control failure, a hard mechanical lock, electrical warning signs, or any repair the manual does not assign to the owner belongs with qualified service.
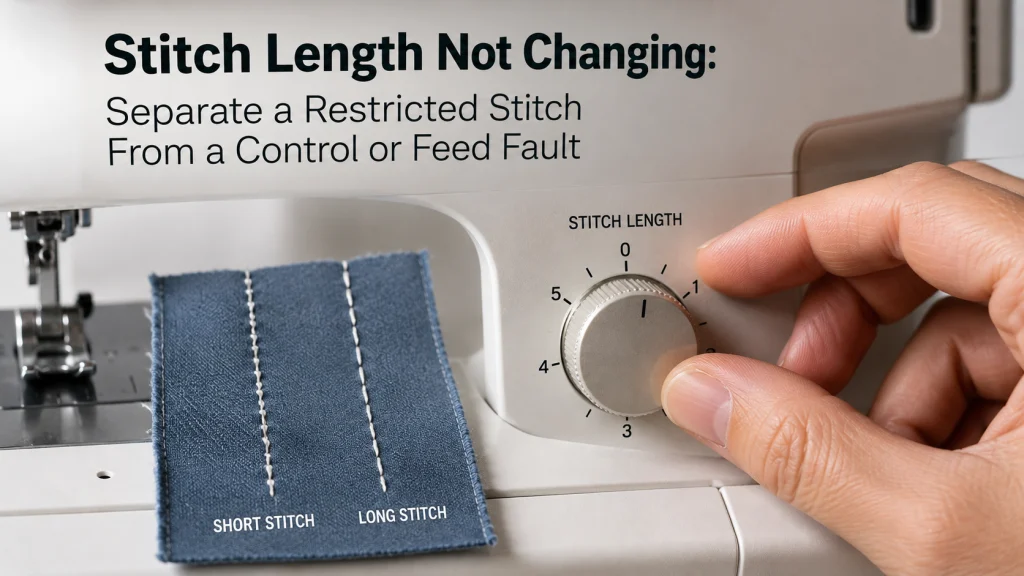
First decide whether the command or the sewn result is refusing to change
If the symptom is stitch length not changing, first decide what actually refused to respond instead of treating every “nothing changed” report as the same problem. The first state is a command problem: the dial will not move normally, the key produces no change, or the display remains fixed. The second state is a result problem: the display or dial changes, but the spacing in a sewn test does not become meaningfully longer or shorter. A third state, where spacing changes unpredictably within one seam, is a different troubleshooting path.
This distinction matters because a restricted stitch can look like a failed control, while a feed problem can make a functioning control look ineffective. Current Brother support for some electronic home-sewing models documents default settings that vary by selected stitch and shows that certain settings may be unavailable for adjustment. Separate support for dial-controlled models documents different length positions and a no-feed setting at 0. Those examples are evidence that the selected stitch and control design must be checked before an internal fault is suspected.
| What you observe | What it means for the next check | Stay in this article? |
|---|---|---|
| Dial, key, or displayed value will not change | Verify stitch editability and documented control operation. | Yes |
| Displayed or dial value changes, sewn spacing does not | Confirm a supported baseline and normal fabric feed. | Yes |
| Spacing becomes long, short, long within one seam | Treat it as inconsistent stitch spacing rather than a refused command. | No |
That command-versus-result matrix keeps the first test small. You are trying to identify which part of the observable chain stopped responding, not name an internal cause from the outside.
Record the exact stitch and current length setting
Before changing anything, write down the machine model, selected stitch, current length value or dial position, and what happens when you request a different length. On a computerized machine, note whether the number changes on screen. On a mechanical machine, note whether the dial or lever moves through its normal marked range without unusual resistance. This gives you a clean starting point instead of relying on memory after several adjustments.
Also record the fabric, layer count, thread, needle, presser foot, and whether the machine otherwise feeds ordinary material normally. These details do not prove the cause, but they prevent a later service report from collapsing into a vague statement that the length control is not responding. A technician or support agent can do more with a reproducible control response than with a symptom that has been altered by several unrecorded changes.
Note: A useful record distinguishes what you commanded from what you observed. “Selected straight stitch, changed length from one documented value to another, display changed, sewn spacing did not” is more useful than “stitch length is broken.”
Keep this record as you move through the next checks. If one step changes the symptom, add that result rather than starting the story over.
Check whether that stitch allows length adjustment
Not every selected stitch necessarily exposes the same editable range. Brother support for a group of electronic home-sewing models states that each stitch has a preset default and shows an indicator when a setting cannot be adjusted. Another Brother support page for dial-controlled models says that stitch-length adjustment depends on the selected stitch and identifies special dial regions for particular stitch types. The exact behavior is model-specific, so the manual for the machine in front of you is the authority.
If the selected decorative, buttonhole, stretch, or other special stitch has a restricted range, a control that appears to “do nothing” may be working as designed. Do not force the dial, repeatedly press a disabled key, or infer a failed control until you have confirmed that the current stitch actually allows the requested change.
- Confirm the exact stitch name or number selected.
- Check the model manual for that stitch’s editable length range.
- Note any default, lock, unavailable-setting icon, or special dial region.
- Return any temporary stitch-editing mode to the documented state before testing again.
- Do not assume that a length available on one stitch is available on every stitch.
This editability checklist answers one question only: is the requested command supposed to be available? If the answer is no, there is no control fault to diagnose yet.
Return to a documented basic straight-stitch baseline
Once a restricted stitch has been ruled out, choose a basic straight stitch that the exact manual documents as length-adjustable. Use ordinary stable woven fabric for the baseline unless the manual specifies another test condition. The purpose is not to find a universal “correct” stitch length. It is to see whether the machine can respond to two supported settings under uncomplicated feeding conditions.
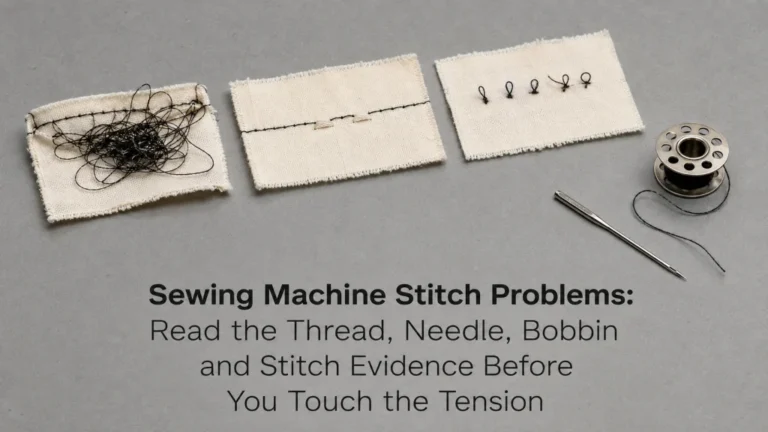
Make one short sample at a clearly shorter supported setting, then another at a clearly longer supported setting. Keep the thread, needle, presser foot, fabric, and handling unchanged between samples. If the control value and the sewn spacing both respond, the original symptom was tied to the prior stitch or condition rather than a general refusal to change length.
Note: Do not use a zero-length or no-feed position as the baseline. Brother documents 0 as a no-feed setting on some dial-controlled models, which is a reminder to use the exact manual rather than treating every number on every machine as equivalent.
If the baseline itself fails, the next distinction is whether the user control failed to accept the command or whether the command changed while the sewn result stayed the same.

This PEASUG muslin is made from 100% cotton and comes in a 63 inch by 2 yard cut. The listing identifies it as an unbleached, medium weight fabric suitable for sewing and other craft work. It provides a simple fabric option for making repeatable machine test samples while keeping the material consistent between stitch settings.
Check On AmazonIf you click this link and buy, we earn a commission at no additional cost to you.
Change the length through the documented user control
Use only the control method shown for the exact machine. That may be a mechanical dial, a lever, plus and minus keys, or an on-screen stitch-adjustment control. Do not transfer the procedure from a visually similar model, because the same brand can use different interfaces and different default behaviors across machine families.
Watch the control itself while making one deliberate change. On an electronic interface, confirm whether the displayed value changes and remains at the new value. On a dial-controlled machine, confirm only that the control moves normally within its marked range. If a dial or lever binds, reaches a documented stop, or feels mechanically abnormal, stop rather than applying more force.
Key point: A control that accepts a new value and a machine that produces a different sewn spacing are two separate observations. Record both before deciding where the fault lies.
At this point, the symptom should be precise enough to describe without a generic failure label. Either the command is unavailable or unresponsive, or the command appears to change and the result does not follow.
Separate a display or dial that will not change from a sewn result that will not change
If the display does not change when a documented editable stitch is selected, or a user-level dial will not move normally through its permitted range, you have evidence of a control-response problem. That still does not identify the internal part at fault. It only establishes that the expected user command is not behaving normally after the model-specific restriction check.
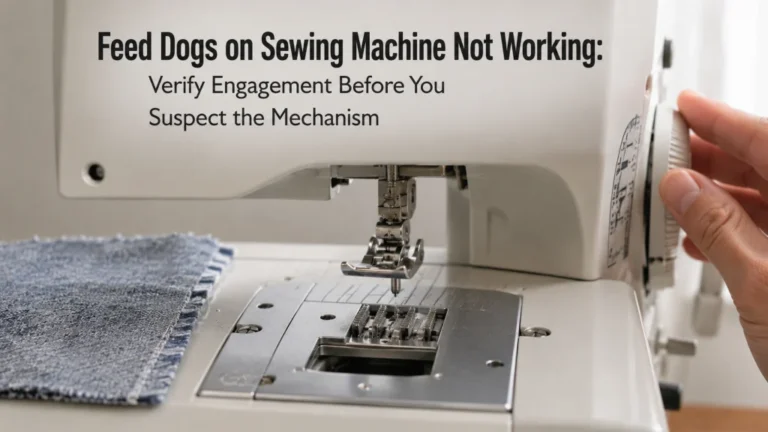
If the display or dial changes normally but two supported test settings produce effectively the same fabric movement, treat the control input as separate from the feed result. Before calling that an internal stitch-length failure, confirm that the fabric is advancing normally and that the test is not being distorted by a no-feed state, lowered feed mechanism, unusual material handling, or another feed symptom.
The value of this split is diagnostic discipline. A display can confirm that the interface accepted a request, but it cannot by itself prove that every mechanical part downstream carried out that request.

The SINGER 00220 is a 6 inch sewing gauge with measurements in both inches and centimeters. It includes a sliding marker that can hold a selected position for repeated measurements. The compact ruler can also be used when comparing sewn samples and checking whether stitch spacing actually changed after a different length setting was selected.
Check On AmazonIf you click this link and buy, we earn a commission at no additional cost to you.
Confirm that fabric feed is otherwise normal
A machine that does not advance ordinary fabric normally cannot provide a clean stitch-length test. Check the documented feed state for the exact model, use the normal presser foot and a simple fabric sample, and observe whether the material advances consistently without being pulled by hand. If fabric is stationary, barely moving, or only failing at a bulky seam, solve that feed symptom before using the seam as evidence about the length control.
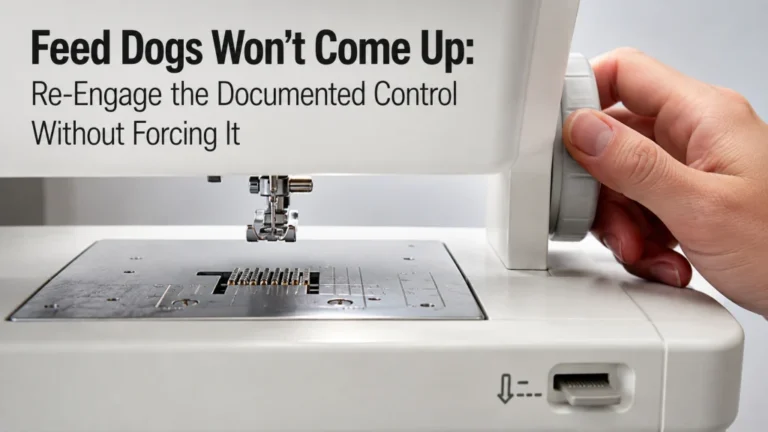
That routing keeps several problems from being mixed together. A general no-feed symptom belongs with sewing machine feed problems. If the feed dogs themselves appear not to return to normal operation, use the feed dog troubleshooting steps. If the machine feeds ordinary fabric but stalls only on a bulky stack, follow the separate path for thick fabric feed problems.
Warning: Do not pull fabric to manufacture a longer stitch, force the feed mechanism, or continue after repeated hard needle strikes, a jam, uncontrolled motion, smoke, burning odor, overheating, exposed wiring, or a hard mechanical lock. Power off the machine before any access that the exact manual requires with power off.
Once normal feed is confirmed, repeat the straight-stitch baseline. If the user control still fails to change, or if accepted values still produce no corresponding change under ordinary feed conditions, you have a much cleaner service symptom.
Keep inconsistent long-short spacing on a separate diagnostic path
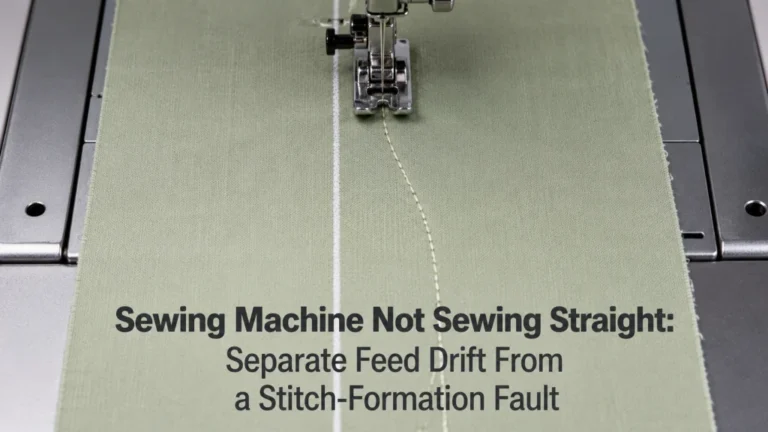
There is an important difference between a stitch length that refuses to respond and a seam whose spacing varies unpredictably while you sew. The first is a command-versus-result problem. The second means the machine is producing changing spacing within one seam, which can involve feed consistency, material handling, changing resistance, or another condition that this article is not trying to diagnose.
If the stitch gets longer and shorter without you changing the control, move to the inconsistent stitch length diagnosis. Do not keep cycling the length control in an attempt to compensate for every short or long section. That makes the original symptom harder to reproduce.
The boundary is useful because a refused adjustment and inconsistent spacing may sound similar in a search box, but they produce different evidence at the machine. One refuses a requested change. The other changes when you did not ask it to.
Keeping those observations separate also makes later service notes clearer. A technician needs to know whether the control is unresponsive, the result ignores the control, or the result changes unpredictably on its own.
Avoid forcing a dial or lever beyond its range
A mechanical control can have normal stops, special ranges, or stitch-dependent behavior. If a dial reaches its documented limit, do not apply extra torque to see whether it will move farther. If a lever binds or a handwheel becomes hard to turn, the next step is not more force. Brother support explicitly warns that forcing a tight handwheel can cause further damage and routes persistent problems toward service.
The same principle applies to electronic controls. Repeatedly pressing a disabled or unavailable setting does not make the stitch editable. Confirm the selected stitch, return to a supported baseline, and document what the interface does. A control that remains abnormal after those checks is evidence for support or service, not permission to remove covers.
Warning: Stop immediately for a hard mechanical lock, visible broken internal parts, uncontrolled motion, repeated hard needle strikes, smoke, burning odor, overheating, sparks, or exposed wiring. Do not bypass guards or continue a test to collect more evidence after a safety warning appears.
The aim is to preserve a clear symptom without creating a second problem. A stuck control is useful evidence; a control damaged by forcing is a different repair.
Do not open or adjust cams, rods, or feed linkages
Once the external checks are complete, it can be tempting to search for an internal screw, cam, rod, gear, or linkage that appears to control stitch length. That moves beyond owner-level troubleshooting. An external symptom does not tell you which internal component is responsible, and access or adjustment procedures can vary substantially by model.
Use the exact manual for any cleaning or access it explicitly assigns to the owner, and stop there. Do not open electrical housings, alter timing, bend linkages, reposition cams, or follow an industrial or vintage-machine adjustment procedure on a general domestic machine. Even when two machines use similar terminology, the internal service procedure is not transferable evidence.
The broader sewing machine troubleshooting decisions explain how to separate user checks from service-level work. For this symptom, the useful owner-level result is a reproducible record showing what the selected stitch, control, display, feed, and sewn sample did.
That is enough to support the next decision. You do not need to identify the failed internal component before asking for qualified service.
Record the failed control response for service
If the symptom persists on a documented adjustable straight-stitch baseline with normal feed, stop changing variables and build a short service record. The record should describe what the machine was asked to do and what it actually did. This is especially useful when the symptom is intermittent or when a display changes normally but the seam does not.
Add when the behavior first appeared and whether it seemed sudden or gradual. A symptom that started immediately after a needle strike, cleaning step, accessory change, transport, or another clearly dated event should be recorded differently from one that became harder to reproduce over a longer period. This context does not identify the failed part, but it gives service a cleaner timeline without turning the owner into the diagnostician.
Do not write a diagnosis such as “broken feed cam” unless a qualified service process has established it. Build on the baseline record you already made instead of copying the same details again. Add what changed during testing: whether the display or dial accepted the request, whether sewn spacing followed, whether feed remained normal, which user-level checks were completed, and whether any abnormal sound, resistance, strike, or safety warning appeared.
| Service evidence to add | Example of useful wording |
|---|---|
| Symptom timeline | Appeared suddenly after a dated event, or developed gradually without one clear trigger |
| Command response | Display changes between two supported values, or control remains fixed |
| Sewn result | Spacing changes, does not change, or test cannot continue safely |
| Feed confirmation | Ordinary fabric advances normally, or a separate feed symptom is present |
| Safety observation | No lock or strike, or test stopped immediately when abnormal behavior appeared |
This evidence card gives support or a technician a bounded starting point. It also prevents you from repeating the same risky test simply because the earlier result was not written down.
Final Thoughts: Separate an unavailable setting from a failed response
A stitch-length complaint becomes manageable once you identify what is actually refusing to change. First verify that the selected stitch permits the requested adjustment, then use a documented straight-stitch baseline and watch both the user control and the sewn result. If the control accepts the new value but the fabric does not respond, confirm normal feed before treating the symptom as a control failure.
Stop at the owner-level boundary. Do not force controls, compensate by pulling fabric, or open internal mechanisms to chase an external symptom. If the same supported test still fails after the documented checks, take the recorded command, feed, and sewn-result evidence to qualified service rather than trying to name or adjust the internal fault yourself.
Frequently Asked Questions
🧵 Why is my sewing machine stitch length not changing when I turn the dial?
First confirm that the selected stitch allows length adjustment and that the dial is within its documented range. If a supported straight-stitch baseline still leaves the dial fixed or abnormal, stop forcing it and record the control response for service.
🔢 Why does the stitch-length number change but the seam looks the same?
Treat the display response and sewn result as separate observations. Confirm normal fabric feed on a simple supported straight stitch, then compare two clearly different allowed settings without changing the other test conditions.
⚙️ Can a selected stitch prevent length adjustment?
Yes, depending on the exact model and stitch. Manufacturer documentation may show restricted ranges, defaults, or an unavailable-setting indicator, so check the manual before assuming the control has failed.
📏 What should I test when the stitch length won’t change?
Use a basic straight stitch that the exact manual identifies as adjustable, ordinary stable fabric, and two supported length settings. Record whether the control value changes and whether the sewn spacing follows that change.
🛠️ Should I open the machine if the stitch length won’t adjust?
No, not to diagnose cams, rods, gears, feed linkages, timing, or electrical parts. Complete only the access and cleaning the exact manual assigns to the owner, then use qualified service if the documented external checks fail.
🚫 When should I stop testing the machine?
Stop for a hard mechanical lock, repeated hard needle strikes, uncontrolled motion, visible broken internal parts, smoke, burning odor, overheating, sparks, or exposed wiring. Do not continue testing just to collect a more complete symptom record.
References and Sources
The technical checks in this article use current Brother support documentation to establish model-dependent stitch editability, mechanical dial behavior, and the boundary against forcing a locked control or handwheel.
- Brother stitch width and length controls: Documents stitch-specific default settings on supported electronic models and shows that some settings can be unavailable for adjustment.
- Brother mechanical stitch-length adjustment: Documents dial-based length adjustment, the no-feed 0 position, and special satin-stitch range behavior for the covered models.
- Brother tight handwheel support: Warns against forcing a tight handwheel and routes a persistent lock toward authorized service for the covered models.
These pages cover specific Brother model groups rather than every sewing machine. Use the exact manual and current manufacturer support for the machine being diagnosed whenever its controls, stitch ranges, access steps, or service instructions differ.