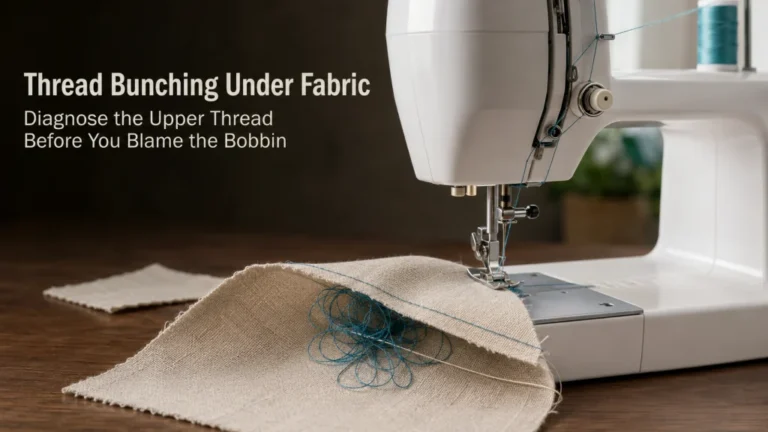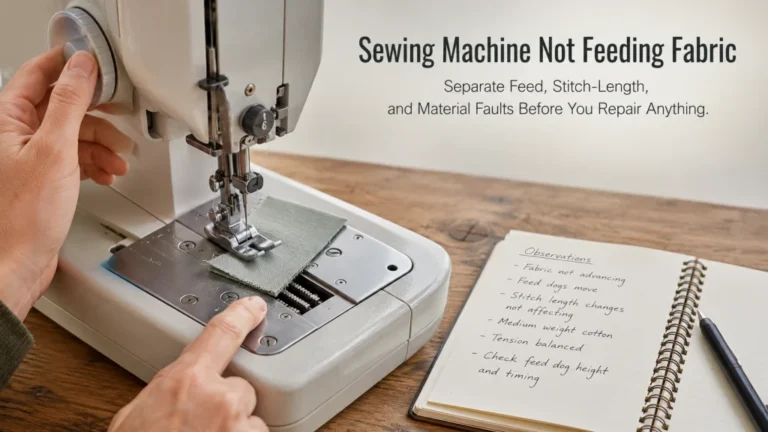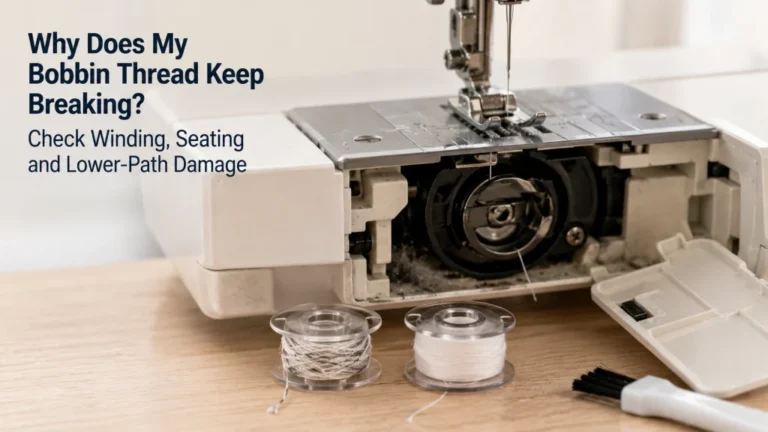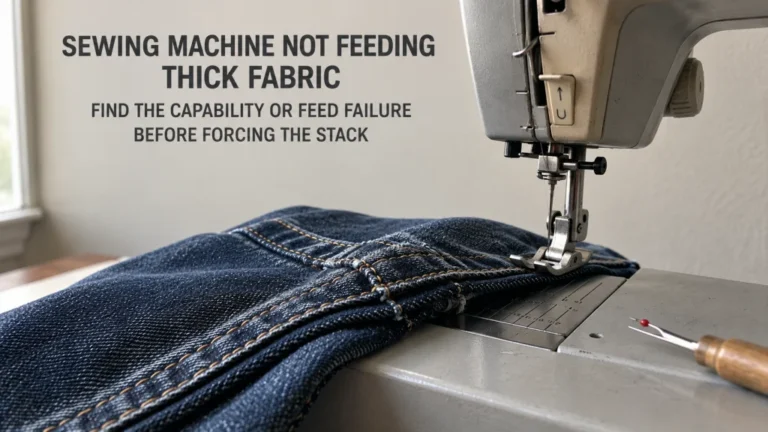
When the upper thread keeps breaking, the useful first question is where the thread is failing, not how far to turn the tension dial. Repeated snapping can come from an obstructed spool path, incorrect threading, excessive upper tension, a damaged or unsuitable needle, a poor needle-and-thread match, or a rough user-visible surface that is abrading the thread. Work from the spool toward the needle, restore the machine to its documented baseline, and separate a clean snap from progressive shredding before changing parts. If a rough or damaged machine surface is involved, replace only what the manual makes user-serviceable or move to qualified service.
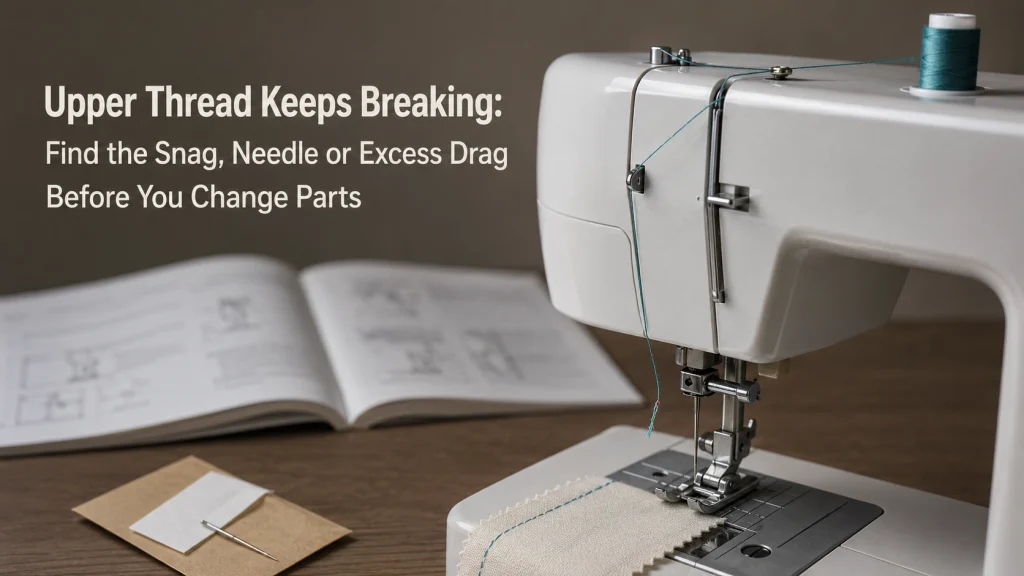
Find where the thread fails before changing the dial
A broken upper thread leaves a clue in its location. If the thread repeatedly catches near the spool, breaks after a guide, frays at the needle eye, or snaps only as it reaches the stitch area, those are different starting points. Treating every break as “too much tension” can hide the actual source of drag and can add a second variable to the problem.
This article covers repeated snapping of the upper or needle thread while the machine can otherwise cycle. If the lower thread is the one breaking, use the bobbin thread breakage checks instead. If the upper thread becomes fuzzy, splits into fibers, or progressively shreds before it finally parts, that belongs to the thread shredding diagnostic path.
| Break location | First area to inspect | What not to assume |
|---|---|---|
| Near the spool | Spool edge, notch, cap and tangles | That the tension setting caused it |
| Along the upper path | Threading order, guides and take-up path | That the needle is the only cause |
| At the needle eye | Needle condition and needle-thread match | That any new needle will fit the thread |
| At the stitch area | Visible foot and needle-plate openings | That a rough surface should be polished at home |
The location map is not a diagnosis by itself. It simply tells you which user-visible part of the path deserves the first close check before you start changing settings.
Confirm the upper thread is the one breaking
Stop the machine after the break and identify which thread end has separated. Upper thread usually leaves a loose end through or near the needle path, while a lower-thread failure comes from the bobbin area. This sounds basic, but it prevents a lower-thread problem from being chased through the upper tension system.
Also note whether the failure is a clean snap or whether the thread shows fuzz, flattening, split plies, or repeated abrasion first. A clean break and progressive shredding can share some causes, but they are not the same symptom. Keep the observed failure type written down as you work through the checks.
Inspect the spool and cap for snagging or trapped thread
Brother support tells users to check the spool cap, knots, tangles, and thread caught in the upper path, while Singer specifically mentions thread catching behind the spool cap or on a rough area of the spool. That makes the spool end of the path a sensible first physical inspection. A thread that cannot unwind freely can experience extra drag before it ever reaches the tension system.
With the machine stopped, look for a thread tail caught in a spool notch, a cap pressing the spool incorrectly, a loose cap, knots in the thread, or a wrap around the spool pin. Follow the exact model instructions for horizontal versus vertical spool setup and cap selection rather than borrowing the setup from another machine.
- Check the spool for knots, tangles, rough edges, or a catching notch.
- Confirm the spool cap is the correct type and is seated as the manual shows.
- Make sure the thread is not wrapped around the spool pin or a guide.
- Remove any accidental loop that adds resistance before the first guide.
If the thread begins feeding smoothly after a visible snag is removed, retest before touching tension. One corrected cause at a time makes the result easier to interpret.
Rethread the complete upper path
Rethread from the spool rather than repairing only the section where the thread broke. Manufacturer guidance for upper-thread breakage places correct threading near the top of the troubleshooting sequence because a missed guide, take-up lever, or tension path can create abnormal resistance or poor thread control.
Use the exact machine manual for presser-foot position, needle position, guide order, take-up lever, and needle threading direction. On machines where the presser-foot position changes how the thread seats in the tension mechanism, threading in the wrong state can make later tension changes misleading. Finish the entire path before you test again.
Return upper tension to the documented baseline
Both Brother and Singer identify excessive upper tension as a possible cause of upper-thread breakage. That does not mean the correct response is to keep lowering tension until the thread stops snapping. First return the control to the normal starting point stated for the exact model and current stitch setup.
Do not import a universal tension number from another machine, video, or forum post. If the manual allows an ordinary user-facing adjustment, make a small change only after threading and spool drag have been corrected, then compare the result on the same test material. Large compensating changes can hide a snag that is still present elsewhere in the path.
Replace a bent, blunt or damaged needle
Brother’s upper-thread breakage guidance directs users to check for a bent or blunt needle and replace it when needed. A worn or damaged needle can make the thread work harder at the eye or alter the path through the material, so replacing a questionable needle is a controlled user-level check rather than an internal repair.
Install the replacement exactly as the machine manual specifies, including orientation and insertion height. If the needle itself keeps breaking or striking hard during sewing, stop this thread-breakage path and use the needle breakage diagnostic checks. Repeated hard strikes are a service boundary, not a reason to keep testing thread.

This SCHMETZ assortment contains 10 Universal household sewing machine needles using the 130/705 H system. The Universal needles have a slightly rounded point and are supplied in multiple sizes for general sewing work. Use them only with domestic machines that specify the 130/705 H needle system and select the needle size required by the fabric and thread.
Check On AmazonIf you click this link and buy, we earn a commission at no additional cost to you.
Verify the needle eye and thread size are compatible
A fresh needle can still be a poor match for the thread. Brother directs users to make sure the needle is appropriate for the thread and fabric, and Singer notes that thread should pass freely through the needle eye when discussing shredding. The practical check is whether the chosen needle system, type, and size are documented as suitable for the machine and the thread being used.
This article does not create a universal needle-size chart because the correct combination depends on the exact machine, needle system, thread size and construction, fabric, and selected stitch. If the thread is visibly rubbing, flattening, or fraying at the eye, treat that as evidence to revisit the needle-thread combination rather than simply reducing tension.

Gütermann Sew-All is a 100 percent polyester general-purpose sewing thread for machine and hand sewing. This listing contains a 1,094-yard spool in Nu White, providing a consistent thread source for ordinary sewing and controlled troubleshooting samples. Gütermann identifies Sew-All as No. 100 thread and recommends Universal needles in the NM 70 to 90 range for the thread.
Check On AmazonIf you click this link and buy, we earn a commission at no additional cost to you.
Inspect user-visible needle plate and foot openings for damage
Brother’s troubleshooting guidance includes scratches near the presser-foot opening and needle plate as checks when thread keeps breaking. A rough edge in the stitch area can abrade thread each time it passes, especially if the break keeps occurring at a similar point in the sewing cycle.
Power the machine off before accessing the needle or needle-plate area whenever the exact manual requires it. Use good light and inspect only user-visible surfaces. Do not sand, file, polish, reshape, or alter a damaged opening simply because you can feel a rough spot.
Visible-damage boundary: If a presser foot, needle plate, bobbin case, or another user-visible component has a scratch, burr, crack, or deformation that the manual treats as replaceable, replace it only with the correct compatible part. If the damaged surface is not user-serviceable or the source of abrasion is internal, stop and use qualified service.
This keeps troubleshooting evidence intact. Smoothing a rough part by hand may change the surface without proving why it was damaged or whether the underlying alignment problem remains.
Compare a clean snap with progressive shredding
A thread that breaks cleanly can point you toward a sudden snag, excess drag, or another abrupt failure point. A thread that becomes fuzzy, splits into plies, or develops repeated abrasion before it parts gives you a different visual record. Do not collapse both symptoms into one generic “thread breaking” diagnosis.
| Observed thread | Useful next step |
|---|---|
| Clean snap with little visible abrasion | Recheck sudden drag, threading state, spool snag and tension baseline |
| Flattened, fuzzy or split fibers before failure | Inspect needle eye, thread quality and visible abrasion points |
| Damage repeats at the same visible machine surface | Stop if the surface requires replacement or service |
If progressive damage is the dominant symptom, continue with the dedicated shredding path rather than repeatedly retesting a clean-break checklist. The appearance of the failed thread is part of the evidence.
Switch paths when the lower thread is breaking
If inspection shows that the bobbin thread, not the needle thread, is snapping, stop this sequence. The lower thread has a different path through the bobbin, case or holder, and lower-thread breakage should not be diagnosed by continuing to adjust the upper system.
Use the separate bobbin-thread breakage article for that symptom. Keeping upper and lower failures separate also prevents a normal upper control from being changed to compensate for a lower-path problem.
Retest at moderate speed on stable scrap
After one correction, retest on stable scrap rather than immediately returning to the actual project. Use the same general thread, compatible needle, selected stitch, and machine state so the new result can be compared with the previous one. A moderate speed makes it easier to observe where the thread begins to drag or fail without adding an unnecessary high-speed variable.
You can place a small removable marker on the thread before several visible path points to help determine how far the thread traveled before the break. The marker is only a location aid, not a performance test. Record which check changed the symptom and avoid making several adjustments between test rows.

AK TRADING CO. Muslin Fabric is natural unbleached fabric made from 100 percent cotton. This listing provides a one-yard medium-weight cut intended for sewing, draping, quilting, and pattern work. The fabric can be divided into short repeatable samples for controlled machine and thread-path testing before returning to the actual project.
Check On AmazonIf you click this link and buy, we earn a commission at no additional cost to you.
Stop if a rough or damaged machine surface requires replacement
If the thread repeatedly contacts a visibly damaged user-facing part, do not keep compensating with lower tension or different thread. Brother’s guidance specifically directs replacement when certain scratched components are involved and recommends service when the problem continues. The exact model manual determines which parts the owner may remove or replace.
Seek qualified service for a hard mechanical lock, repeated hard needle strikes, visible broken internal parts, overheating, smoke, a burning odor, exposed wiring, uncontrolled motion, or persistent upper-thread breakage after the documented user-level checks. For the broader boundary between owner checks and service, use the sewing machine troubleshooting decision path.
Final Thoughts: locate drag before you compensate with tension
When the top thread keeps breaking, follow the thread itself. Confirm the upper thread is the failed one, inspect the spool and cap, rethread the entire path, return tension to the model baseline, replace a damaged needle, and check whether the needle and thread are a sensible documented match. Then inspect only the user-visible stitch-area surfaces the manual allows you to access.
A clean snap, progressive shredding, lower-thread breakage, and repeated needle strikes are not interchangeable symptoms. Keep the path matched to what you actually observe. If a rough surface needs replacement or the break persists after correct user-level states are restored, service is a better next move than a larger tension change.
FAQs
🧵 Why does my upper thread keep breaking?
Common user-level causes include incorrect threading, spool snagging, excessive upper tension, a damaged needle, a poor needle-thread match, or a rough visible surface in the stitch area. Check the break location before changing multiple settings.
🪡 Can a bad needle make the top thread snap?
Yes. A bent, blunt, damaged, incorrectly installed, or poorly matched needle can contribute to thread failure. Use the exact machine guidance for needle system, orientation, and replacement.
🎛️ Should I lower the tension when the needle thread keeps breaking?
Not as the first move. Correct threading and spool drag first, return to the documented baseline, then make only a small user-facing adjustment if the exact manual supports it.
🔎 How can I tell thread breakage from thread shredding?
A clean snap has little progressive fiber damage, while shredding usually shows fuzzing, splitting, flattening, or abrasion before the thread parts. Persistent shredding should follow the separate shredding diagnostic path.
🧶 What if the bobbin thread is the one breaking?
Switch to the lower-thread diagnostic path. Bobbin-thread breakage has a different thread path and should not be treated as an upper-thread tension problem.
🛑 When should I stop troubleshooting thread breakage?
Stop for a hard lock, repeated hard needle strikes, damaged internal parts, overheating, smoke, burning odor, exposed wiring, uncontrolled motion, or a persistent fault after documented user checks.
References and Sources
Manufacturer support is necessary here because threading, tension, needle, bobbin, user-replaceable surfaces, and service boundaries vary by machine model.
- Brother upper-thread breakage support: Supports checks for correct threading, thread condition, needle suitability, upper tension, needle condition, and model-specific bobbin requirements.
- Singer troubleshooting guidance: Supports checking thread-path obstruction, correct threading, upper tension, needle condition, and the distinction between breaking and shredding.
- Brother thread breakage support: Supports spool-cap, needle, needle-thread-fabric, presser-foot, needle-plate, bobbin-area, replacement, and service checks for covered machines.
These pages cover specific machine families and should not be converted into universal tension numbers or repair instructions. The exact model manual remains the controlling source for threading order, needle requirements, accessible parts, and owner-service boundaries.