Bobbin thread showing on top means the lower thread is being pulled farther toward the top surface than it should be for the seam you are trying to make. Before touching a bobbin-case screw, confirm that the visible thread is really the bobbin thread, then check upper-thread freedom, upper threading, bobbin orientation, and the documented bobbin path for the exact machine. Return the user-facing upper tension control to the model’s normal baseline and make only the adjustments the manual assigns to the operator. If correct threading and seating states still will not produce a balanced baseline seam, stop changing settings and move to service.
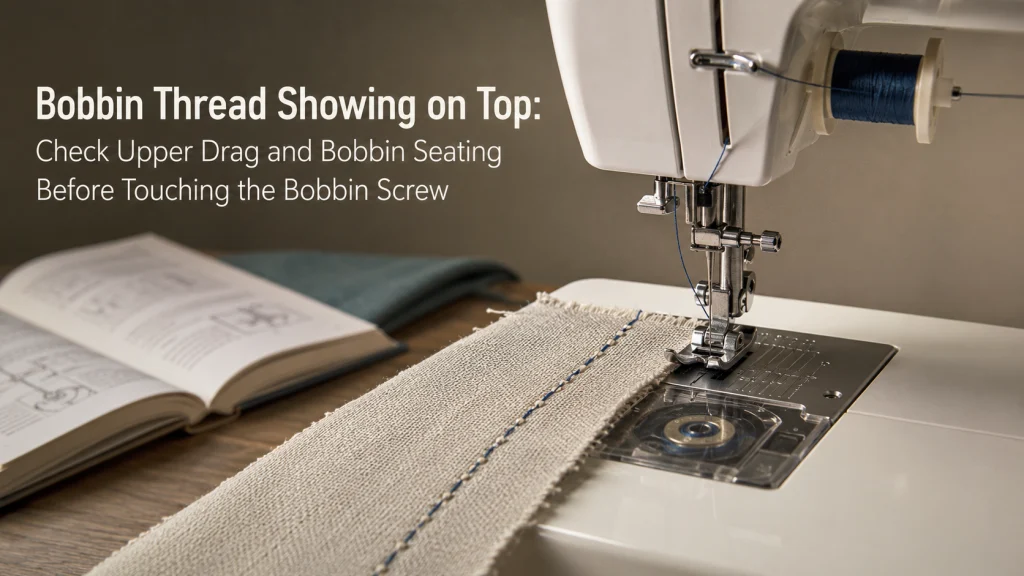
Confirm the color on top is really the bobbin thread
Bobbin thread showing on top is a directional symptom, so start by proving which thread is crossing to the wrong side. Use one clearly different color for the upper thread and another for the bobbin thread on a scrap of stable fabric. Sew a short straight test seam with the machine set up according to its manual, then inspect both sides before changing anything.
If the bobbin color appears as dots, loops, or stronger pull-through on the top surface, you have confirmed the symptom this article addresses. If the upper-thread color is instead looping underneath the fabric, that is a different diagnostic path. Keeping the two symptoms separate prevents a tension change meant for one direction from making the other direction worse.
Change the bobbin tension because a loose or messy stitch appears somewhere around the seam.
Use contrasting thread colors to identify which thread is crossing to the wrong side before adjusting a control.
Once thread direction is confirmed, work from the easiest external causes toward the more model-specific ones. That sequence is the core of diagnosing sewing machine stitch problems without turning every imbalance into an internal repair.

This SINGER set contains 30 assorted polyester sewing threads with 50 yards on each spool. The broad color selection makes it easy to choose clearly contrasting upper and bobbin threads for diagnostic sewing samples. The set is designed for both machine and hand sewing and also includes five large-eye hand needles and a needle threader.
Check On AmazonIf you click this link and buy, we earn a commission at no additional cost to you.
Build a contrasting-thread test swatch
A useful test swatch removes guesswork without pretending to reproduce every project condition. Choose a stable scrap similar enough to the fabric you were sewing, use the same general thread type if it is appropriate for the machine, and make the upper and bobbin colors easy to distinguish. Keep the selected stitch simple so the seam is easy to read.
Do not use the first test row as proof that one tension number is universally correct. The purpose is to create a baseline that shows direction. After each documented change, sew another short row beside the previous one so you can see whether the bobbin color moves farther onto the top, retreats toward the center of the seam, or remains unchanged.
Two-color balance check: Upper color mainly belongs on the top side, bobbin color mainly belongs on the underside, and the two threads should meet within the material rather than one color being pulled clearly through to the opposite surface.
A clean test swatch gives you a controlled place to compare changes. It also keeps you from repeatedly adjusting the machine on the actual project while the cause is still uncertain.

AK TRADING CO. Muslin Fabric is made from natural unbleached 100% cotton. This listing provides a one-yard medium-weight cut with a smooth surface suitable for sewing, draping, quilting, and pattern work. The fabric can be divided into short repeatable swatches for comparing stitch balance while keeping the test material consistent.
Check On AmazonIf you click this link and buy, we earn a commission at no additional cost to you.
Check whether upper thread is obstructed at the spool or thread path
Manufacturer troubleshooting guidance puts upper-thread drag high on the list because extra resistance above the needle can pull the bobbin thread toward the top. Singer specifically calls out thread catching behind the spool cap or on rough areas of the spool as possible obstructions. A thread path that looks correctly threaded can still behave incorrectly if the thread cannot feed freely.
Watch the spool while gently drawing thread through the normal path with the machine stopped. The thread should unwind without jerking, snagging, or being pinched by a cap that is positioned incorrectly for that spool. If the machine manual specifies a spool orientation, cap size, felt, net, or alternate path for a particular spool type, follow that exact setup rather than improvising.
- Check that the spool can unwind in the direction the manual specifies.
- Check that the spool cap is not trapping the thread.
- Look for thread caught in a spool notch or rough edge.
- Confirm the thread has not wrapped around a guide or spool pin.
- Make sure no temporary accessory is adding drag to the thread path.
If upper drag is removed and the symptom changes immediately on the test swatch, that is useful evidence. If nothing changes, continue through the threading path rather than jumping to the bobbin screw.
Verify upper threading from the beginning
Rethread the machine from the spool rather than checking only the last guide near the needle. The upper thread must pass through the machine’s tension system and take-up path in the state the manual requires. On many domestic machines, the presser foot position matters during threading because it changes how the tension discs accept the thread.
Follow the exact model manual for presser-foot position, needle position, guide order, take-up lever, and needle threading direction. Do not assume a familiar threading sequence from another machine is close enough. A missed take-up lever or thread that never seated in the tension mechanism can create a different symptom from the one you started with and make later adjustments meaningless.
Verify bobbin orientation and seating from the exact manual
Remove the bobbin using the owner-level procedure in the manual, then compare its orientation with the machine’s diagram. The required unwind direction can differ by system, so “clockwise” or “counterclockwise” should never be treated as a universal instruction. What matters is the direction specified for the exact holder or removable case in front of you.
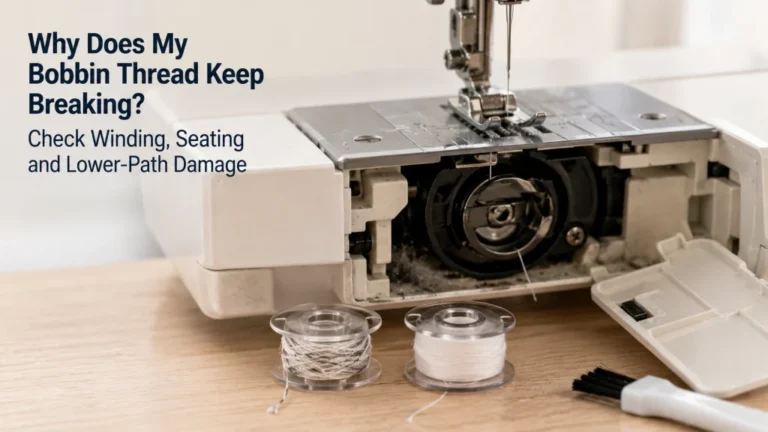
Reinsert the correct bobbin and make sure it sits in the position the manual shows. Brother support for machines with this symptom specifically directs users to check that the bobbin is installed and threaded correctly. If the bobbin sits high, binds, scrapes, or does not settle normally, stop rather than using tension changes to compensate for a seating problem.
If the thread itself is snapping rather than merely appearing on top, move to the separate bobbin thread breaking checks instead of treating breakage as proof of a tension imbalance.
Confirm bobbin thread is under the documented case spring or slot
Correct seating is only part of the lower-thread path. On machines that route the bobbin thread through a slot and under a tension spring, the thread must actually enter that path. Brother support identifies an incorrectly threaded bobbin and thread that is not behind or under the case spring as causes associated with bobbin thread appearing on top.
Use the manual diagram instead of probing around the case with a tool. Pull the thread through the slot exactly as shown and confirm that it follows the normal exit path. If lint or a loose thread is visible in an owner-cleanable bobbin area, clean only as the manual allows and power the machine off first whenever the manual requires it for access.

The SINGER Sewing Machine Maintenance Kit is a seven-piece set for basic sewing machine care. It includes an angled-edge lint brush with nylon bristles, three screwdrivers, a needle inserter, a needle threader, and a mesh storage pouch. The lint brush is designed to lift lint from hard-to-reach machine areas without using abrasive cleaning methods.
Check On AmazonIf you click this link and buy, we earn a commission at no additional cost to you.
Return the upper control to the model baseline
If the upper tension control has already been moved during troubleshooting, return it to the normal starting point stated for the exact model before judging the next test seam. Do not borrow a tension number from another machine, a forum post, or a different manufacturer. Even support pages from the same brand can give different directions because the covered machines and sewing conditions are not identical.
The baseline is useful because it puts the user-facing control back into a known state after threading and bobbin seating have been corrected. Sew another row on the contrasting-thread swatch and compare it with the earlier rows. If the bobbin color still pulls visibly to the top, only then consider a small documented upper-tension change.
Make only documented user-facing upper-tension changes
For the symptom covered here, manufacturer support often points to excessive upper-thread tension as one possible cause. Singer advises checking that upper tension is not set too tightly after confirming free thread feed and correct bobbin seating. Brother also has model-specific support pages where bobbin thread on top is associated with upper tension that is too tight.
Make a small change only in the direction the exact manual or support page specifies, then sew another baseline row. Do not keep turning the control across its full range looking for a lucky number. If a modest user-facing adjustment does not move the seam toward balance, return to the documented state and continue diagnosing instead of stacking one unproven change on another.
Do not move a bobbin-case screw unless the exact manual assigns it to the user
Visible bobbin thread does not automatically prove that the lower tension screw needs adjustment. The same symptom can result from upper-thread obstruction, upper tension that is too strong for the current setup, incorrect bobbin insertion, or a lower thread that is not seated in its documented path. Adjusting the screw before those states are corrected can create a second variable and make the original fault harder to identify.
Warning: Do not turn a bobbin-case tension screw, painted screw, factory-set screw, or any other undocumented screw unless the exact model manual clearly assigns that adjustment to the user and explains the procedure. Do not alter hook timing, needle-bar height, internal tension assemblies, gears, or other service-level mechanisms.
Some machines and specialized cases may include an owner-facing lower-tension procedure, while others do not. The machine manual decides that boundary. If the manual gives no user procedure, leave the screw alone and continue with documented external checks or service.
Compare with underside looping before you keep adjusting
Thread behavior on the underside points in a different direction. Singer’s general troubleshooting guidance connects underside loops with upper threading that is not correctly seated in the tension mechanism or take-up lever. Brother support likewise separates top-side loops from bottom-side loops when discussing thread tension and threading.
If the upper-thread color is pooling or looping underneath rather than the bobbin color appearing on top, switch to the thread bunching under fabric checks. Do not keep following this article after the observed symptom has changed, because the direction of the misplaced thread is part of the diagnosis.
Compare with an unevenly wound bobbin
A bobbin that was wound unevenly, loosely, or in a way the machine manufacturer does not permit can complicate a stitch-balance check. Brother troubleshooting for this symptom includes checking whether the bobbin was wound correctly. That does not mean every top-side bobbin thread problem is caused by winding, but it is worth separating a winding fault from a tension-control fault.
If the thread mass is visibly uneven across the bobbin or the winding process itself was abnormal, use the uneven bobbin winding checks before judging seam balance. A fresh, correctly wound bobbin gives you a cleaner baseline for the rest of the troubleshooting path.
Stop for service if correct states cannot balance a baseline seam
After correct upper threading, free upper-thread feed, correct bobbin seating, correct lower-thread path, a sound bobbin, and documented user-facing tension settings, a basic test seam should move toward a normal balance. If it does not, repeated setting changes are no longer adding useful information. At that point, record what you checked and stop before moving into internal adjustment.
Before handing the machine over for service, note the exact model, the thread and bobbin in use, the fabric and layer stack, the selected stitch, the user-level checks already completed, and what changed or did not change on the two-color test swatch. Bring the swatch if practical. A clear symptom record gives the technician a known starting point without pretending that the notes prove the internal cause.
Seek qualified service for a hard mechanical lock, repeated hard needle strikes, visible broken internal parts, overheating, smoke, a burning odor, exposed wiring, uncontrolled movement, or a persistent fault that remains after the manual’s user-level checks. For the broader boundary between owner troubleshooting and service, use the sewing machine troubleshooting decision path.
Final Thoughts: identify thread direction before adjusting tension
Bobbin thread on top is not a command to tighten or loosen the bobbin case. First prove that the lower thread is the one crossing upward, then check upper-thread freedom, rethread from the beginning, reseat the bobbin, confirm the lower-thread slot or spring path, and return the upper control to the model’s normal baseline. Those steps remove several common causes without changing a factory-set part.
If the exact manual allows a small user-facing upper-tension adjustment, make one controlled change and compare it on the same two-color test swatch. If correct external states will not produce a balanced seam, stop there. A service handoff is more useful than turning an undocumented screw and losing the known starting point.
FAQs
🧵 Why is my bobbin thread showing on top of the fabric?
Common user-level causes include excessive upper-thread drag or tension, incorrect upper threading, incorrect bobbin seating, or a lower thread that is not in its documented case path. Check those states before changing any bobbin-case screw.
🎨 How can I tell whether the thread on top is really the bobbin thread?
Use contrasting upper and bobbin thread colors on a scrap test seam. If the bobbin color is being pulled onto the top surface, you have confirmed the symptom direction.
⚙️ Should I change the upper tension when bobbin thread comes through the top?
Only after checking threading, thread freedom, and bobbin seating, and only in the direction supported by the exact model manual or support page. Avoid universal tension numbers.
🪛 Should I tighten the bobbin-case screw?
Not unless the exact machine manual explicitly makes that screw a user adjustment and explains how to set it. On many machines, the better first checks are upper threading, upper drag, bobbin seating, and the bobbin thread path.
🧶 Can an unevenly wound bobbin make the stitch harder to balance?
Yes, an abnormal bobbin wind can complicate troubleshooting. Correct the winding issue first so the tension test uses a stable baseline.
🛑 When should I stop troubleshooting and get the machine serviced?
Stop for a hard lock, repeated hard needle strikes, broken internal parts, overheating, smoke, burning odor, exposed wiring, uncontrolled movement, or a fault that persists after documented user-level checks.
References and Sources
Manufacturer support is necessary here because thread-path, tension-control, bobbin-seating, and service boundaries depend on the exact machine design.
- Singer troubleshooting guidance: Supports the upper-thread obstruction, upper-tension, bobbin-seating, and underside-looping checks used in this article.
- Brother bobbin-thread support: Supports checking excessive upper tension, bobbin installation and threading, bobbin-area cleanliness, and service escalation for covered machines.
- Brother thread-looping support: Supports the distinction between loops on the top surface and upper-thread loops appearing underneath the fabric.
These sources establish troubleshooting directions for the machines they cover. The exact model manual remains the controlling source for threading sequence, bobbin orientation, tension controls, cleaning access, and any user-adjustable bobbin-case procedure.