Lowering the feed dogs is only half of the setting change. The correct workflow is to confirm that the exact machine supports drop feed, use the documented control for the intended technique, then restore normal feed and verify that the feed dogs actually return to working position. Lever direction and re-engagement behavior vary by model, so a memorized left-or-right rule is less reliable than the machine manual. If the feed dogs stay down after the documented return sequence, the problem has moved beyond a normal setting change.
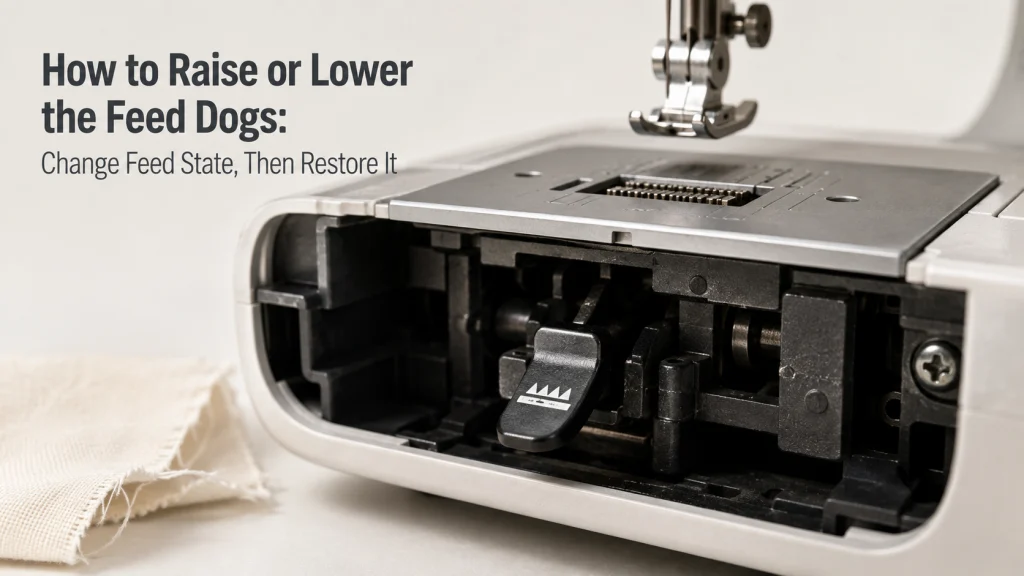
The Task Is Not Finished Until Normal Feed Is Restored
Learning how to raise or lower the feed dogs sounds like a one-lever operation, but the important part is the complete state change. On a functioning domestic machine, you lower the feed dogs only when a documented technique calls for the fabric to be moved without ordinary feed-dog advance, then return the machine to its normal feeding state afterward. If you stop after moving the lever back, you can miss a model-specific re-engagement step.
That difference shows up clearly in manufacturer instructions. One Brother support procedure says the feed dogs rise after the lever is moved and the handwheel is turned, while another Brother procedure uses the opposite lever direction for a different model group. Janome’s Skyline S6 manual says the lever is moved back toward the raise position and the feed dog returns upward when the machine starts. These are not contradictions to solve with a universal rule. They are evidence that the exact model procedure controls the job.
Confirm the Machine Supports a Feed-Dog State Change
Before searching for a lever, check the exact machine manual or manufacturer support page for a drop-feed control, feed-dog position switch, or another documented method. Some domestic machines provide a dedicated lever on the base or rear of the machine. Others use a different documented approach for the same type of technique, so the absence of an obvious lever does not by itself prove that the machine cannot perform the task. It means the next step is to check the exact model instructions rather than remove covers, force a control, or improvise a mechanical change.
This is a useful place to separate a normal control from the feed mechanism itself. The feed dogs are part of the machine’s material-transport system, but this article only covers the owner-accessible state change. For the wider context of how settings interact with ordinary operation, see understand sewing machine settings; for the broader operating sequence around controls, threading, and normal use, see use a sewing machine correctly.
| Feed state | What it means | What to verify |
|---|---|---|
| Feed dogs up | The machine is in its normal material-feeding state for ordinary sewing. | The teeth rise as expected and fabric advances normally when the machine is operated according to the manual. |
| Feed dogs down | The normal lower feed action is disengaged for a technique that calls for manual or otherwise controlled fabric movement. | The exact technique and machine documentation both support using the lowered position. |
The table describes the state, not a repair diagnosis. If the machine is supposed to be in normal feed and the teeth do not return after the documented procedure, do not reinterpret that as a different setting choice.
Confirm the Intended Technique Actually Calls for Manual Feed
Lowering the feed dogs is appropriate only when the technique and the exact machine instructions call for it. Manufacturer manuals commonly associate drop feed with tasks such as button sewing, darning, or some free-motion work. That does not mean every version of those techniques requires the feed dogs to be down, because machine features, presser-foot systems, stitch selection, and technique can change the setup.
A first-time owner can easily confuse “I want to move the fabric myself” with “the feed dogs must always be lowered.” Treat those as separate questions. This page owns the feed-state control only; the complete sewing method belongs with the specific technique, where presser foot, stitch, needle position, speed, and fabric handling can be explained together.
Decision check: Lower the feed dogs only when the exact machine instructions and the intended technique both call for that feed state. The technique name alone is not enough evidence.
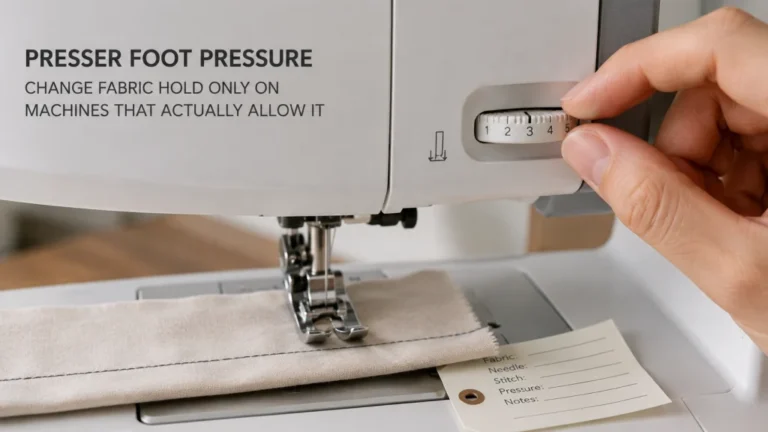
This boundary matters because another control may be the real issue. For example, if the question is how firmly the presser foot holds the material rather than whether the lower feed is engaged, adjusting presser foot pressure is a different setting decision.
Find the Exact Feed-Dog Control
Use the model manual to identify the control before moving anything. Manufacturer wording varies: you may see “drop feed lever,” “feed dog position switch,” or similar language. The control may be on the rear or base of the machine, and accessory tables or removable storage sections can affect how easily it is seen.
Do not assume that a lever pointing left means the same feed state on every machine. Brother support pages provide a useful example: one documented model group raises the feed dogs with the lever moved in one direction, while another documented group uses the other direction when described from its stated viewing position. The practical rule is simple: identify the machine first, then follow its diagram and wording.
Put the Needle and Presser Foot in the Documented State
Before changing the feed setting, check whether the manual specifies a needle or presser-foot position. Brother instructions for some machines explicitly call for the needle to be at its highest position before raising the feed dogs, while another support procedure tells the user to raise the presser foot before operating the drop-feed lever. Those details belong to the exact model procedure, not to a universal sequence that should be copied from another machine.
Follow any power, lockout, handwheel, needle-position, and presser-foot instructions exactly as written for the machine. Do not remove a fixed cover, reach into the mechanism, alter feed height, or try to force a control that does not move normally. A normal feed-state change should stay within the user controls the manufacturer identifies.
Lower the Feed Dogs Using the Exact Model Procedure
Once the model, technique, and control are confirmed, move the drop-feed control only in the direction specified by the manual. On the Janome Skyline S6, the manual instructs the user to move the drop-feed lever toward the operator to lower the feed dog. Brother support shows other lever directions on its covered models, which is precisely why the direction should never be generalized.
After the control is moved, confirm the machine indicates the intended state in the way its documentation describes. Some computerized machines can display a message when operation is attempted with the feed dogs lowered. The presence or absence of a screen message is model-specific, so it should not replace the physical control position and manual procedure as the primary check.
Key point: “Drop feed dogs” describes the intended state, not a universal lever direction. The manual for the exact machine decides which way the control moves and whether another action is required.
Once the feed dogs are down, stop this setting procedure there and follow the instructions for the actual sewing technique. Do not use a feed-setting page as a substitute for a complete button-sewing, darning, or free-motion workflow.
Keep the Feed Setting Separate from the Sewing Technique
The lowered position changes who controls material movement, but it does not define the rest of the sewing setup. A particular technique may also depend on a specified presser foot, stitch selection, needle position, fabric support, or speed range. Those choices should come from the relevant technique instructions rather than being guessed from the fact that the feed dogs are down.
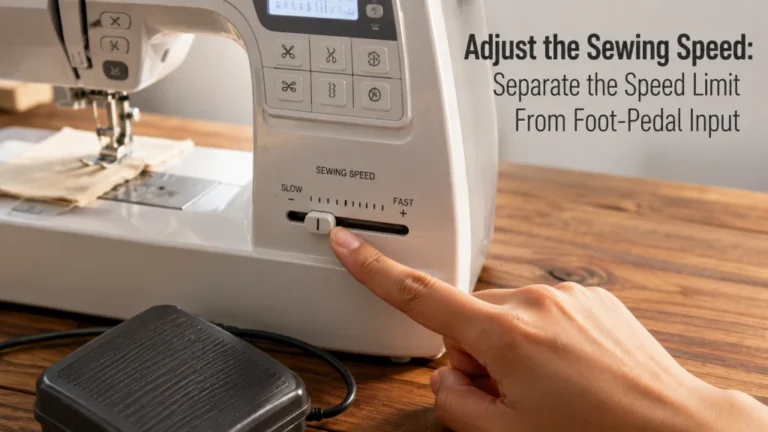
This distinction also prevents a settings article from turning into a catch-all free-motion lesson. If the same task requires you to change how fast the machine runs, use the separate instructions for adjusting the sewing speed. Feed state and speed can be part of the same sewing session without being the same control problem.

Machingers Quilting Gloves are lightweight, form-fitting gloves designed for machine quilting and fabric control. Their coated fingertips provide grip with less resistance and drag on fabric, while the nylon construction leaves the palms breathable. The seamless design allows the user to handle fabric, thread, and pins without repeatedly removing the gloves.
Check On AmazonIf you click this link and buy, we earn a commission at no additional cost to you.
Return the Control to the Normal-Feed Position
When the special technique is finished, move the drop-feed control back to the position the manual identifies for normal feeding. Do this before assuming the machine is ready for ordinary stitching. On many machines, the lever position is only the first part of re-engagement.
The important check is not whether the lever looks correct. It is whether the feed dogs have completed the return sequence specified for that model. This is the step generic “how to lower feed dogs” instructions often omit, and it is why the full raise-or-lower workflow is more useful than a one-way instruction.
Complete the Documented Re-Engagement Sequence
Some machines need mechanical motion before the feed dogs visibly return to the raised position. Brother support for certain models instructs the user to turn the handwheel after moving the feed control back. Janome’s Skyline S6 manual states that after the lever is shifted to raise the feed dog, the feed dog returns to the up position when the machine starts.
Those examples illustrate the principle without creating a universal recipe. If your manual calls for a handwheel rotation, use its specified direction and sequence. If it calls for starting the machine, follow the normal operating conditions stated for that model. Do not force the teeth upward by hand or treat a delayed mechanical re-engagement as permission to open the machine.
- Confirm the exact model and manual.
- Return the feed control to the documented normal-feed position.
- Complete the manual’s stated handwheel or operating sequence, if one is required.
- Check that the feed dogs rise to their normal working state before returning to ordinary sewing.
- If they do not re-engage, stop the normal setting workflow rather than repeating the lever movement indefinitely.
This checklist is deliberately model-first. It prevents a correct procedure for one machine from being copied onto another machine with different control geometry or re-engagement behavior.
Verify the Feed Dogs Are Ready for Ordinary Sewing
After re-engagement, inspect the feed state before resuming a normal seam. The feed dogs should be in the working position expected by the manual, and ordinary material transport should return when the machine is used normally. A lever that has been moved back is not enough evidence if the feed dogs themselves have not re-engaged.
Use a simple, noncritical fabric scrap if the manual’s normal operating procedure allows a test seam. The goal is not to diagnose every feeding problem. It is only to confirm that the machine has returned from deliberate drop feed to ordinary feed before a real project goes back under the presser foot.

AK TRADING CO. Muslin Fabric is a natural unbleached 100% cotton fabric supplied as a one-yard cut. The medium-weight material is 63 inches wide and has a smooth finish with a soft touch and natural drape. The manufacturer lists it for sewing, quilting, embroidery, fittings, draping, backing, and other fabric projects.
Check On AmazonIf you click this link and buy, we earn a commission at no additional cost to you.
Stop if the Feed Dogs Remain Down or Fail to Move Normally
If the exact documented return sequence has been completed and the feed dogs still stay below the needle plate, stop treating the issue as a normal setting change. The same applies if the lever will not move normally, the feed dogs rise only partly, or ordinary fabric feed does not return after the machine has been restored to its documented normal state.
At that point, repeating the control movement is not a useful next step. The problem belongs in symptom-led troubleshooting, where lint, control position, linkage behavior, previous impacts, and service boundaries can be assessed without turning a normal setting procedure into internal repair instructions.
Stop point: Do not adjust feed-dog height, timing, linkage, or internal mechanisms to make the teeth rise. If the documented owner procedure fails, move to troubleshooting or qualified service as appropriate for the exact machine.
This stop point protects the distinction between using a control and repairing a fault. A functioning drop-feed system should not require improvised mechanical adjustment just to return to normal sewing.

PEASUG Muslin Fabric is an unbleached 100% cotton fabric supplied in a 63-inch by 2-yard cut. The material has a smooth, soft surface and is described for sewing, embroidery, garments, and craft projects. It can be machine washed or hand washed, with low-temperature washing and natural drying recommended for care.
Check On AmazonIf you click this link and buy, we earn a commission at no additional cost to you.
Final Thoughts: Lower for a Named Task, Then Verify the Return to Normal Feed
The safest way to change feed-dog state is to treat lowering and raising as one complete workflow. Confirm that the machine supports the change, confirm that the technique actually calls for it, use the exact model control, then restore the normal-feed position and complete any documented re-engagement step.
The lever direction is not the fact worth memorizing. The useful habit is checking the exact manual and verifying the result at the machine. If the feed dogs do not come back after that documented sequence, the task has stopped being a setting change and should be handled as a feed problem instead.
FAQs
⚙️ How do I know if my sewing machine can lower the feed dogs?
Check the exact model manual or manufacturer support page for a drop-feed lever, feed-dog position switch, or documented alternative. Do not assume every domestic machine uses the same control.
🪡 Why did my feed dogs stay down after I moved the lever back?
Some machines require an additional re-engagement action, such as a documented handwheel movement or normal machine operation. Follow the exact model sequence; if the feed dogs still remain down afterward, move to troubleshooting rather than forcing them upward.
🧵 Do I always need to lower the feed dogs for free-motion sewing?
No universal rule applies to every machine and free-motion setup. Follow the technique instructions and the exact machine manual, because the required feed state can depend on the machine and setup.
🔘 Why are feed dogs lowered for some button-sewing setups?
Some manufacturer procedures call for the feed dogs to be lowered so the machine does not advance the fabric while the button is stitched in place. Use the complete button-sewing procedure for the exact machine rather than changing the feed state by itself.
🧰 Should I adjust feed-dog height if the feed dogs will not rise?
No. Feed-dog height, timing, and linkage adjustment are outside this normal owner-level setting procedure. Complete the documented re-engagement steps first, then use troubleshooting or qualified service if normal feed does not return.
References and Sources
- Brother raise or lower feed dogs support: Shows a model-specific lever direction and handwheel step for re-engaging the feed dogs.
- Brother multi-model feed-dog support: Documents a different lever direction on its covered models and requires handwheel movement to raise the feed dogs.
- Janome Skyline S6 support page: Provides the official model manual used to verify the drop-feed lever direction and return-to-up behavior.