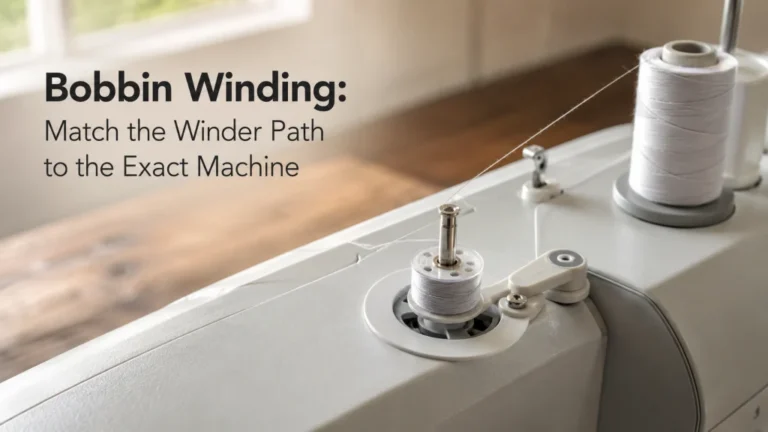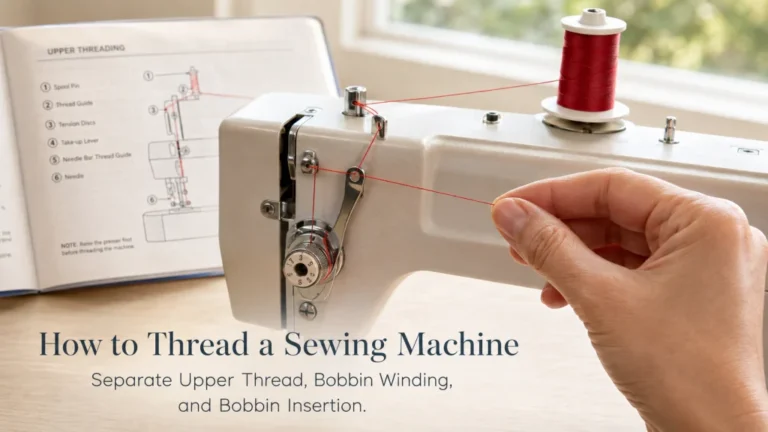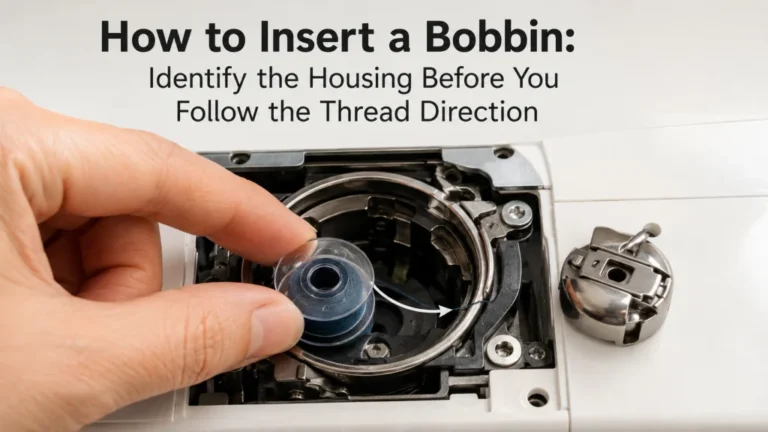
Raising bobbin thread is required on some machines and for some techniques, while some quick-set bobbin systems allow ordinary sewing to start without it. Check the exact machine instructions and task before touching the handwheel or needle-position control. If the step applies, the sequence is small: control the upper thread, complete the specified needle cycle, lift the lower-thread loop, and arrange the tails. If no loop appears after correct setup, stop and move to troubleshooting rather than extending the setup procedure.
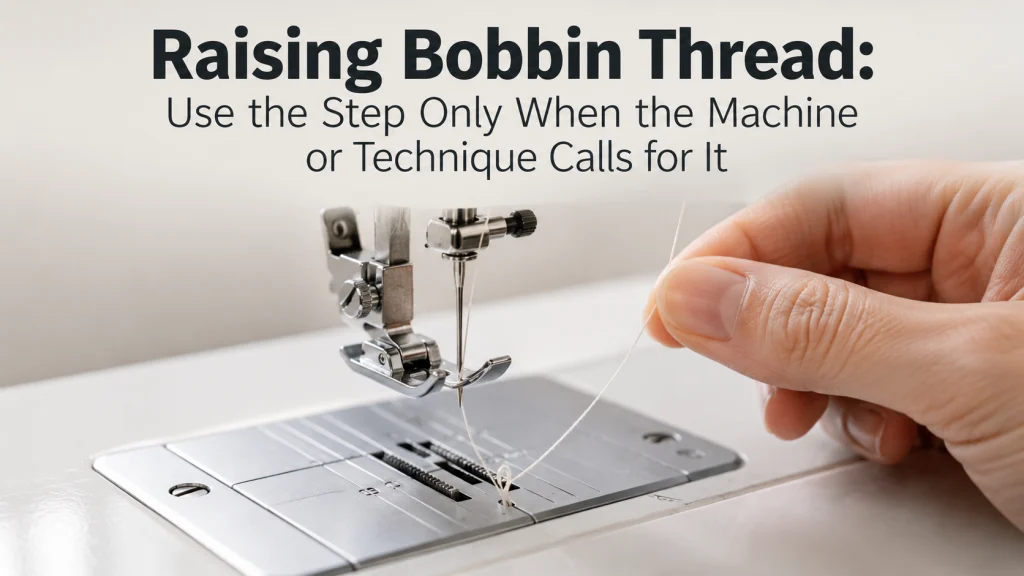
Confirm upper threading and bobbin loading first
Before raising bobbin thread, decide whether the exact machine or technique actually calls for it. SINGER currently gives a handwheel pickup sequence, while Brother’s SE600 and Janome’s Skyline S6 show quick-set workflows in which ordinary sewing can begin without manually pulling the lower thread through the needle plate. That difference is enough reason to check applicability before action.
Once the machine or task does call for the step, confirm that the upper thread is routed through the machine and needle and that the bobbin is installed according to the model instructions. The lower thread is brought up by the interaction of those two already-prepared threads, so this procedure cannot replace either part of the initial setup. If the upper path is still uncertain, return to the complete sewing machine threading sequence before continuing.
Bobbin direction, thread routing, and use of a built-in cutter can also change the preparation. Brother’s SE600 instructions tell the user not to cut the bobbin thread with the quick-set cutter when the goal is to pull it up, and Janome’s Skyline S6 similarly tells the user to leave a tail for its draw-up procedure. If the bobbin installation itself is not confirmed, first verify how to insert a sewing machine bobbin. Raising the lower thread is an added action after correct loading, not a substitute for it.

This Coats & Clark set includes one black and one white 400-yard spool of all-purpose thread. The thread is 100% polyester and is listed for both hand and machine sewing. It provides two basic colors for everyday machine sewing without introducing any machine-specific compatibility requirement.
Check On AmazonIf you click this link and buy, we earn a commission at no additional cost to you.
Check whether the machine or technique calls for a raised lower thread
The clearest decision point is the wording in the manual or support page. Look for instructions to raise or draw up the bobbin thread, or for a note saying sewing can begin without that action. If the same machine offers both routes, the sewing task determines which one applies.
| Instructions say | What to do |
|---|---|
| Raise or draw up the bobbin thread before sewing | Complete the lower-thread pickup sequence before positioning the thread tails. |
| You can begin sewing without drawing up the bobbin thread | Skip the extra action for ordinary sewing unless the instructions name a task that needs it. |
| Pull up the bobbin thread for a named technique | Treat it as task-specific preparation rather than a rule for every seam. |
| The instructions are unclear or the bobbin system differs | Pause and verify the exact model instead of borrowing a sequence from another machine. |
Brother’s SE600 support names creating gathers and finishing the thread at the beginning of sewing, with free-motion quilting as an example, as situations where the bobbin thread is pulled up. A separate Brother operation manual also names darts and embroidery among the sewing applications where the step may be wanted. These examples are not universal technique rules; they show why a task-specific note can change the preparation route even when ordinary sewing uses a quick-set bobbin path.
Put the needle and presser foot in the state specified for the model
Before cycling the needle, match the starting position named in the machine instructions. SINGER’s current support sequence calls for the power to be off, the needle raised, and the presser foot raised before the handwheel is turned toward the user. Brother’s SE600 procedure uses the needle-position button instead, with the machine controls locked while the bobbin area is being prepared.
That difference is why a generic instruction such as “turn the machine off and rotate the wheel” should not be carried from one model to another. Janome’s Skyline S6 uses its needle up/down control for the pickup cycle and specifies lockout or power-off precautions around threading and bobbin insertion. Follow the control method, power state, handwheel direction, and presser-foot position stated for the machine in front of you.
Warning: Follow the exact model manual for power state, needle position, presser-foot position, lockout controls, and handwheel direction. Do not reach into moving hook parts, remove guards for observation, or continue cycling after a hard needle strike or jam.
For the broader relationship between these controls and starting a seam, use the basic sewing machine operation article. Here, the controls matter only because they establish the correct starting state for the lower-thread pickup action.
Hold the upper thread only as the instructions require
The upper thread is what brings the lower-thread loop into view. Manufacturer instructions commonly tell the user to hold it lightly rather than clamp or tug it. The goal is simply to keep the thread end under control while the needle completes its down-and-up movement.
The needle and hook perform the stitch-forming movement that catches the lower thread. Your hand keeps the upper-thread tail available and then lifts the resulting loop after the needle returns. Pulling harder does not improve that interaction and can make a simple preparation step harder to follow.
For a first-time owner, “hold the thread” can easily sound like “pull the thread while turning the machine.” That is not the intended action. Keep the tail from disappearing, let the machine complete the stated cycle, then lift the upper thread only enough to expose the loop.
Complete the needle cycle specified for your model
The action itself is mechanically simple: the needle goes down and returns to its raised position while the upper-thread tail stays lightly controlled. With a handwheel-based procedure, turn the wheel only in the direction stated by the manufacturer until that down-and-up movement is complete. With an applicable needle-position control, use the button sequence given for the machine instead.
This pause matters because it keeps setup separate from diagnosis. If the loop is present, continue to bring the thread end to the sewing surface. If it is absent after correct threading, bobbin loading, and the specified cycle, repeated rotations or extra force are not the next setup step.
Raise the bobbin-thread loop through the needle plate
After the needle returns to its raised position, gently lift the upper-thread tail. The lower thread should appear as a loop through the needle-plate opening when the pickup cycle has completed as intended. Bring that loop far enough into view to grasp the lower-thread end without yanking either thread.
Some manuals call this drawing up the bobbin thread, while others describe pulling up or raising the lower thread. The wording varies, but the visible result is the same: the lower-thread end moves from below the needle plate to the sewing surface so it can be arranged with the upper thread.
The visible loop is all you need for this setup step. Do not turn the action into an inspection of the hook mechanism. If the loop is missing, the procedure has reached its stop point rather than the start of an internal inspection.

The SINGER 50024 ProSeries Tweezer has an angled fine tip designed for precision pickup. Its self-locking mechanism can continue holding an item after the grip is released, and SINGER lists it for reaching into tight areas of sewing machines and sergers. A storage sleeve is included with the tweezer.
Check On AmazonIf you click this link and buy, we earn a commission at no additional cost to you.
Position the thread tails as the model instructions show
Once the lower-thread end is accessible, place the thread tails under the presser foot and toward the rear if that is the route shown for the machine. Tail length is model- and task-specific. Brother’s SE600 support page and the Janome Skyline S6 manual both use about 10 cm, or 4 inches, in their pull-up procedures, but that measurement should not be carried over to a different model without checking.
Use the length and routing shown in the instructions you are following. The purpose is simply to leave both threads in the intended starting position after the lower thread reaches the sewing surface. At this point, the pull-up action is complete.
- Confirm that the machine or technique calls for the lower thread to be raised.
- Verify upper threading and bobbin insertion first.
- Set the needle, presser foot, power state, and controls as the model instructions specify.
- Hold the upper-thread tail lightly.
- Complete the stated needle down-and-up cycle.
- Gently lift the upper thread to expose the lower-thread loop.
- Bring out the lower-thread end and position both tails as instructed.
Nothing in this sequence calls for extra rotations, tension changes, bobbin-case adjustments, or internal inspection. Those actions do not belong to a successful lower-thread preparation step.

These SINGER ProSeries thread snips use a spring-loaded design with fine-tip blades for precise trimming. The 5-inch tool has a rubberized comfort-grip handle and is intended for cutting unwanted threads during sewing and crafting. Its compact format makes it suitable for keeping beside the machine for routine thread trimming.
Check On AmazonIf you click this link and buy, we earn a commission at no additional cost to you.
Stop if no loop appears after correct setup
A missing loop changes the question. If upper threading and bobbin loading are confirmed, the machine is in the required starting state, and the stated needle cycle has been completed without bringing up the lower thread, repeating the preparation sequence is no longer the same task.
Do not keep cycling the machine, force the handwheel, pull harder on the thread, or assume that hook timing needs adjustment. Failure to pick up the lower thread can have multiple causes, so the next useful process is symptom-led troubleshooting with checks matched to the exact machine and symptom.
Stop point: If the needle strikes something, the handwheel becomes hard to turn, thread jams below the plate, the machine moves unexpectedly, or the pickup cycle repeatedly fails, stop using this setup procedure. Follow the exact manual and use qualified service when the manual reserves the work for service personnel.
This boundary prevents a failed preparation step from becoming an invitation to open the machine. Once the expected loop does not appear under the stated conditions, the setup article has reached its endpoint.
Do not inspect timing or the hook as part of this setup step
The hook participates in forming the thread loop, but hook inspection is not part of raising the lower thread for routine setup. The owner-level action is done from the sewing position with the machine assembled as the manufacturer instructs. It does not require removing the needle plate, opening guarded areas, or judging hook-to-needle timing by eye.
If the needle repeatedly fails to pick up the bobbin thread after the setup has been checked, the reader now has a symptom rather than an unfinished preparation step. The cause could involve several setup or mechanical conditions, and sorting them belongs in a troubleshooting process that can separate user-level checks from service-level work.
Stopping here keeps the boundary clear. This procedure explains when and how to bring the lower thread to the sewing surface; it does not diagnose why the pickup mechanism failed when the expected loop never appeared.
Final Thoughts: Use the pull-up step only when it belongs in the workflow
Treat the pull-up step as a branch inside machine setup, not as a ritual that must be added to every seam. The exact instructions and sewing task tell you which branch to use. That keeps a quick-set bobbin path quick while still preserving the extra thread control needed for tasks that call for the lower thread on the sewing surface.
When the step applies, the sequence stays short: confirm threading and bobbin loading, establish the required machine state, control the upper thread lightly, complete the stated needle cycle, lift the loop, and position the tails. If that cycle does not produce the loop, stop there. The next question is a troubleshooting question, not a reason to extend the setup procedure.
Frequently Asked Questions
🧵 Does every sewing machine require raising the bobbin thread?
No. Some current quick-set bobbin systems let ordinary sewing begin without manually bringing the lower thread through the needle plate. Check the exact model instructions and the technique before adding the pull-up step.
🪡 What does “draw up bobbin thread” mean?
It means using the upper thread and the machine’s specified needle cycle to bring the lower-thread loop through the needle plate. You then pull out the lower-thread end and position both thread tails as instructed.
⚙️ Should I use the handwheel or the needle-position button?
Use whichever method the exact model instructions specify. SINGER documents a handwheel method on its current support page, while some Brother and Janome machines document a needle-position-button method.
✂️ Why would the manual tell me not to cut the bobbin thread first?
On some quick-set systems, the built-in cutter prepares the bobbin thread for ordinary sewing but leaves a different setup than the manual pull-up procedure requires. Follow the model’s alternate bobbin-thread path when the technique calls for the lower thread to be raised.
🛑 What should I do if the bobbin thread will not come up?
Stop after confirming the setup and completing the specified cycle. Do not force the handwheel or inspect hook timing as part of this procedure; move to symptom-led troubleshooting or qualified service as appropriate.
References and Sources
These manufacturer pages support the model-specific differences used in the article, including whether the pull-up step applies, which control performs the needle cycle, and how thread tails are handled.
- SINGER Raising Bobbin Thread: Supports the handwheel-based pickup sequence and the starting positions used in the SINGER example.
- Brother SE600 bobbin setup: Supports the quick-set workflow that allows ordinary sewing without first pulling up the bobbin thread.
- Brother pull-up procedure: Supports task-specific examples including gathers, darts, free-motion quilting, and embroidery.
- Janome Skyline S6 instruction book: Supports the quick-set exception, alternate draw-up procedure, needle up/down control, and 10 cm thread-tail instruction.
Because these procedures can vary by model even within one brand, recheck the exact machine page or manual when the article is updated or when a different machine is being used.